background image

USER GUIDE 

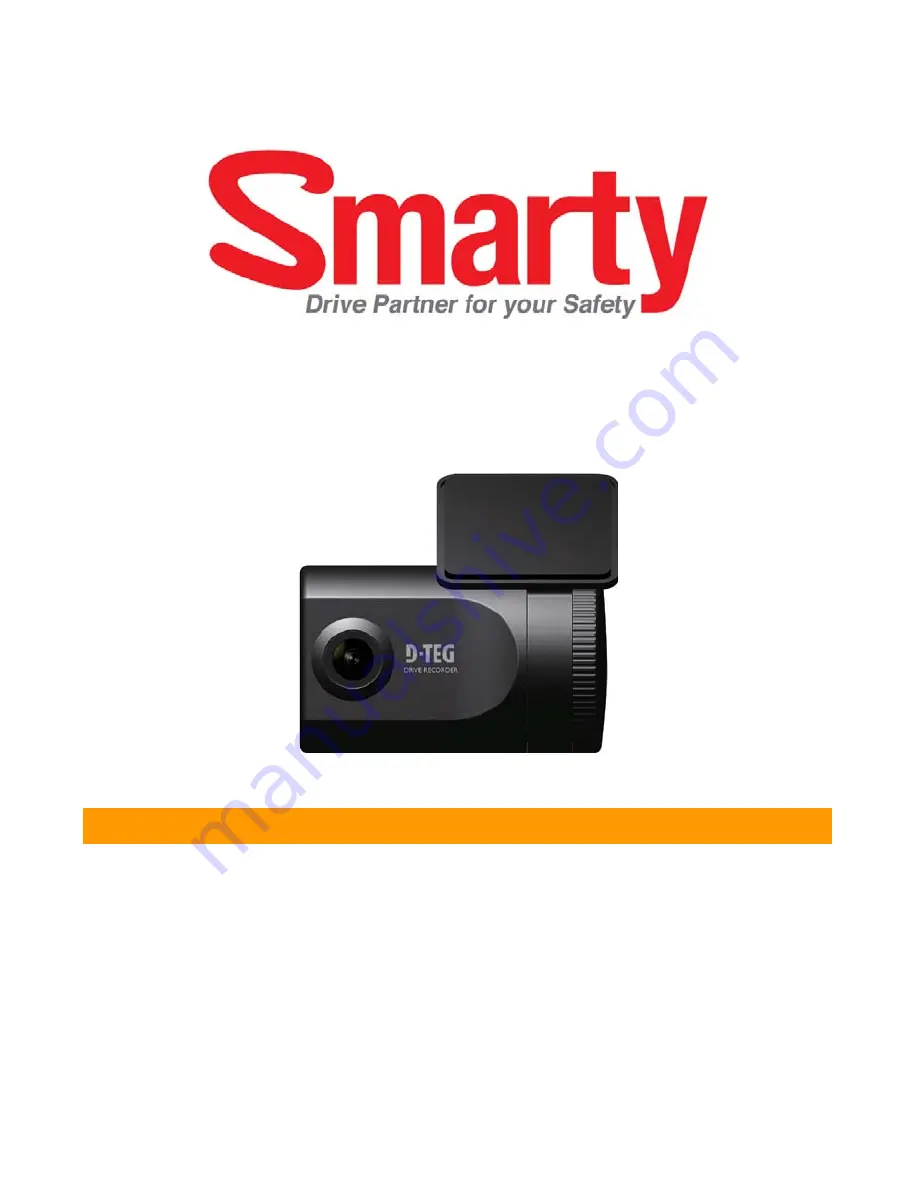
Model: BX1000 / BX1000 Plus

Thank you for purchasing this Drive Recorder.

Before using the Drive Recorder, please ensure that you

read and understand this USER GUIDE.

Please store the USER GUIDE in an easily accessible location.

Before connecting and installing this Drive Recorder, please 

refer to the appropriate instruction manual for proper operation.

VER 1.0.0
1

st

Edition

Summary of Contents for BX1000 Plus

Page 1: ...sing the Drive Recorder please ensure that you read and understand this USER GUIDE Please store the USER GUIDE in an easily accessible location Before connecting and installing this Drive Recorder please refer to the appropriate instruction manual for proper operation VER 1 0 0 1st Edition ...

Page 2: ......

Page 3: ...HE RISK OF ELECTRIC SHOCK DO NOT REMOVE COVER NO USER SERVICEABLE PARTS INSIDE REFER SERVICING TO QUALIFIED SERVICE PERSONNEL WARNING TO PREVENT FIRE OR ELECTRIC SHOCK HAZARD DO NOT EXPOSE THIS APPLIANCE TO RAIN OR MOISTURE Caution Connect your vehicle s power cable cigarette jack to the product after starting the vehicle The instant over voltage generated when starting up the vehicle may damage t...

Page 4: ... signal is installed in the vehicle e g Other GPS devices such as a certain type of wireless activated alarms MP3 and CD players and camera alarms using GPS 4 If you are using a receiver connected by cable electric interference can be avoided by simply changing the location of the receiver antenna 5 On heavily overcast or cloudy days if the vehicle is in a covered location such as under a bridge o...

Page 5: ...nit 2 2GB SD memory card The PC Viewer software is in the provided SD card 3 power cable cigarette jack 4 Wire Splice clip 5pcs 6 You should have a set of the following items for each BX1000 BX1000 Plus order 5 Sticker double sided tape 1pc ...

Page 6: ...INTRODUCTION Smarty DRIVE RECORDER Camera Lens Bracket PWR C DC Power In DC 12 24V FRONT Left side Right Side SD SD Memory Card Slot 7 Adhere tape on bracket ...

Page 7: ...D RED LED Record Button Internal GPS Antenna SD Card Format Button 8 Smarty SMART BLACK BOX main unit Bracket Holder Remark Formatting initializing SD memory card can be done using SD Card Format Button However we recommend format initialize SD card using the PC Viewer software at the PC ...

Page 8: ...n off the engine before installing the BX1000 BX1000 Plus 2 Attach the BX1000 BX1000 Plus using the provided double sided tape The surface must be clean and dry before you install We recommended to install the product behind the rear view mirror on the front windshield Attachment notes Adhesive tape will not stick well with dust or oil etc Warm temperatures are best above 60 degrees when applying ...

Page 9: ...e route should be from the left side of the BX1000 BX1000 Plus towards your power source Caution When the impact is light like very light such as a minor bump In the road the G sensor may not recognize the impact and as a result it may not begin recording automatically Test and set your own G sensor level for your vehicle Arrange the power cord neatly alongside of the windshield and door pillar tr...

Page 10: ...s the SD CARD FORMAT button and hold Then connect the power for initialization Once it done all video log files will be deleted And the configurations will default to the factory settings Built in power backup Super Capacitor When power to the unit is interrupted BX1000 BX1000 Plus creates the last file using the internal Super Capacitor 11 Notice The unit will not start recording immediately afte...

Page 11: ...cts coverage Flash memory captures the video data from the second impact even as the first impact is still occurring It will start writing immediately after the first recording is finished Take out SD memory card Turn off the power and then check the BLUE LED light Once the LED light is off take out the SD memory card 12 Insert SD memory card System Error Buzzer Beep Beep sound will occur and the ...

Page 12: ...ment the PC Viewer may not function properly OS Windows 2000 Windows XP Windows Vista CPU Pentium4 2 6GHz or higher RAM 512MB or higher Interface SD Memory Card Reader HDD Free space Install 20MB or higher Backup 2GB or higher Display 1 024 x 768 pixel High Color 16bit or higher Recommended PC specifications for PC Viewer software ...

Page 13: ...select Open 3 Double click SETUP EXE at pcsw folder 4 Select the language and then follow the dialog box 5 The PCViewer icon will be displayed on your desktop Remove the PC Viewer BX1000 Open the Control Panel Select remove program and remove PC Viewer BX1000 14 PC Viewer software is in the provided SD card ...

Page 14: ...and then click PC Viewer Setting 3 Select File and then click Select Data Folder or Click OPEN button OPEN button 4 Select SD memory card folder at the folder select window 15 The date formats and speed unit will be set automatically according to the PC Windows setting However it can be changed with this PC viewer setting menu ...

Page 15: ...click Load button Load Button 5 The event list tap will be changed to PlayList tap as below 16 Check the event G Senor means Recorded by impact Switch means Recorded by button POST post recorded frame PRE pre recorded frame Display frame Total frames number Frame size Check it for continuous playback ...

Page 16: ...e Previous Image X0 5 1 Play X2 4 8 16 Fast Forward X0 5 1 Reverse X2 4 8 16 Fast Reverse Single View 4x4 Multi View Thumb nail function Zoom In G sensor graph Zoom Out G sensor graph Date Time GPS Speed G sensor data GPS location data PLAYBACK 17 Playback speed REMARK PC keyboard hot buttons Space Pause Play direction Next image direction Previous image ...

Page 17: ...d be recorded with video To see the map on the PC the internet line should be connected Playback position is the arrow mark on the map And blue mark is the route Double click the blue mark then the video playback position will be changed Camera icon means there is a recorded file Google map Support BX1000 Plus model only 18 Zoom Out ...

Page 18: ... image to change the playback position Click right button of mouse for the single image playback mode 8 Click Close button to quit the event playback Click Close to finish the event playback Then the PlayList window will be changed to the initial status Thumb nail Function 19 ...

Page 19: ...Save JPG file AVI file 9 Pause the playback and click Save Image icon to make a JPG file 10 Click Save AVI icon to make a AVI file Save Image icon Save AVI icon 20 ...

Page 20: ...Print image Print image icon 11 Pause the playback and click Print Image icon Input Print Title Print Comment using Keyboard Total Print Comment window allows up to 7 lines total 21 ...

Page 21: ...ort 12 Click Print button in the print preview windows for printing Print Title Print Comment G sensor graph map will be printed on the first page Click 2x2 and then click Print to print 4 images in one page 22 ...

Page 22: ...ckup Event Log files icon to backup the files to the PC Backup Event Log files icon Check Load Event data and Check Load Log data first before clicking the Backup Event Log files icon Then Event and Log list are on the Backup windows 23 ...

Page 23: ...ding stops automatically when the SD memory is full Beep on record Beep sound ON OFF when recording start G sensor setting Check simple setting mode and then change the sensitivity High sensitivity like 8 or 9 means recording will be started at very low impact Date Time Automatically synchronize with GPS time However Manual time setting is also available Initialize SD card All date will be deleted...

Page 24: ...al time setting and set your time before installing it in your car BX1000 Plus have the internal GPS supporting the automatic GPS Time Synchronize function The time recording is done based on UTC at the BX1000 Plus and automatically converts to the local time at the PC according to the PC time zone setting when playing back using the PC Viewer NEW SD Memory card initializing should be done using T...

Page 25: ...15 Click About icon to check the product information About icon Setting Drive Recorder 26 ...

Page 26: ...hen input data for data sorting If there is recorded video data Switch or G Sensor mark will be displayed on list Log data Log data will be recorded during driving even if there are no events The total log data size is no more than 30MB The log data overwrites the oldest data when 30MB is reached Using this log data we can use the data sorting function which helps to find a specific data like more...

Page 27: ...lick Google Earth button BX1000 Plus only STEP1 Install the Google Earth on your PC http earth google com STEP2 Check the log file STEP3 Click Google Earth button Then the route will be on the Google Earth Tip Click Car Track and then Click Play Tour button We recommend to use Google Earth Version 5 0 or above ...

Page 28: ...utton Recording time before 15 sec after 5 sec GPS Internal GPS G Sensor Internal 3 axis G sensor Memory 2GB SD memory card support SDHC RTC Internal battery Buzzer Recording start error LED 2 LED Record Overwrite Supper Capacitor Enable recording last file and shut down PC software PC Viewer Power input 12V 24V cigarette plug Power consumption 2 8W Size Weight 80 mm X 50 Ø 100g Operation Temp 10 ...

Page 29: ... your unit It is likely that such data software or other materials will be lost or reformatted during service and D TEG will not be responsible for any such damage or loss A dated purchase receipt is required For specific instructions on how to obtain warranty service for your product Visit D TEG s Web site www d teg com support support01 htm Or call the D TEG Customer Information Service Center 8...

Page 30: ......

Page 31: ...Jungmin Bldg 382 2 Yatap dong Bundang gu Seongnam Gyeonggi do 463 827 Korea Tel 82 31 706 2514 Fax 82 31 706 2519 Email dteg d teg com Homepage http www d teg com MADE IN KOREA C 2009 D TEG Security Co Ltd ...

Reviews: