


Contents
1.
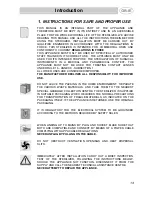
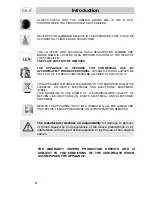
INSTRUCTIONS FOR SAFE AND PROPER USE_______________ 13
2.
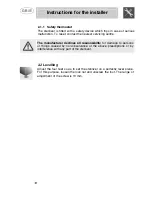
INSTALLATION OF THE STERILIZER _______________________ 15
3.
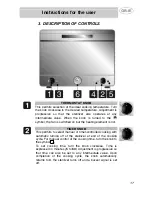
DESCRIPTION OF CONTROLS ____________________________ 17
4.
USE OF THE STERILIZER ________________________________ 19
5.
CLEANING AND MAINTENANCE ___________________________ 20
6.
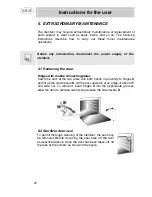
EXTRAORDINARY MAINTENANCE _________________________ 22
IDENTIFICATION:
HOT-AIR STERILIZER
MODEL:
DRY STERIL 60V
YEAR OF CONSTRUCTION: .....................
INSTRUCTIONS FOR THE INSTALLER: these are intended for the
qualified technician
who must install the appliance, set it functioning
and carry out an inspection test.
INSTRUCTIONS FOR THE USER: these contain user advice,
description of the commands and the correct procedures for cleaning
and maintenance of the appliance.
12


