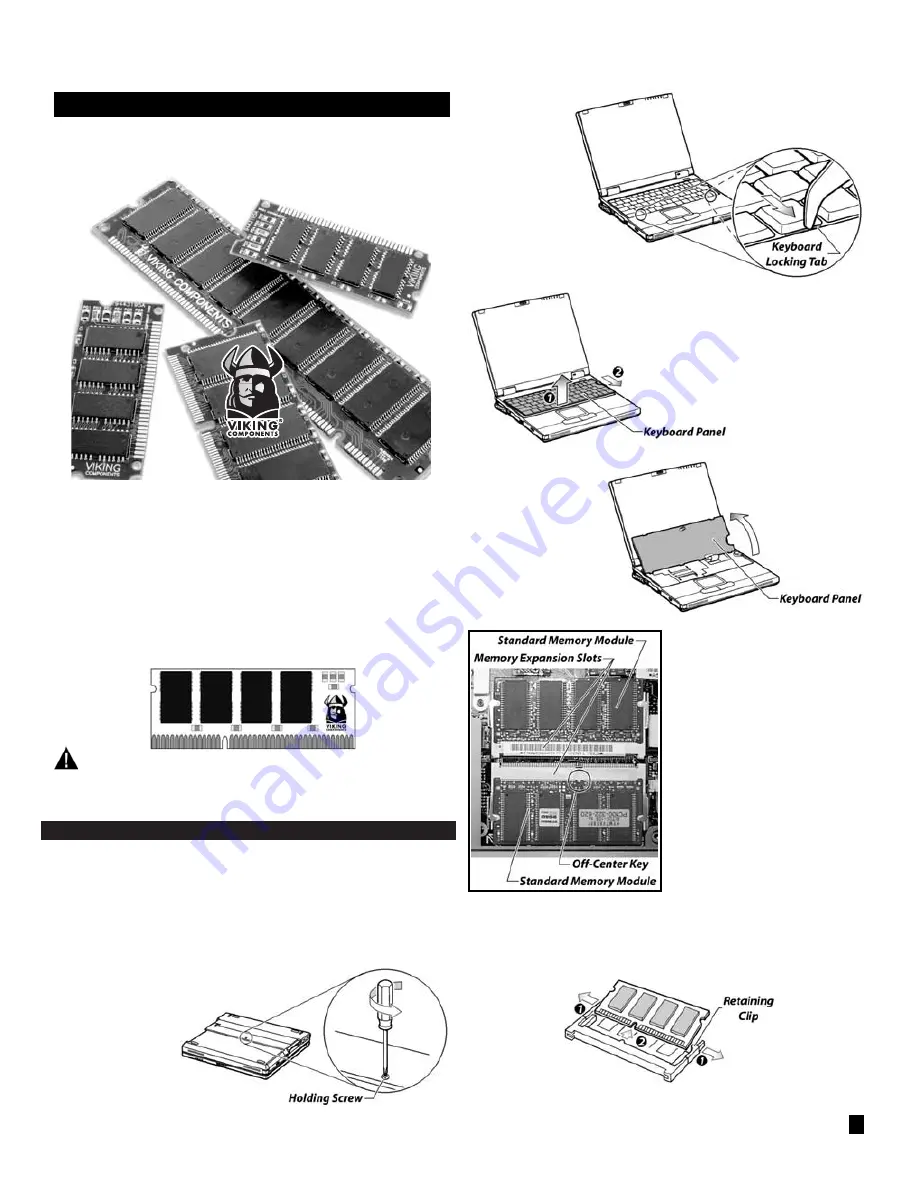
The Sony VAIO PCG-XG9 comes standard with 128MB (two 64MB modules) of
removable memory. It can be expanded to a maximum of 256MB† by installing
the following Viking Components memory options into its two available
expansion slots.
Description
Viking P/N
32MB PC100 Memory Module
SNY9832, RSNY9832
64MB PC100 Memory Module
SNY9864, RSNY9864
128MB PC100 Memory Module
SNY91664, RSNY91664
†Requires removal of the standard memory modules.
Caution:
Electro Static Discharge (ESD) can damage electronic components. Before touching the mem-
ory module, ensure that you are discharged of static electricity by touching a grounded metal
object.
INSTALLATION INSTRUCTIONS:
1.Turn the computer off and disconnect the AC power supply and any other cables from
the unit.
Note: If the unit appears to be powered down, ensure that it is not in Suspend
mode.
2. Turn the computer upside down. Remove the battery from the system. If you are not
familiar with this procedure, please refer to your computer’s “
Owner’s Manual
.”
3. Locate the single hold-
ing screw toward the cen-
ter of the bottom panel.
Remove only this screw
with a small Phillips screw
driver.
Then carefully
return the system right
side up and open the dis-
play screen.
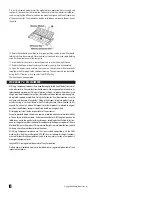
4. Locate the two keyboard locking tabs at the base of the keyboard panel. The first tab
is located below the “
Fn
” key and the second tab is located below the “
Home
” key. With a
small flat-bladed
screwdriver or a paper
clip, unlock the key-
board panel from the
computer chassis by
sliding both locking
tabs toward the front
of the system.
5. To completely release the
keyboard panel from the
chassis, lift the front of the
keyboard panel up about a
quarter of an inch. Then slide
the keyboard panel forward
about a quarter of an inch.
6. Carefully rotate the front
keyboard panel away from
you and rest it, upside down,
on the display screen.
Caution: Do not disconnect
or place tension on the
cable connecting the key-
board panel to the system
board.
7. Locate the two memory expansion slots
on the left side of the open compartment.
Also locate the off-center key on each of the
slots. Each slot will be occupied with a 64MB
standard memory module. If you wish to
upgrade your system past 128MB, the stan-
dard memory modules will need to be
removed. Proceed to step 8 for instructions
on how to remove a memory module.
Note: The memory expansion slot closest
to the front of the system must always be
occupied with a memory module.
8. To remove a memory module, locate the retaining clips on both sides of the memory
module. Gently pull both clips away from the module, then lift the module out of its
expansion slot.
VIKING COMPONENTS
MEMORY INSTALLATION GUIDE
Manual No. 1005296 • Release 01/2000, Rev. A
SONY
®
VAIO PCG-XG9
1


