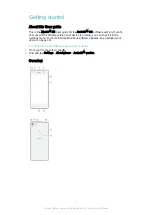
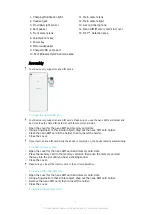
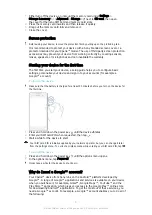
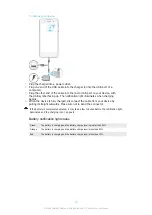
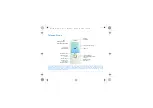
Sony XPERIA E5 F3311, User Manual
The Sony XPERIA E5 F3311 is a user-friendly smartphone designed for convenience and style. With its sleek design and powerful features, this phone offers an excellent user experience. To make the most of your device, download the free user manual from 88.208.23.73:8080 for detailed instructions and helpful tips.
Share
Download


Reviews:
No comments
Related manuals for XPERIA E5 F3311
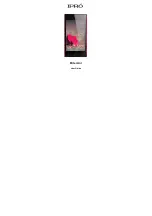
Elite mini
Brand: IPRO Pages: 40

PB2-690Y
Brand: Lenovo Pages: 14
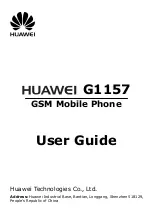
G1157
Brand: Huawei Pages: 28
Iris 402E
Brand: Lava Pages: 26
VX4400B
Brand: LG Pages: 72
KKT21i
Brand: Lava Pages: 25
M430i
Brand: Mitsubishi Electric Pages: 104

Z983
Brand: Zte Pages: 181
F511
Brand: Philips Pages: 71
GT-B3313
Brand: Samsung Pages: 69
GT-E1270
Brand: Samsung Pages: 2
GT-E1280
Brand: Samsung Pages: 2
GT-E3300
Brand: Samsung Pages: 36

GT-S5200
Brand: Samsung Pages: 67
GT-S5200
Brand: Samsung Pages: 89
SM-G355H DS
Brand: Samsung Pages: 104
SM-G920I
Brand: Samsung Pages: 156
SM-G9287
Brand: Samsung Pages: 23


