


Summary of Contents for UTS MPO Series
Page 1: ...ASSEMBLY INSTRUCTIONS UTS MPO Series BT 319...
Page 2: ......
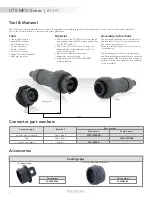
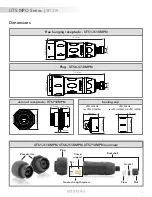
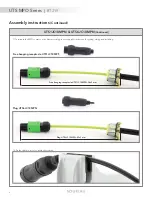
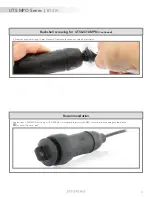
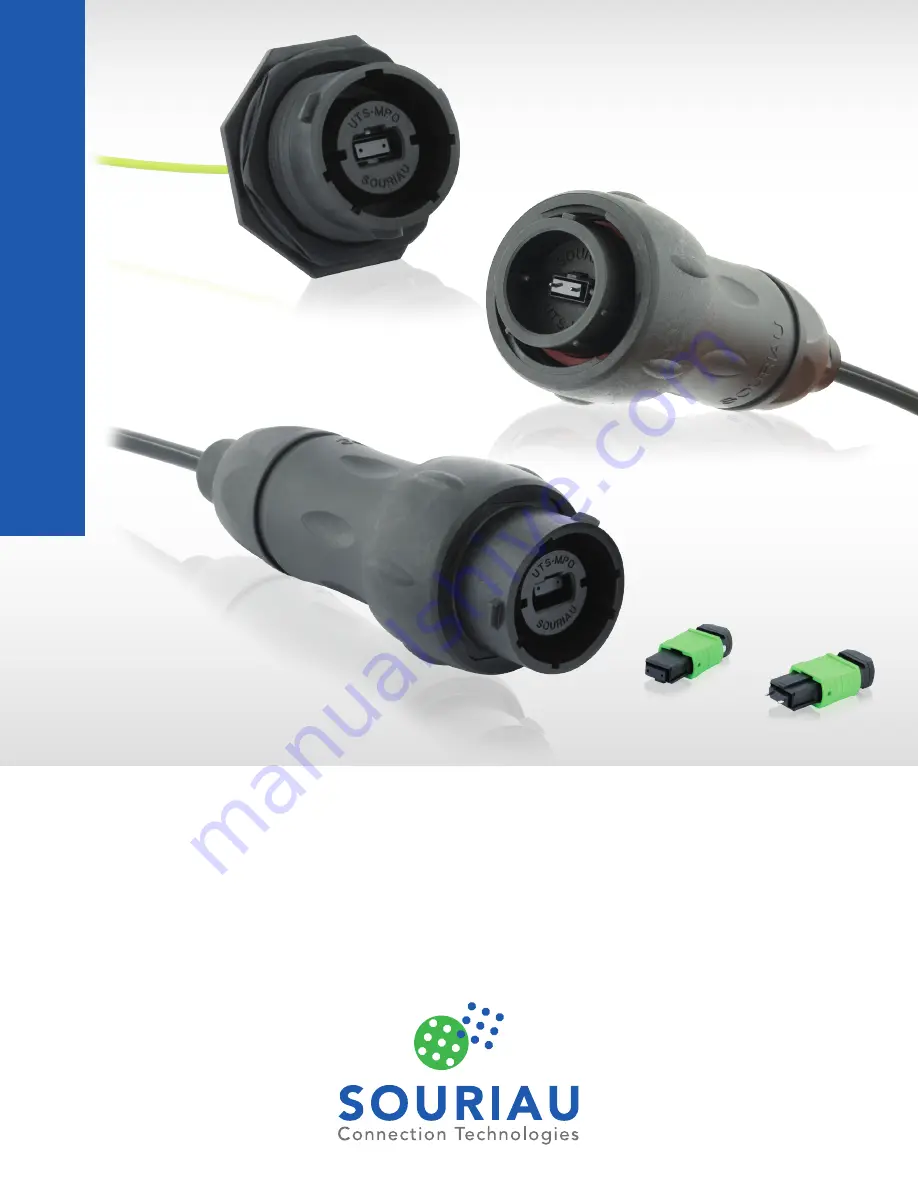
The SOURIAU UTS MPO Series is an innovative connector solution designed for high-performance applications. To ensure proper assembly, refer to the Assembly Instructions Manual available for free download from 88.208.23.73:8080. This manual provides step-by-step guidance on how to properly install and maintain your connector.
Page 1: ...ASSEMBLY INSTRUCTIONS UTS MPO Series BT 319...
Page 2: ......


