background image

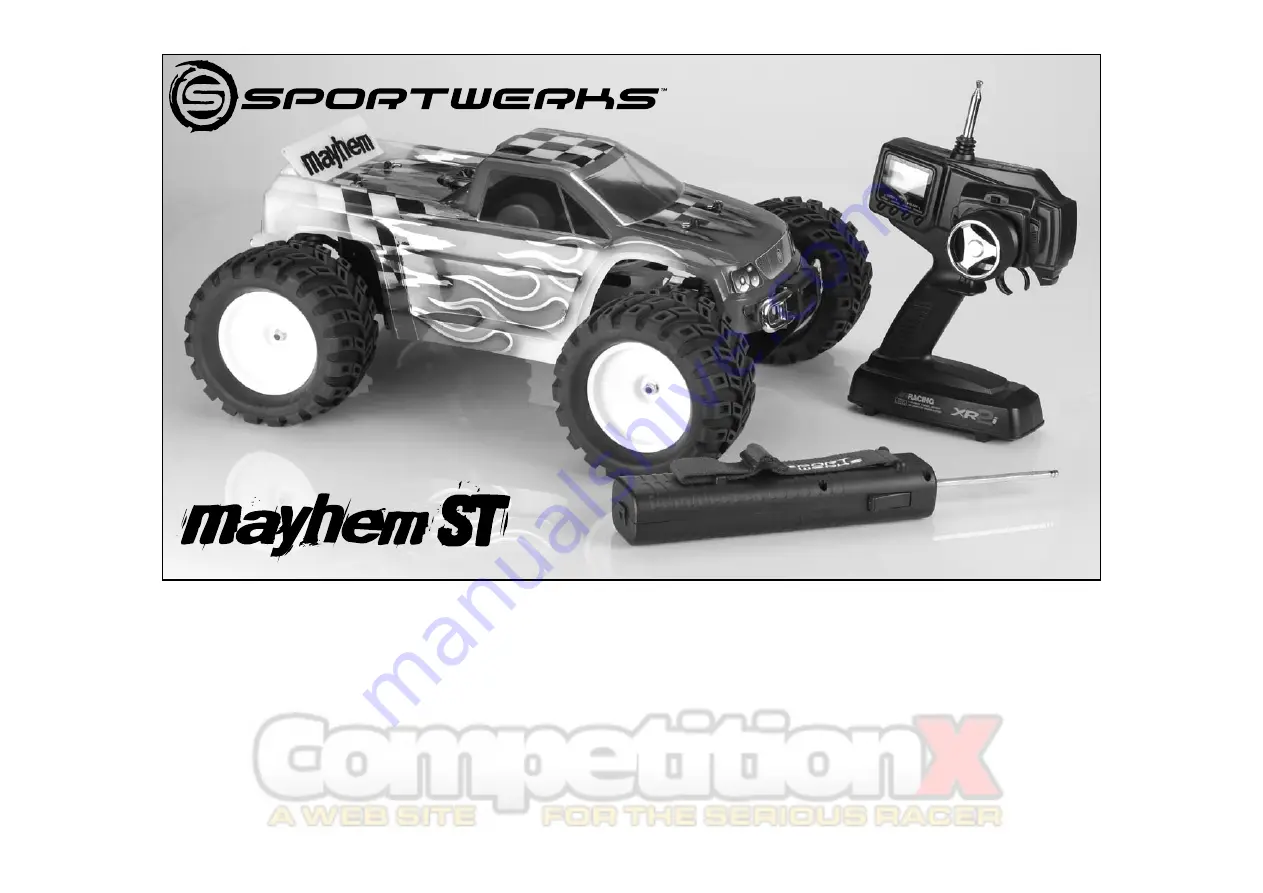
Sportwerks Mayhem™ ST RTR

Assembly and Operation Manual

Length: 

19.4" (492mm)

Width: 

16.5" (419mm)

Track Front: 

16.3" (415mm)

Track Rear: 

16.5" (419mm)

Wheelbase: 

13.5" (342mm)

Weight: 

9.5lb (4309 g)

Gear ratio: 

4.09:1

Specifications: 

Summary of Contents for Mayhem ST

Page 1: ...rtwerks Mayhem ST RTR Assembly and Operation Manual Length 19 4 492mm Width 16 5 419mm Track Front 16 3 415mm Track Rear 16 5 419mm Wheelbase 13 5 342mm Weight 9 5lb 4309 g Gear ratio 4 09 1 Specifications ...

Page 2: ...formance The Mayhem ST RTR comes assembled with radio engine and exhaust installed All that s required to make it race ready is to install a 6 cell pack in the handheld starter and 8 AA alkaline batteries not included in the transmitter Charge the receiver pack with the battery charger supplied with your kit The initial charge should take about 4 hours Partially discharged batteries will take less...

Page 3: ...Driveshaft Rear 23 Chassis 24 Radio Tray Assembly 25 Engine Clutch Air Fliter 26 Fuel Tank Assembly 27 Wheel and Tire Assembly 28 Replacement Parts List 29 Instructional Introduction 2 Table of Contents 3 Required Equipment 4 Recommended Tools 5 Quick Start 6 Engine Starting and Break in 8 The Sportwerks Carburetor 9 Starting the Engine 10 Adjusting the Carburetor 11 After Run Engine Maintainance ...

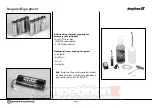
Page 4: ...ck DYN1000 recommended 8 AA Alkaline batteries Additional items needed to operate Glow igniter Air filter oil Car fuel Fuel bottle Note Dynamite offers a starter pack that includes the above items plus it includes extra glow plugs a plug wrench and fuel line DYNSTART2 Required Equipment ...

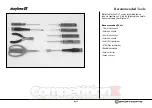
Page 5: ...d you ll find the following tools helpful when maintaining your Mayhem ST Recommended Tools 1 5mm hex wrench 2mm hex wrench 2 5mm hex wrench 3mm hex wrench Small flat screwdriver 1 Phillips screwdriver Needle nose pliers 8mm nut driver Lexan scissors Recommended Tools ...

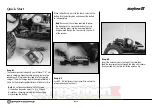
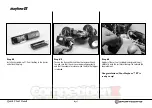
Page 6: ...rging may damage the battery Step 2 Install 8 AA batteries in the transmitter noting the proper direction of each cell Step 3 Insert the antenna tube in the top of the radio box Feed the receiver antenna through the tube until several inches extend out the top Install the antenna tip Quick Start When the battery is warm to the touch reinstall the battery into the battery box and connect the batter...

Page 7: ...e receiver Check to make sure that the servos are operating correctly and that the carburetor closes when the throttle trigger is released Step 6 Apply air filter oil not included and spread the oil uniformly onto the air filter allowing it to saturate the foam element Congratulations Your Mayhem ST is ready to rip Quick Start Guide ...

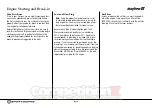
Page 8: ...life You must use fuel and glow plugs that are specifically designed for model car use Never use any type of model airplane glow fuel We recommend a high quality car fuel containing 20 nitro methane Blue Thunder 20 Sport fuel is recommended A glow plug is included that is ideal for breaking in your new engine During the break in process it s not uncommon to go through one or two glow plugs as micr...

Page 9: ...Time Break in The first startups and the first several minutes that your engine is running is the most critical time of its life and in many ways dictates how well it will perform and how long it will last During the first runs when the engine starts the exhaust should emit blue white smoke indicating that the engine is rich a good thing during break in During the first tank of fuel you may wish t...

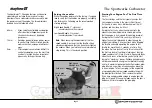
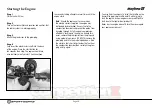
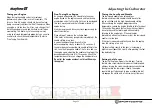
Page 10: ...ooded hydro locked Excess fuel in the combustion chamber can prevent the piston from traveling through its full range of compression effectively locking up the engine Should this occur remove the glow igniter from the plug and using a glow plug wrench DYN2510 remove the glow plug and turn the model upside down Give the starter a few short blips to clear the fuel from the combustion chamber then re...

Page 11: ...o rich Lean the high speed needle 1 8 of a turn and run the engine again adjusting the needle setting to get the desired evaporation rate of 5 10 seconds Check the temperature each time you change the needle mixture Do not let the engine overheat as this will damage the engine Tuning the Low Speed Needle The low speed needle also referred to as the idle mixture or idle needle should be set after y...

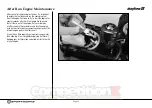
Page 12: ...e that all fuel is out of the engine Put several drops of after run oil in the carburetor and turn the engine over on the starter box for several seconds to coat the internal engine parts with after run oil Clean the air filter regularly using warm soapy water then allowing it to air dry before applying air filter oil Keeping your air filter clean and oiled is vital to the life of your engine Afte...

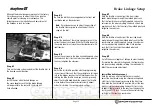
Page 13: ...nt silver knob brake linkage through the molded pivot such that the front brakes are slightly applied Loosen the setscrew on the silver adjusting knob and slide it into position such that it just contacts the molded pivot and retighten the setscrew Step 8 With the throttle at neutral pull the rear red knob brake linkage through the molded pivot such that the rear brakes are slightly applied Loosen...

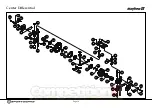
Page 14: ...Page 14 126 83 83 84 17 83 83 20 85 85 85 45 45 3 73 4 145 75 76 51 79 78 78 77 80 78 51 76 82 145 82 73 85 85 45 84 83 83 83 83 17 20 87 87 39 87 39 87 86 21 90 90 Center Differential ...

Page 15: ...Page 15 72 81 145 82 82 79 76 51 78 77 78 80 78 77 77 78 77 78 51 76 74 4 145 72 Front Rear Differential ...

Page 16: ... 67 68 69 30 71 70 69 69 70 49 48 70 69 61 69 69 27 69 35 70 69 69 70 34 69 65 69 69 68 62 69 Front and Rear Shocks 61 69 69 27 69 35 70 69 69 34 69 68 69 64 69 70 69 70 65 69 62 69 69 63 68 69 67 68 69 68 69 68 69 67 68 69 30 71 70 69 69 70 49 48 ...

Page 17: ...Page 17 89 89 89 35 89 35 89 35 89 35 130 89 35 89 89 130 89 89 89 89 89 89 89 130 49 53 49 49 53 49 142 130 2 Steering Bellcrank ...

Page 18: ...Page 18 126 138 102 50 42 29 24 133 126 13 99 99 55 129 145 51 99 100 99 100 99 100 99 100 23 99 23 99 99 35 106 99 145 6 137 50 101 127 101 29 Front Suspension ...

Page 19: ... 137 24 46 24 137 35 19 139 137 3 112 3 112 49 112 48 112 40 112 103 141 23 103 151 60 131 19 136 103 23 104 23 35 109 110 103 24 17 109 35 105 39 5 26 39 136 140 136 19 5 39 112 16 49 112 48 112 Front Gearbox Mount ...

Page 20: ...Page 20 146 111 44 85 145 55 145 88 85 85 14 Center Drive Shaft Front ...

Page 21: ...Page 21 50 29 29 50 24 134 29 42 101 128 101 29 6 133 145 55 102 19 48 143 129 51 145 35 107 102 54 143 Rear Suspension ...

Page 22: ...e 22 16 17 108 16 48 136 25 108 109 35 17 35 109 24 110 48 24 19 132 60 151 136 140 23 135 39 113 49 113 113 139 35 138 138 46 46 19 3 113 3 24 108 17 35 48 113 40 113 49 113 48 133 136 Rear Gearbox Mount ...

Page 23: ...Page 23 146 111 44 85 145 55 145 88 14 85 85 Center Driveshaft Rear ...

Page 24: ...Page 24 148 137 9 10 3 8 4 8 4 11 3 10 9 2 97 138 2 35 98 98 35 3 7 3 41 125 Chassis ...

Page 25: ...38 90 2 23 96 47 22 27 93 93 24 27 23 27 23 22 90 140 90 140 90 90 90 90 92 92 91 94 91 91 39 90 90 90 90 90 4 90 90 39 90 39 90 90 90 90 90 39 90 31 91 32 91 28 91 31 91 50 92 32 91 28 91 90 90 90 2 90 2 90 23 Radio Tray Assembly ...

Page 26: ...Page 26 124 149 149 116 115 117 118 56 119 120 56 117 27 15 41 149 123 122 123 18 123 123 123 123 33 150 150 150 150 147 38 121 149 Engine Clutch Air Fliter ...

Page 27: ...Page 27 2 114 50 114 114 114 28 114 23 114 27 114 114 67 47 47 67 114 114 22 144 114 27 28 114 Fuel Tank Assembly ...

Page 28: ...Page 28 59 58 59 37 Wheel and Tire Assembly ...

Page 29: ... SWK2256 8 4mm x 10mm Button Head Screw 27 SWK2282 8 3mm Washers 2 Wing Buttons 28 SWK2290 8 1 8 E Clips 29 SWK2292 8 3mm E Clips 30 SWK2296 8 7mm Snap Ring 31 SWK2306 8 2mm x 10mm Phillips Head Screw 32 SWK2311 8 2mm x 15mm Phillips Head Screw 33 SWK2324 8 3mm x 8mm Phillips Head Screw 34 SWK2380 8 2 6mm Lock Nuts 35 SWK2382 8 3mm Lock Nuts 36 SWK2384 8 4mm Lock Nuts 37 SWK2386 4 5mm Flanged Lock...

Page 30: ... SWK3018 2 Rear Shock Shaft 64mm 65 SWK3020 4 Shock Piston 2 Hole 1 2mm 67 SWK3022 4 Shock O Ring 68 SWK3024 Shock Rebuild Kit 2 Washer 2 5x5mm 2 Adjustment Collar O Ring 4 Shock O Ring 2 Shock Shaft Bushing 3 4mm 2 Shock Shaft Bushing 1mm 2 Snap Ring 7mm 69 SWK3028 Rear Shock Set 2 Shock Bladder 2 Washer 2 5x5mm 2 Adjustment Collar O Ring 2 Adjustment Collar 4 Shock O Ring 2 Shock Shaft Bushing 3...

Page 31: ...l O Rings 77 SWK3080 4 Spider Gear Shims 25mm 78 SWK3082 Diff Gear Bag 2 Bevel Gears 4 Spider Gears 79 SWK3086 1 Differential Gasket 80 SWK3088 2 Differential Cross Pins 81 SWK3090 2 Differential Shims 82 SWK3092 2 Differential Case 2 Bearing Mount insert in molded part 83 SWK3094 4 Brake Pads 4 Brake Pad Spacers 84 SWK3096 2 Brake Discs 85 SWK3098 Diff Housing Bag 1 Lower Diff Housing 1 Upper Dif...

Page 32: ... Countersunk Washer 90 SWK3110 Throttle Linkage Bag 2 Threaded Servo Arm Guide Pivot 1 Countersunk Servo Arm Guide Pivot 1 Servo Horn Adapter 23T 1 Servo Horn Adapter 24T 1 Servo Horn Adapter 25T 1 Throttle Brake Servo Arm 1 Linkage Adjuster Red 1 Linkage Adjuster Blue 1 Linkage Adjuster Silver 3 Linkage Wire 1 Locking Collar 1 Lonkage Spring 1 Silicone Tubing Rear Brake 1 Silicone Tubing Front Br...

Page 33: ...tainer Plate 4 Pillow Ball Cap 101 SWK3133 Pin Brace Bag 3 Hinge Pin Brace RTR 1 Rear Hinge Pin Brace RTR 102 SWK3138 Caster Camber Shim Bag 2 Upper Hinge Pin Bushing 2 Camber Shim 1mm 2 Camber Shim 1 5mm 2 Caster Shim Shim 2mm 4 Caster Shim 2 5mm 103 SWK3140 Front Bulkhead Bag 1 Front Bulkhead F support 1 Front Bulkhead R support 104 SWK3144 1 Top Plate RTR 105 SWK3146 1 Upper Hinge Pin Support 1...

Page 34: ...k Cap Gasket 1 Splash Guard 2 3mm x 8mm Button Head Screw 115 SWK3190 1 Flywheel 116 SWK3192 1 Collet Clutch Nut Bag 117 SWK3194 1 Clutch Nut 4 Shims 118 SWK3196 3 Clutch Springs 119 SWK3198 3 Clutch Shoes 120 SWK3213 1 13T Clutch Bell 121 SWK3227 2 Engine Mounts RTR 122 SWK3230 1 Air Cleaner Boot 123 SWK3232 Air Filter Bag 1 Air Filter Top 1 Air Filter Bottom 1 Foam Filter 2 Tie Wrap 1 3mm x 8mm ...

Page 35: ... 2 Front Lower Arms 138 SWK3291 2 Front Upper Arms 137 SWK3293 Front Skid Plate Bumper Bag 2 Bumper Braces 2 Front Bumper Tubes chrome 138 SWK3294 Rear Skid Plate Bumper Bag 1 Rear Skid Plate Bumper 2 Rear Bumper Tubes chrome 139 SWK3296 4 Bumper Braces 140 SWK3297 8 Body Clips 141 SWK3298 2 Hinge Pin Bushings 142 SWK3299 4 6 8mm Pivot Ball 143 SWK3300 4 8 8mm Long Rod End 144 SWK3244 4 Large Fuel...

Page 36: ... 2005 Horizon Hobby Inc 4105 Fieldstone Road Champaign Illinois 61822 877 504 0233 www horizonhobby com 7809 ...

Reviews: