
Quick-start guide
FR:
Guide de l’utilisateur - fr.startech.com
DE:
Bedienungsanleitung - de.startech.com
ES:
Guía del usuario - es.startech.com
NL:
Gebruiksaanwijzing - nl.startech.com
PT:
Guia do usuário - pt.startech.com
IT:
Guida per l’uso - it.startech.com
Manual Revision: 03/07/2017
For the latest information, technical specifications, and support for
this product, please visit www.StarTech.com/S251BU31REMD.
Package contents
• 1 x 2.5” SATA enclosure
• 1 x USB-C to Micro-B cable
• 1 x USB-A to Micro-B cable
• 4 x drive-mounting screws
• 1 x quick-start guide
Requirements
• 2.5” SSD or HDD
• Screwdriver
The S251BU31REMD is OS independent and doesn’t require any
additional drivers or software.
Note:
The S251BU31REMD is designed to be used with the
S251BU31REM mobile backplane available at
.
Requirements are subject to change. For the latest requirements,
please visit
.
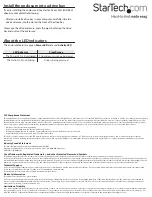
S251BU31REMD
2.5” SSD/HDD Removable Enclosure - USB 3.1 (10Gbps)
*actual product may vary from photos
Introduction
The S251BU31REMD is a portable drive enclosure that enables
you to transport or store your drive. The portable drive enclosure
features USB 3.1 (10Gbps) connectivity, providing fast performance
and quick access to data.
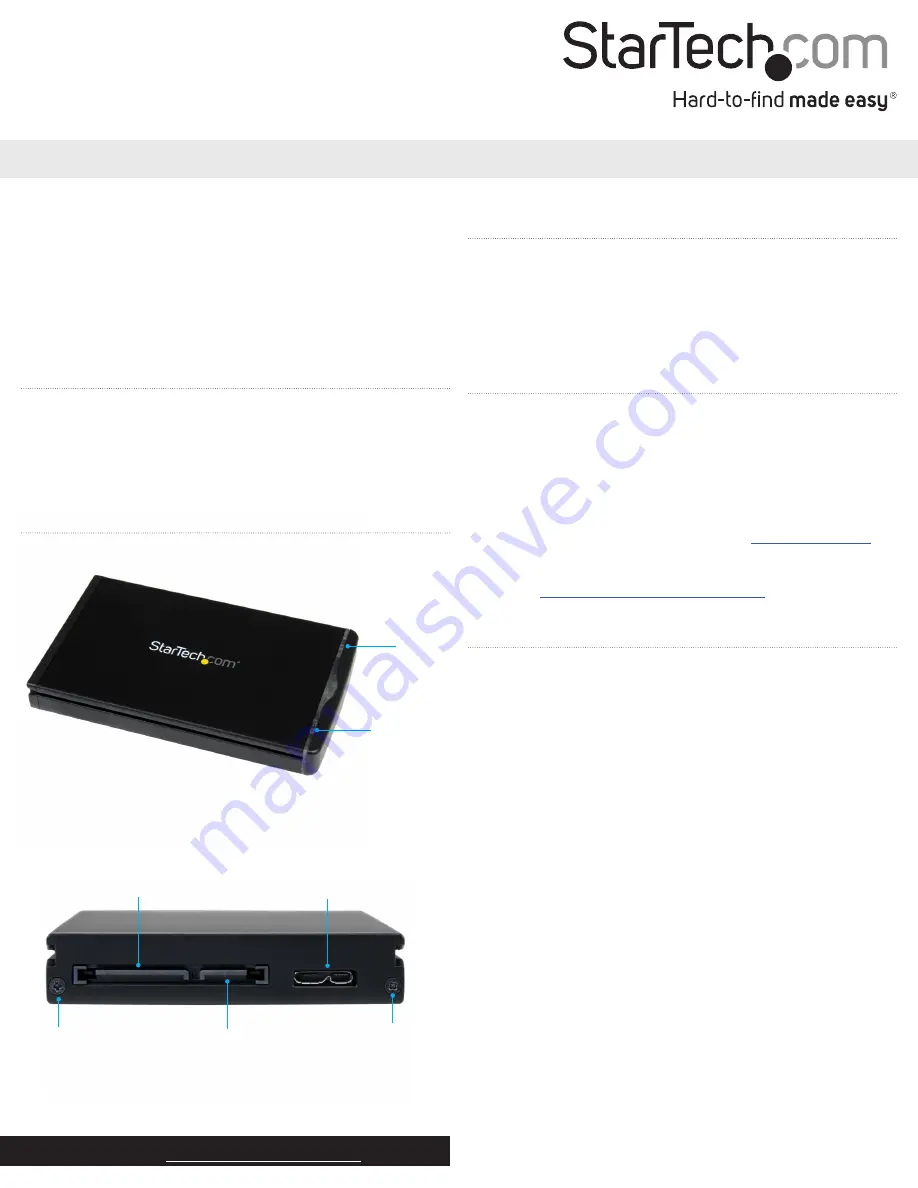
Product diagram
Power LED
Activity
LED
SATA power connector
SATA data connector
USB 3.1 Micro-B port
Install a drive in the enclosure
Warning!
Drives should be handled carefully, especially when
you transport them. If you’re not careful with your drives, you may
experience lost or corrupted data. Make sure that you’re properly
grounded by wearing an anti-static strap when you install any
computer component. If an anti-static strap isn’t available, touch a
large, grounded metal surface for several seconds to discharge any
built-up static electricity.
1. If the cover plate is installed, use a screwdriver (not provided)
to remove the
Housing assembly screws
from the end of the
enclosure and take off the cover plate.
2. Carefully pull the circuit board out of the enclosure.
3. Gently slide the connector on your drive into the corresponding
connectors on the circuit board.
4. Use the drive-mounting screws to attach the drive to the circuit
board.
5. Carefully slide the circuit board back into the enclosure.
6. Replace the cover plate on the enclosure, insert the
Housing
assembly screws
, and tighten them in place.
7. Connect one of the provided USB Micro-B cables to the
USB 3.1
Micro-B port
on the enclosure and your computer.
Housing assembly
screw
Housing assembly
screw


