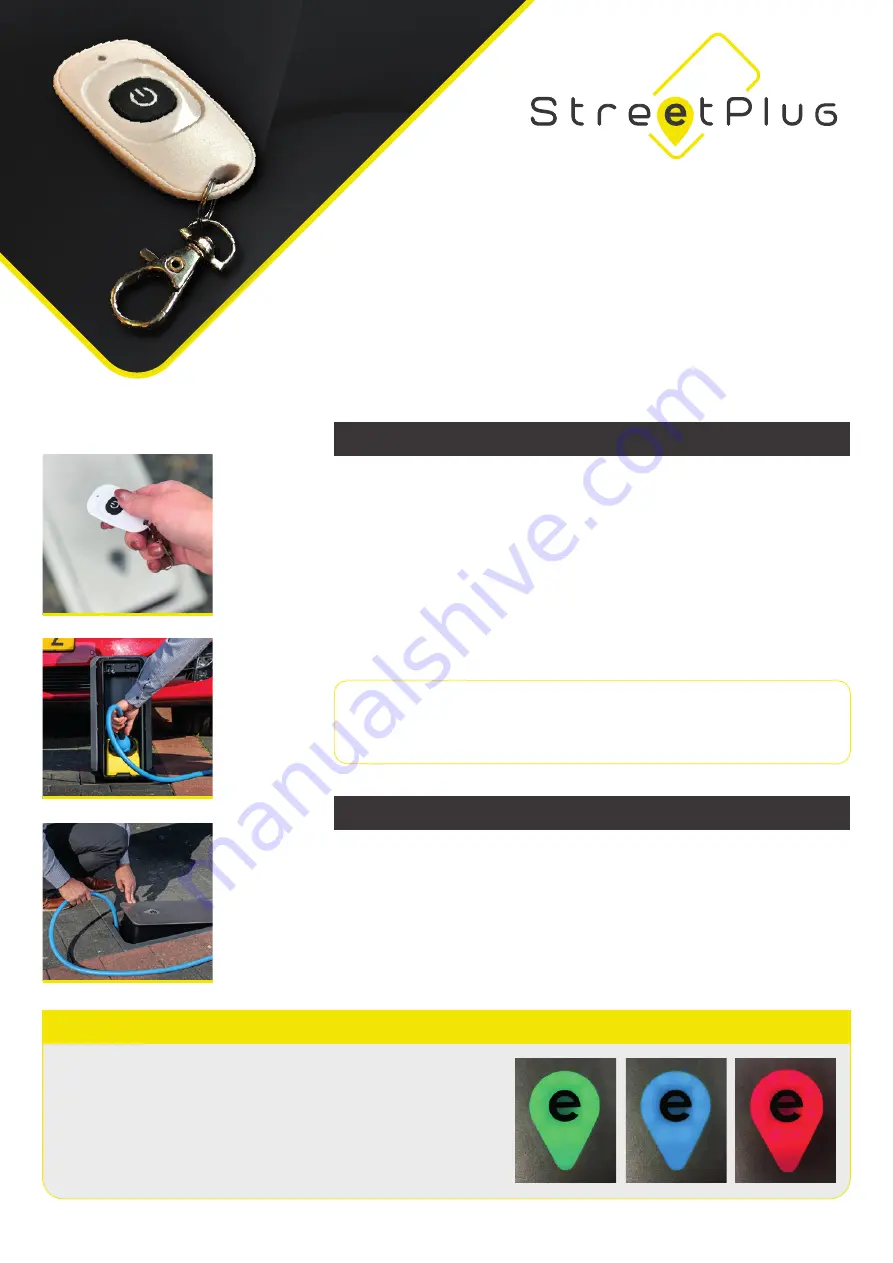
STREETPLUG
OPERATING MANUAL
REMOTE CONTROL (HOMELINK)
STEP 1
Connect charging cable to means of transport
STEP 2
Point the homelink towards the StreetPlug and press the button in the centre
For the proper operation of the homelink, we recommend a distance of max. 10 meters.
STEP 3
Lid of the StreetPlug opens
Green light flashes
STEP 4
Connect charging cable to the StreetPlug
STEP 5
Manually close the StreetPlug lid, charging transaction starts
Light turns blue
STEP 1
Point the homelink towards the StreetPlug and press the button in the centre
Ending of charging session only possible with the homelink
STEP 2
Lid of the StreetPlug opens
STEP 3
Disconnect cable from StreetPlug and means of transport
STEP 4
Manually close the StreetPlug lid, ready for next charging session
Light turns green
WARNING!
Homelink is a remote control that only allows a StreetPlug to be operated in a
private environment, this is not possible for public applications. It is already configured by
request to a specific StreetPlug and cannot be used on any other StreetPlug.
TO START CHARGING SESSION
STOP CHARGING
Note
: If the StreetPlug’s lid is open for more than 30 seconds without a connected charging
cable, the StreetPlug will go into reset mode for 2.5 min. Close the lid, green light no longer
flashes. Now when using the homelink there is a short beep but no action. StreetPlug is ready
to operate after 2.5 min.
www.streetplug.nl
i n v i s i b l y p r e s e n t
The StreetPlug has several statuses, which are as follows:
Green light
StreetPlug ready for charging or coupled means of transport
fully charged
Green flashing light
StreetPlug waiting for charging cable
Blue light
StreetPlug charging
Red light
StreetPlug is connecting to network
Red flashing light
StreetPlug error
STATUSES OF LIGHT ON LID


