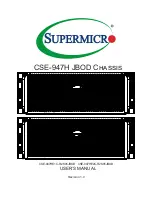
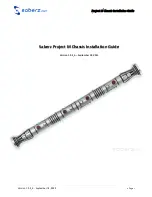
Supermicro CSE-947H JBOD, User Manual
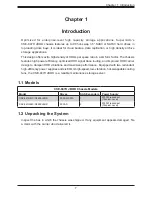
The Supermicro CSE-947H JBOD offers high-density storage solutions for data centers. For detailed set-up and configurations, make sure to download the User Manual for free from our website. It is your go-to manual for understanding the functionality and maximizing the performance of this JBOD system.
Share
Download


Reviews:
No comments
Related manuals for CSE-947H JBOD

Supero SC732 Series
Brand: Supermicro Pages: 42

SC815S-560B
Brand: Supermicro Pages: 80

SC826 Series
Brand: Supermicro Pages: 146

RACK-314A
Brand: ICP Electronics Pages: 13

VX2000
Brand: Viglen Pages: 58

NA221A-G3
Brand: Netstor Pages: 14

CompactDAQ cDAQ-9185
Brand: National Instruments Pages: 140

PXIe-1086
Brand: National Instruments Pages: 16

SCLA25
Brand: Supermicro Pages: 57
Project M Chassis
Brand: saberz Pages: 29

F1C
Brand: Streacom Pages: 8

BC1
Brand: Streacom Pages: 10

NUC7i3BNH
Brand: Intel Pages: 10

SC5600
Brand: Intel Pages: 30

iSBC 655
Brand: Intel Pages: 30

SE7501WV2 - Server Chassis - SR2300
Brand: Intel Pages: 49

SR1500 - AXXMINIDIMM DDR-2 RAID Controller Cache Memory
Brand: Intel Pages: 110

SC5299-E BRP
Brand: Intel Pages: 168


