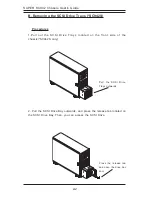
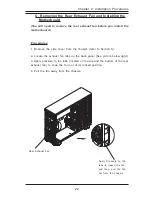
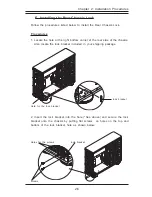
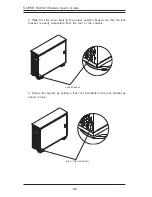
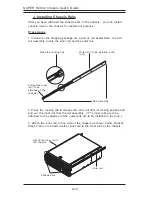
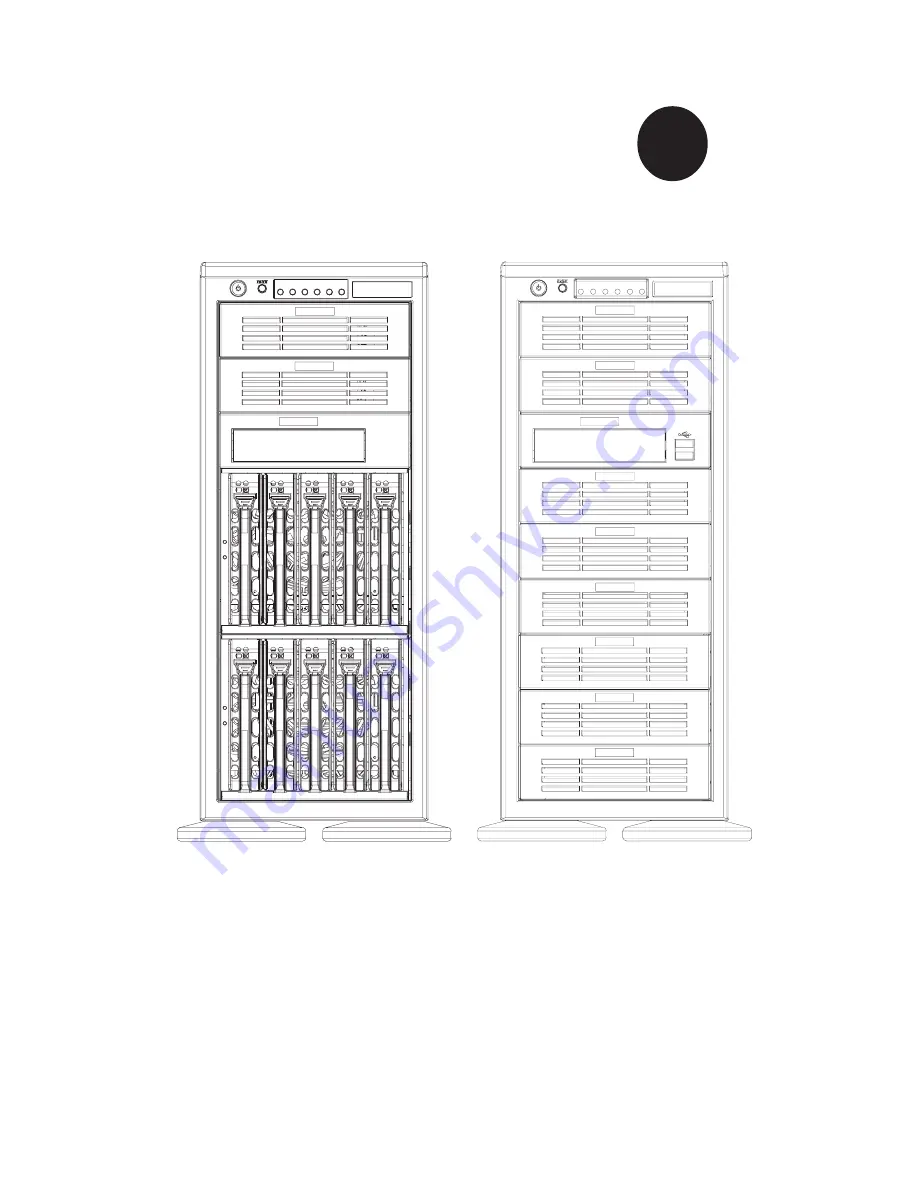
Supermicro SC942i-550, Installation Manual
The Supermicro SC942i-550 is a reliable and efficient server chassis, designed to accommodate high-performance computing systems. For easy and hassle-free assembly, make sure to refer to the downloadable Installation Manual available for free at 88.208.23.73:8080. Get the most out of your product with our comprehensive user manual.
Share
Download


Reviews:
No comments
Related manuals for SC942i-550

AISWITCH
Brand: Kentrox Pages: 306

Geotest GT7700
Brand: Marvin Pages: 210

HTCA-6200
Brand: Lanner Pages: 81

Sun Fire B1600 Administration
Brand: Sun Microsystems Pages: 402

SC825S2-560LPV
Brand: Supermicro Pages: 72
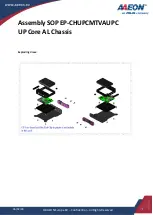
Aaeon UP Core AL
Brand: Asus Pages: 11

CS-RMCPS-14
Brand: CSN Pages: 2

DXM G4 Series
Brand: Aurora Pages: 57


