background image

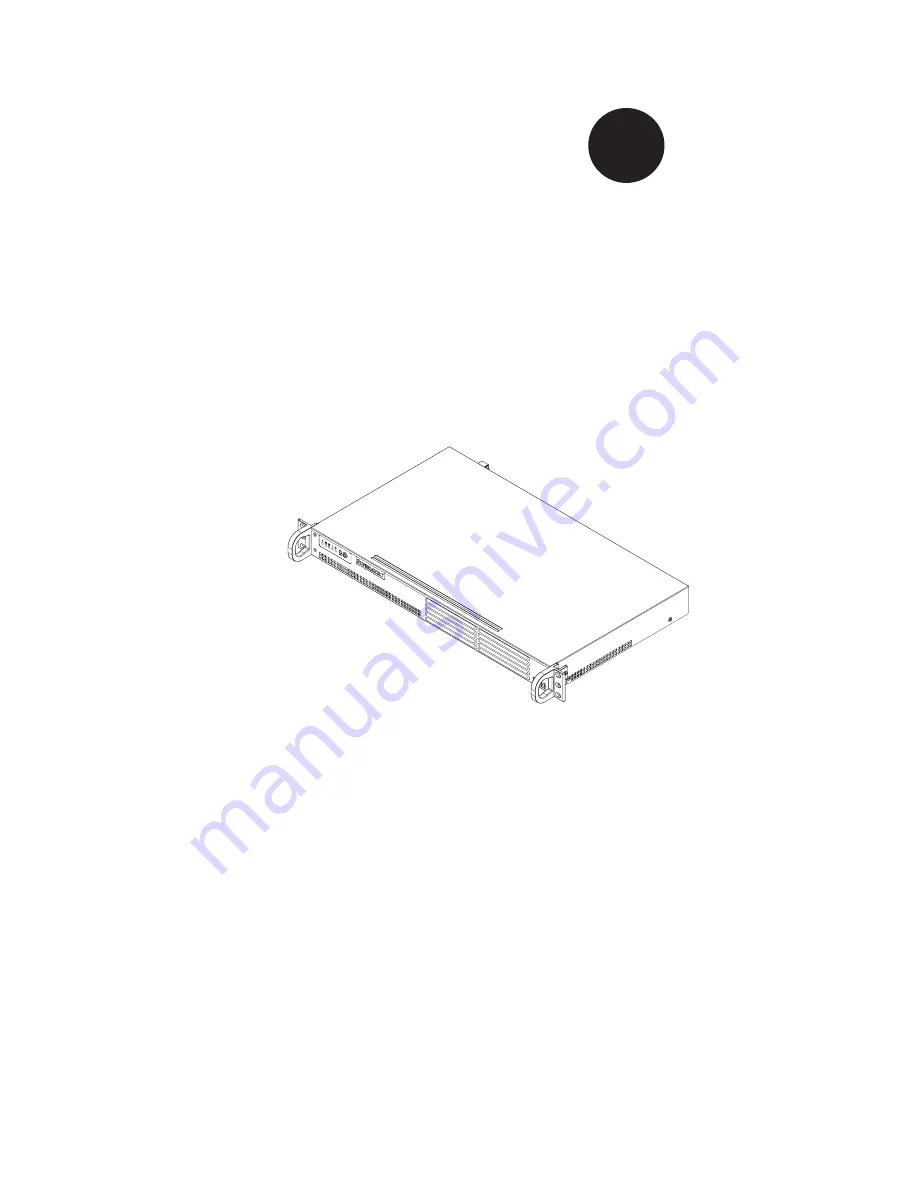
SC502 Chassis Series

SC502-200B


S

UPER

®

USER’S MANUAL

1.0

A

1

B

C

D

E

F

G

H

I

J

K

L

M

2

3

4

5

6

7

8

9

10

DESIGN / ³]-p :

MODEL NO./ ¾÷«¬ :

SIZE/¹Ï®Ø 

APPROVED / ¼f®Ö :

DRAWN / ø¹Ï :

MATERIAL / §÷½è :

UNIT / ³æ¦ì :

FINISH / ªí-±³B¸Ì :

DATE / ¤é´Á:

DATE / ¤é´Á:

DATE / ¤é´Á:

TITLE / «~¦W :

PART NO. / ®Æ¸¹ :

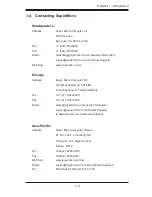
Ablecom Technology Inc.

A

BLEC

DWG NO. / ¹Ï¸¹ :

¤j˚T¬ì§ÞªÑ¥÷¦³--¤½¥q

THE 3RD PROJECTION

²Ä¤T¨¤ªk

M

R E V I S I O N S / -×-q

REV

ª©¥»

DESCRIPTION 

±Ô-z

LOCATION

¦ì¸m

DRAWN
 -קïªÌ 

DATE

¤é´Á

SC502_SYSTEM_ASSY

A0

*

SCALE / ¤ñ¨Ò : 

1:1

SHEET 

1

 OF 

1

SC502

*

SHO

13-Nov-07

See Note.

SHO

13-Nov-07

MM

*

REV.
ª©¥»

1

RANGE

½d³ò

TOLERANCE

¤½®t

X.xx

±  0.10

X.x

±  0.25

X

±  1.00

Summary of Contents for SC502 Series

Page 1: ...ERIAL è UNIT æ ì FINISH ªí B Ì DATE é Á DATE é Á DATE é Á TITLE W PART NO Æ Ablecom Technology Inc A BLEC DWG NO Ï j T ì ÞªÑ q THE 3RD PROJECTION Ä T ªk M R E V I S I O N S q REV ª DESCRIPTION Ô z LOCATION ì m DRAWN ïªÌ SC502_SYSTEM_ASSY A0 SCALE ñ Ò 1 1 SHEET SC502 SHO 13 Nov 07 See Note SHO 13 Nov 07 MM R ª RANGE d ò TOLERANCE t X xx 0 10 X x 0 25 X 1 00 ...

Page 2: ...VEN IF ADVISED OF THE POSSIBILITY OF SUCH DAMAGES IN PARTICULAR SUPERMICRO SHALL NOT HAVE LIABILITY FOR ANY HARDWARE SOFTWARE OR DATA STORED OR USED WITH THE PRODUCT INCLUDING THE COSTS OF REPAIRING REPLACING INTEGRATING INSTALLING OR RECOVERING SUCH HARDWARE SOFTWARE OR DATA Any disputes arising between manufacturer and customer shall be governed by the laws of Santa Clara County in the State of ...

Page 3: ...experienced technicians only Supermicro s SC502 chassis features a unique and highly optimized design for low wattage processor platforms The chassis is equipped with a 200W high efficiency power supply for superb power savings High performance fans provide ample optimized cooling This document lists compatible parts available when this document was published Always refer to the our Web site for up...

Page 4: ...e cautions Chapter 3 Chassis Components Refer here for details on this chassis model including the fans airflow shields and other components Chapter 4 Chassis Setup and Installation Follow the procedures given in this chapter when installing removing or reconfiguring your chassis Chapter 5 Rack Installation Refer to this chapter for detailed information on chassis rack installation You should follow...

Page 5: ...1 Overview 3 1 3 2 Components 3 1 Chassis 3 1 Mounting to a Rack optional 3 1 Power Supply 3 1 3 3 Where to get Replacement Components 3 2 Chapter 4 Chassis Setup and Maintenance 4 1 Overview 4 1 4 2 Removing the Chassis Cover 4 2 4 3 Installing the Hard Drives 4 3 4 4 Installing the Motherboard 4 4 Chassis Standoffs 4 4 Motherboard Installation 4 5 Add on Card Expansion Slot Setup 4 6 4 5 Replaci...

Page 6: ...ations 5 3 Ambient Operating Temperature 5 3 Reduced Airflow 5 3 Mechanical Loading 5 3 Circuit Overloading 5 3 5 4 Rack Mounting Instructions 5 4 Installing the Chassis into a Rack 5 4 Installing the Chassis into a Rack 5 5 Appendix A Cables Screws and other Accessories Appendix B Power Supply Specifications ...

Page 7: ... chassis model http www supermicro com Chapter 1 Introduction 1 1 SC502 200B Chassis Model CPU HDD I O Slots Power Supply SC502 200 B Intel Celeron 400 series 35W or low power plat forms under 20W 1 Fixed 3 5 hard drive or up to 2 fixed 2 5 hard drives 1x FH optional 200W IMPORTANT It is critical to choose the correct heatsink for your motherboard that will fit in the SC502 chassis Intel Celeron 400...

Page 8: ... To en sure the highest level of professional service and technical support we strongly recommend purchasing exclusively from our Supermicro Authorized Distributors System Integrators Resellers A list of Supermicro Authorized Distributors System Integrators Reseller can be found at http www supermicro com Click the Where to Buy link ...

Page 9: ...per Micro Computer B V Het Sterrenbeeld 28 5215 ML s Hertogenbosch The Netherlands Tel 31 0 73 6400390 Fax 31 0 73 6416525 Email sales supermicro nl General Information support supermicro nl Technical Support rma supermicro nl Customer Support Asia Pacific Address Super Micro Computer Taiwan 4F No 232 1 Liancheng Rd Chung Ho 235 Taipei County Taiwan R O C Tel 886 2 8226 3990 Fax 886 2 8226 3991 Web...

Page 10: ...SC502 Chassis Manual 1 4 Notes ...

Page 11: ...d in any way If the chassis itself shows damage file a damage claim with carrier who delivered your system Decide on a suitable location for the rack unit that will hold that chassis It should be situated in a clean dust free area that is well venilated Avoid areas where heat electrical noise and eletromagnetic fields are generated You will also need it placed near at least one grounded power outlet...

Page 12: ...m When working around exposed electrical circuits another person who is fa miliar with the power off controls should be nearby to switch off the power if necessary Use only one hand when working with powered on electrical equipment This is to avoid making a complete circuit which will cause electrical shock Use extreme caution when using metal tools which can easily damage any electrical component...

Page 13: ... you if they come into contact with printed circuit boards or areas where power is present After accessing the inside of the system close the system back up and secure it to the rack unit with the retention screws after ensuring that all connections have been made 2 6 System Safety Electrostatic discharge ESD is generated by two objects with different electrical charges coming into contact with ea...

Page 14: ...a wrist strap Handle a board by its edges only do not touch its components peripheral chips memory modules or contacts When handling chips or modules avoid touching their pins Put the serverboard and peripherals back into their antistatic bags when not in use For grounding purposes make sure your computer chassis provides excellent conductivity between the power supply the case the mounting fasten...

Page 15: ...ions One fixed 3 5 hard drive Up to 2 fixed 2 5 hard drives One FH PCI add on card For the latest shipping lists visit our Web site at http www supermicro com Mounting to a Rack optional The SC502 can be placed in a rack for secure storage and use To setup your rack follow the step by step instructions included in this manual Power Supply Each SC502 chassis model includes a high efficiency 80 low noi...

Page 16: ... To en sure the highest level of professional service and technical support we strongly recommend purchasing exclusively from our Supermicro Authorized Distributors System Integrators Resellers A list of Supermicro Authorized Distributors System Integrators Resellers can be found at http www supermicro com Click the Where to Buy link ...

Page 17: ...hassis The only tool you will need to install components and perform maintenance is a Phillips screwdriver Print this page to use as a reference while setting up your chassis Review the warnings and precautions listed in the manual be fore setting up or servicing this chassis These include infor mation in Chapter 2 System Safety and the warning precau tions listed in the setup instructions ...

Page 18: ... Chassis Cover Remove the five screws that hold the chassis cover in place There are two screws on each side of the chassis and one screw on the back Once the screws have been removed lift the cover upward to remove it from the chassis 1 2 Warning Except for short periods of time do NOT operate the server without the cover in place The chassis cover must be in place to allow proper airflow and preve...

Page 19: ...LERANCE t X xx 0 10 X x 0 25 X 1 00 4 3 Installing the Hard Drives Figure 4 2 Installing the 3 5 Hard Drive A B C D E F G H I J K L R E V I S I O N REV ª DESCRIPTION Ô z Figure 4 3 Installing the 2 5 Hard Drives The 3 5 hard drive screws directly into the chassis The 2 5 hard drives 1 must be installed in their bracket 2 before they are screwed into the chassis Bracket part number is MCP 220 00044...

Page 20: ...ludes permanent standoffs in locations used by Micro ATX 9 6 x 9 6 size motherboards These standoffs accept the rounded Phillips head screws included in the SC502 accessories packaging B C D E F G H I J K DESIGN p APPROVED f Ö DRAWN Ã Ï MATERIAL è UNIT æ ì FINISH ªí B Ì Ablecom Technology Inc A BLEC j T THE 3RD PROJECTION Ä T ªk M REV ª SHO See Note SHO MM RANGE d ò TOLERANCE t X xx 0 10 X x 0 25 ...

Page 21: ...rds Refer to the Supermicro Web site for details or contact Supermicro for assistance Open the chassis cover Lay the motherboard on the chassis aligning the board with the standoffs Secure the motherboard to the chassis using the rounded Phillips head screws Secure the CPU s heatsinks and other components to the motherboard as described in the motherboard documentation Connect the cables between t...

Page 22: ...n Slot Setup SC502 chassis includes an I O slot for the optional add on card A full height half length PCI add on card is supported A riser card is required in order to adapt the add on card to the 1U chassis For further information on add on cards and risers cards refer to the Supermicro website at www supermicro com Figure 4 6 Install the Add on Card and Riser Card Add on Expansion Card Slot Add...

Page 23: ...d screw it onto the chassis to hold the add on card in place 5 6 Replace the chassis cover 7 A 1 B C D E F G H I J K L M 2 3 4 5 6 7 8 9 10 DESIGN p MODEL NO SIZE Ï Ø APPROVED f Ö DRAWN Ã Ï MATERIAL è UNIT æ ì FINISH ªí B Ì DATE é Á DATE é Á DATE é Á TITLE W PART NO Æ Ablecom Technology Inc A BLEC DWG NO Ï j T ì ÞªÑ q THE 3RD PROJECTION Ä T ªk M R E V I S I O N S q REV ª DESCRIPTION Ô z LOCATION ì...

Page 24: ...the motherboard 1 2 3 A 1 B C D E F G H I J K L M 2 3 4 5 6 7 8 9 10 DESIGN p MODEL NO SIZE Ï Ø APPROVED f Ö DRAWN Ã Ï MATERIAL è UNIT æ ì FINISH ªí B Ì DATE é Á DATE é Á DATE é Á TITLE W PART NO Æ Ablecom Technology Inc A BLEC DWG NO Ï j T ì ÞªÑ q THE 3RD PROJECTION Ä T ªk M R E V I S I O N S q REV ª DESCRIPTION Ô z LOCATION ì m DRAWN ïªÌ DA SC502_SYSTEM_ASSY A0 SCALE ñ Ò 1 1 SHEET 1 OF SC502 SHO...

Page 25: ... platform motherboards may require an optimized design SNK P0032A4 active heatsink Refer to Appendix A of this manual for basic heatsink information Refer to your motherboard documentation for detailed heatsink information and installation instructions specific to your motherboard Checking the Server s Air Flow Make sure there are no objects to obstruct airflow in and out of the server Use only reco...

Page 26: ...e power supply unit New units can be ordered directly from Supermicro see contact information in the Preface Replacing the Power Supply Unplug all power leading to the chassis Disconnect all wiring from the power supply Remove the four screws which hold the power supply in the chassis Two rear mounting screws are located on the rear of the power supply Two bottom mounting screws are accessed on th...

Page 27: ...e Set the screws aside for later use Remove the power supply from the chassis Align the mounting thru holes on the power supply with the mounting holes in the chassis and reattach the power supply to the chassis using the four screws which were previously set aside Connect the chassis wiring to the power supply 4 5 6 ...

Page 28: ...SC502 Chassis Manual 4 12 Notes ...

Page 29: ...n a clean dust free area that is well ventilated Avoid areas where heat electrical noise and electromagnetic fields are generated You will also need it placed near a grounded power outlet Be sure to read the Rack and Server Pre cautions in the next section 5 3 Preparing for Setup The box your chassis was shipped in should include four mounting screws which you will need if you intend to install the...

Page 30: ... a time Extending two or more simul taneously may cause the rack to become unstable General Server Precautions Review the electrical and general safety precautions that came with the com ponents you are adding to your chassis Determine the placement of each component in the rack Install the heaviest server components on the bottom of the rack first and then work up Use a regulating uninterruptible ...

Page 31: ...nical Loading Equipment should be mounted into a rack so that a hazardous condition does not arise due to uneven mechanical loading Circuit Overloading Consideration should be given to the connection of the equipment to the power supply circuitry and the effect that any possible overloading of circuits might have on overcurrent protection and power supply wiring Appropriate consideration of equipm...

Page 32: ...uld also refer to the installation instructions that came with the rack unit you are using Installing the Chassis into a Rack Confirm that chassis includes the four mounting screws required to mount the chassis into a rack Align the thru holes of the chassis with the thru holes of the rack Insert the mounting screws into the thru holes in the front of the chassis and through the thru holes in the r...

Page 33: ...t the use of rails Installing the Chassis into a Rack Confirm that chassis includes the four mounting screws required to mount the chassis into a rack Align the thru holes of the chassis with the thru holes of the rack Insert the mounting screws into the thru holes in the front of the chassis and through the thru holes in the rack 1 2 3 Figure 5 2 Installing the Chassis into a Telco Rack ...

Page 34: ...SC502 Chassis Manual 5 6 Notes ...

Page 35: ...Cables Included with SC502 Chassis SC502 200B Part Type Length Description CBL 0236L Ribbon 13 16 pin to 16 pin ribbon cable for control panel Cable 6 Regional power cord A 3 Optional Accessories The following accessories are compatible with the SC502 Chassis Hard Drive Carrier Tray MCP 220 00044 0N 2 5 hard drive carrier One carrier can hold up to two 2 5 hard drives The SC502 can hold up to two ...

Page 36: ... extend the power cables to the mother boards To do this use the following chart as a guide Power Cable Extenders Number of Pins Cable Part Length 24 pin CBL 0042 7 9 20 CM 20 pin CBL 0059 7 9 20 CM 8 pin CBL 0062 7 9 20 CM 4 pin CBL 0060 7 9 20 CM Front Panel to the Motherboard The SC502 chassis includes a cable to connect the chassis front panel to the motherboard If your motherboard uses a diff...

Page 37: ...ncludes all the screws needed to setup your chassis This section lists and describes the most common screws used Your chassis may not require all the parts listed Flat head M4 x 4 mm 0 157 RAIL Round head M4 x 4 mm 0 157 Flat head M5 x 12 mm 0 472 Washer for M5 DVD ROM CD ROM and FLOPPY DRIVE Flat head 6 32 x 5 mm 0 197 Pan head 6 32 x 5 mm 0 197 Round head M3 x 5 mm 0 197 Pan head 6 32 x 5 mm 0 1...

Page 38: ...SC502 Chassis Manual A 4 Notes ...

Page 39: ...ions Appendix B Power Supply Specifications This appendix lists power supply specifications for your chassis system 200W MFR Part PWS 201 1H Rated AC Voltage 100 240V 50 60Hz 4 2Amp 5V standby 2 Amp 12V 16 Amp 5V 8 Amp 3 3V 8 Amp 12V 0 5 Amp ...

Page 40: ...SC502 Chassis Manual B 2 Notes ...

Reviews: