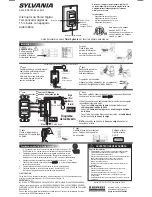
MODEL: SA 150 (FRONT) (REV 2)
INSTRUCTION MANUAL (ENGLISH)
SCALE: 1:1
DATE: MAR 6, 2006
COLOR: WHITE BACKGROUND
PRINTING BLACK
Model SA 150: Single-Pole
Digital Wall Switch
15 Minute Digital
Auto Shut-Off Timer
Thank you for purchasing the SA 150 Digital
Countdown Timer – an easy to set up and operate
digital timer with 2 independent programmable
timers with minimum 1 minute interval settings.
Features:
• 5 minute countdown shut-off
• 15 minute countdown shut-off
• 1 minute programmable intervals
• Timer Countdown Memory
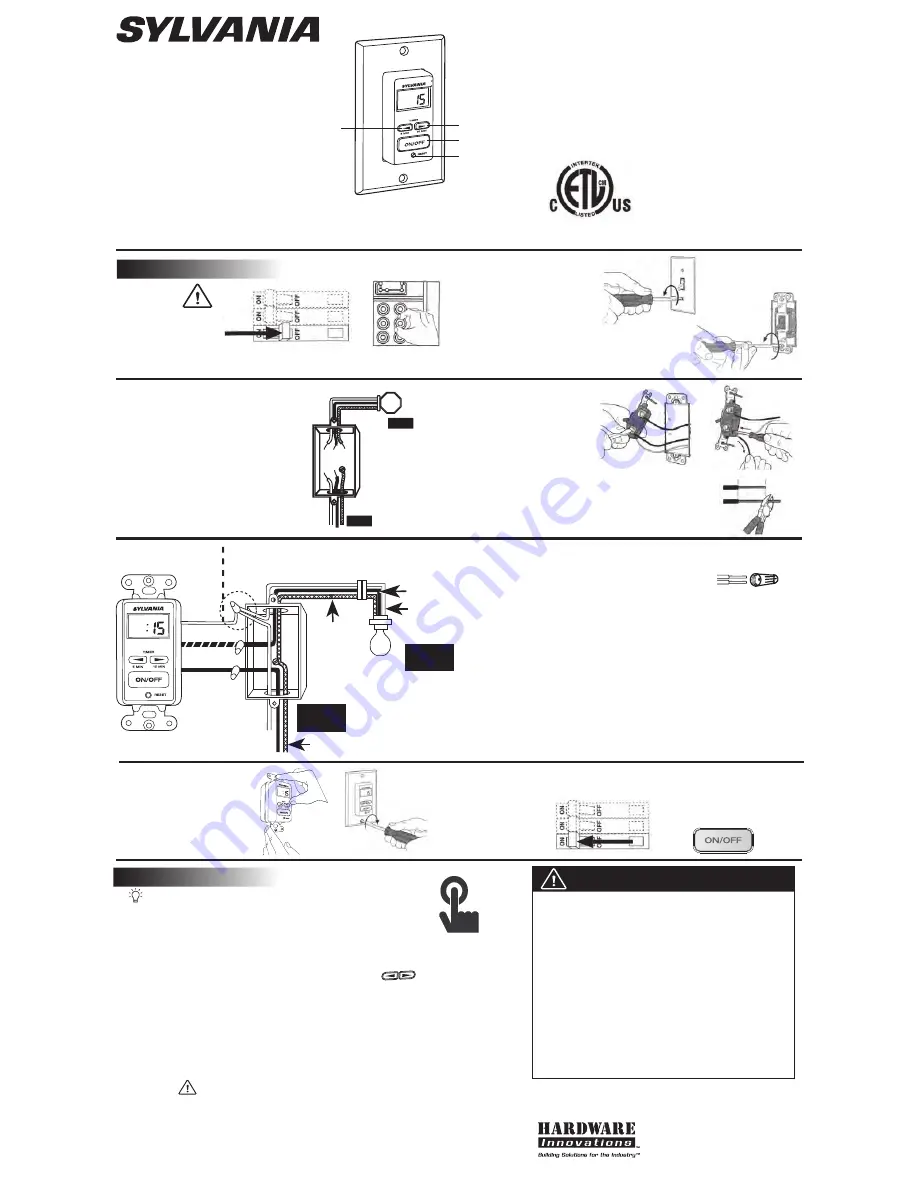
On/Off button
Reset button
5 min / < button
15 min / > button
Step 2
Remove the wall plate
and existing single
pole switch, if
applicable, by it’s
mounting screws.
Step 4
Disconnect wires
from the switch you
are replacing.
Step 7
Mount and align timer
securely and then install
wall plate..
Step 8
Restore power at fuse box
or circuit breaker.
Turn Power ON
Prepare Wiring-
Prepare appropriate wires (if necessary) by
stripping 5/8 inch of the wire insulation.
Step 6
Review which wires to connect. Securely connect all wires
with twist-on wire nut connectors provided.
Use the wire nut connectors (supplied)
to secure your wires as follows:
• Connect
Black wire
of Timer to
Line
side
Black
wire
• Connect
Blue wire
of Timer to
Load
side
Black
wire
•
Connect all 3 White neutral wires together
-
White
Timer
wire
,
Line
and
Load
Designed, Engineered, and Built by
Hardware Innovations LLC.
Technical Support 888-548-4484
RATINGS:
Total load: 20 Amp Resistive and Inductive, 8 Amp Tungsten, 120VAC, 60Hz, 1HP.
Rated Impulse voltage: 1500V Type 1.B control action.
WARNINGS
:
DO NOT USE THE TIMER TO TURN OFF POWER FOR MAINTENANCE WORK
(repairs, removing broken bulbs, etc.). ALWAYS TURN POWER OFF AT THE
SERVICE PANEL BY REMOVING A FUSE OR SHUTTING OFF THE CIRCUIT
BREAKER BEFORE DOING ANY CIRCUIT REPAIRS.
In an environment with electrostatic discharge, the unit may malfunction.
If so, press the Reset button to reset the unit.
SAFETY WARNING
Risk of Electric Shock
• Always Turn power OFF at circuit breaker
or remove fuse before installing or replacing.
• For indoor use only.
• Turn power OFF at circuit breaker before cleaning timer.
Use a soft damp cloth only.
• Do not use in wet or damp areas.
• Do not leave wires exposed.
Keep children away from timer while installing.
Risk of Fire
• Do not use to control irons and cooking appliances, etc.
• For permanent installation use only 120 Volts.
• Do not exceed the recommended electrical ratings.
• Install in accordance with all national
and local electrical codes.
Manual: SA150 1/2006 V-2 Made in China
1. For manual switch operation, simply press the On/Off button.
The LCD will show “
0
n”, confirming the switch is on.
2. For timed switching, simply press the
5 min.
or
15 min.
button
on the face of the timer. The switch will stay on for the selected
time period and the LCD display will show the time remaining.
3. You can fine-adjust the turn-off time by pressing the
5 min
.
or
15 min
. button. When the display flashes, press the
(< or > button) to adjust the time up or down.
4. If you want to reset the unit, just press the Reset button.
5. Memory Setting: The next time you press and set either the
5 min.
or
15 min.
button, the timer will remember your last setting.
5/8”
NOTE:
The
LINE ground
and
LOAD ground wires
must be grounded.
Three (3) white (neutral) wires are
connected together
WHITE
BLUE
BLACK
Neutral
Wiring
Diagram
White
(Neutral)
Step 5
Install your timer:
Load
Hot
Ground
Ground
(Hot)
Black
Line
Single Pole:
Controls light
from one location
This Timer works for the wiring shown below
Neutral
(white)
Ground
Load
(to Bulb, Heater, or Fan)
(Black or red)120V feed
Line
Step 3
Confirm there is a neutral
line wire and that you are
replacing a single pole
switch.
Tip: Identify and mark all
neutral wires for quicker
installation.
Before installing your new
Sylvania Timer
, please read this manual first.
This product has passed
ETL testing. It is certified
and
complies with both
U.S. and Canadian
product safety standards.
?
Step 9
Test Timer;
Press On/Off
Button
Timer Operation
Step 1
WARNING:
Turn power OFF at
circuit breaker or
remove fuse.
Installation


