
ONO-7
1
CALL-A-MATIC ONO-7
Call Accounting System
Quick Reference Guide
Installation in a DHCP Network :
1.
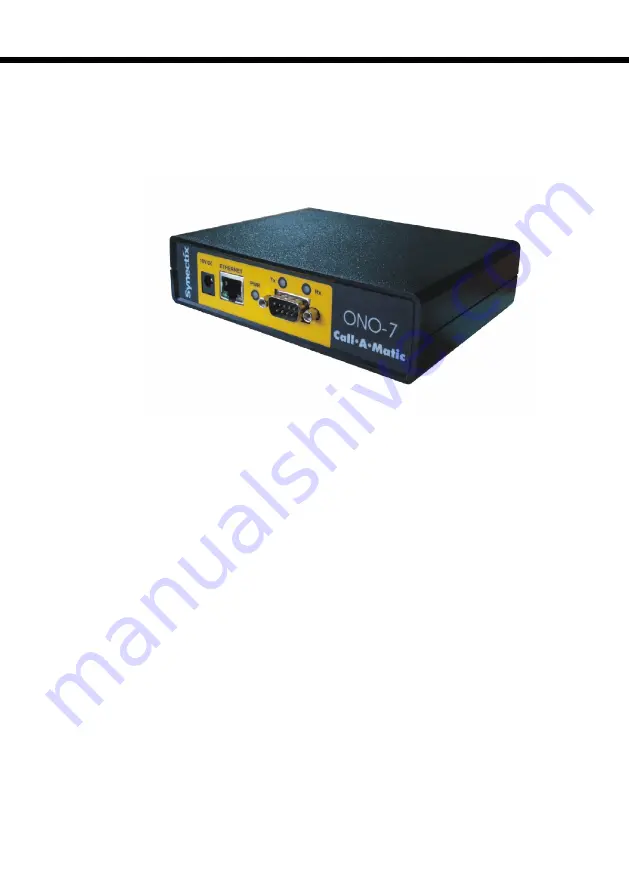
Plug in the network cable from the LAN into the socket
marked “ETHERNET” on the front panel of the unit.
2.
Power up the unit.
3.
Wait until the “PWR” LED starts blinking on the front panel
(approx. 3 minutes).
4.
Open the Windows Explorer on your PC or Laptop connected
to the same network as the ONO-7 unit.
5.
Click on “Network” on the left panel and see the devices
available on the network.
6.
You should see the ONO-7 unit as “Callamatic
00:14:BC:xx:xx:xx”, where xx is the latter half of the MAC
address which is printed on the Serial Number sticker on the
bottom of the unit.
7.
Double click on the unit to open the device’s webpage in the
browser on your PC / Laptop.
Programming the Settings
Click on the “User” icon on the top right hand corner of the web page, select the
“Settings” option; click on the “Settings” and you will be asked to “Sign In” by
entering the password.
Enter the default User Password “123456” and “Sign In”.


