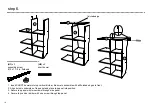
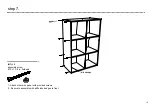
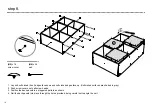
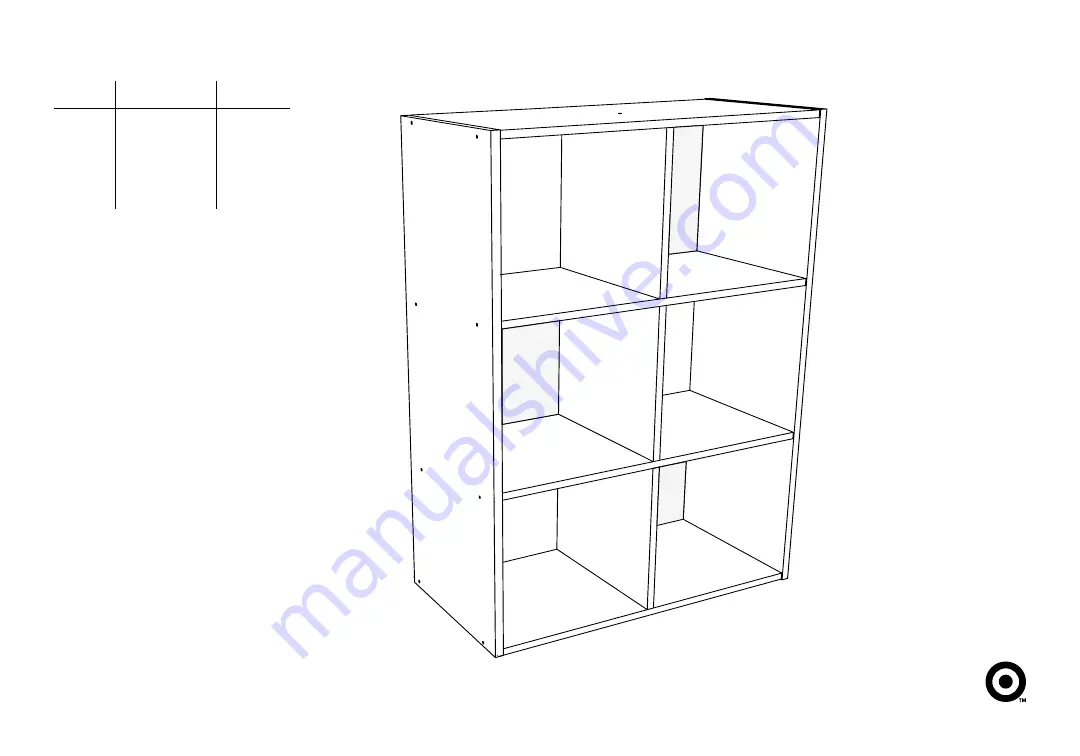
Target 6-Cube, Assembly Instructions Manual
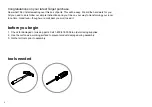
The Target 6-Cube Assembly Instructions Manual is a comprehensive guide that provides step-by-step instructions to effortlessly assemble your 6-Cube storage unit. This essential manual is available for free download at 88.208.23.73:8080, ensuring a hassle-free user experience. Get your copy today and enjoy the convenience of organized living.
Share
Download

Reviews:
No comments
Related manuals for 6-Cube

Axis
Brand: OLG Pages: 8

Classic
Brand: ofinto Pages: 37

N-GEN CITUS Series
Brand: Neo Chair Pages: 8

MK-LCKR001-GG
Brand: Ubique Pages: 6

OAWS2N
Brand: Walker Edison Pages: 23

OR4RWSC
Brand: Walker Edison Pages: 14

WC10H
Brand: Moffat Pages: 14

NORTHRIDGE FCA30009PST
Brand: HAMPTON BAY Pages: 14

S90Rog
Brand: Classen Pages: 3

BAM 31-06
Brand: Madeira Pages: 11

Safco Flaunt 3456
Brand: LDI Spaces Pages: 3

TECHNI MOBILI RTA-4804L
Brand: RTA Pages: 28

MARABO
Brand: tepro Pages: 26

357998
Brand: Eagle Group Pages: 2

KHD-YT-F11
Brand: VECELO Pages: 2

150-P4B04
Brand: StandDesk Pages: 9

VENUS 1200
Brand: Target Pages: 7

CARINE
Brand: GABBY Pages: 3


