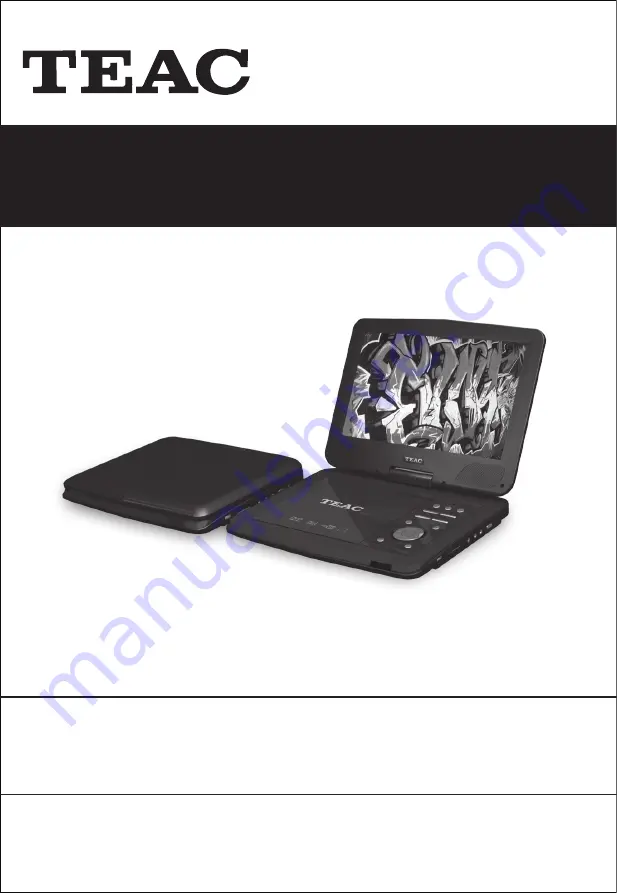
background image

USER MANUAL

WARRANTY INFORMATION INSIDE. PLEASE READ

www.teac.com.au

IMPORTANT !

DVP1013


PORTABLE LCD DVD PLAYER

Trademark of  TEAC Corporation JAPAN

Summary of Contents for DVP1013

Page 1: ...USER MANUAL WARRANTY INFORMATION INSIDE PLEASE READ www teac com au IMPORTANT DVP1013 PORTABLE LCD DVD PLAYER Trademark of TEAC Corporation JAPAN ...

Page 2: ...and keep this information for your own records Owner s Name Owner s Address Postcode Model Name No Serial No Dealer s Name Dealer s Address Postcode Thank you for selecting a TEAC product If your TEAC product malfunctions please call us directly for warranty support between Monday to Friday at 8 30AM 5PM AEST at the TEAC Warranty Service Hotline 1300 553 315 For other enquiries please contact us a...

Page 3: ...EAC in home service can be made available at a fee upon request 6 A 12 month replacement warranty is applicable to all Accessories such as Remotes Power Adapters and Cables 7 TEAC will ensure to the best of its abilities that all required parts are made available for any required service repair 8 TEAC Australia Pty Ltd and its Authorised Service Centres will use their best endeavours to complete p...

Page 4: ...ats Disc Care 6 Panel and Remote Operation Panel Controls Side Panel Overview Remote Control Battery Installation 8 Basic Operation Using the AC Adaptor Using the DC Car Charger Using the Rechargeable Battery External System Connection DVD CD Playback Using USB Drives and SD MMC MS Cards USB CARD Multimedia Playback CD Ripping DVD Mode Setup 12 Reference Troubleshooting Specifications 20 ...

Page 5: ...ional 2 Make sure that the input voltage of the AC adaptor is in line with the local voltage Otherwise the AC adaptor and unit may be damaged 3 Do not touch the AC adaptor with wet hands so as to avoid electric shocks 4 When connecting with the car power cigarette lighter adaptor ensure that the inpur voltage of the adaptor is identical with the car voltage 5 Hold the plug to disconnect the AC ada...

Page 6: ...s and result in malfunction or playback difficulties When this happens remove the disc connect the power plug and leave it on for 2 3 hours 11 Others a Do not watch films while driving to avoid traffic accidents b Pull on the plug when disconnecting the power adaptor Do not pull the cable c Do not touch the product with wet fingers as it may cause electric shock d Do not gaze at the laser rays in ...

Page 7: ...ng or splashing or objects filled with liquids such as vases to be placed on near the equipment DON T place hot objects or naked flame sources such as lighted candles or nightlights on or close to equipment High temperatures can melt plastic and lead to fires DON T use equipment such as personal stereos or radios so that you are distracted from the requirements of traffic safety DON T leave equipm...

Page 8: ...m USB terminals cannot be used for playback used This unit cannot copy or move files Playable formats FAT12 FAT16 FAT32 Depending on the condition of the USB flash drive this unit might not be able to play the files on it or skipping might occur NTFS HFS and HFS formats are not supported and cannot be used Max number of playable folders 200 Max number of playable files 999 If the USB storage devic...

Page 9: ...ll function remote control 9 Regulated power supply adaptor for AC100V 240V 10 Personalised adjustable TFT display 11 Video output to connect to TV at home 12 Sleek design that fits right into your modern lifestyle Accessory List Composite AV Cable Remote Control User Manual Power Adaptor Earphones Remote Control Battery x2 Car Adaptor DVD SD USB DISPLAY MUTE 1 2 3 TITLE 5 6 7 9 0 10 REPEA T RETUR...

Page 10: ...f the disc 3 Do not used damaged cracked or warped discs to avoid damaging the unit 4 Fingerprints or stains on discs may weaken the reflected light from discs and affect the signal quality and in turn playback performance Use a clean soft cloth to clean discs using an outward motion straight from the centre If the disc is too dirty clean it with a moist soft cloth first and then a dry soft cloth ...

Page 11: ...ode press to enter menu setup 3 DVD USB SD Press to cycle through the following modes DVD USB SD 4 5 SETUP Press to show the DVD setup menu 6 7 8 SAFETY INFORMATION INTRODUCTION PANEL REMOTE UNIT OPERATION REFERENCE STANDBY TFT On Off Press to turn the LCD screen on or off MODE Press to switch between AV IN Mode SETUP Press to show the DVD setup menu Press to stop playback Play pause playback ...

Page 12: ...u Setup go to the next page 15 16 Side Panel Overview Button Function 1 USB Port Connect to a USB device 2 Socket 3 Earphone Jack Connect earphones headphones for private listening The unit s speakers are muted while this jack is in use 4 AV OUT Jack AV output terminal to connect external media devices 5 AV IN Jack AV input terminal to connect external media devices 6 POWER Turn on off power to th...

Page 13: ...ROGRAM While playback is stopped press to enter the PROGRAM function During DVD playback press to select from available camera angles Depends on availability on disc GOTO Press to input a specific title chapter on the DVD to jump to ZOOM Press repeatedly to cycle through different Zoom views Please see next page for details DVD SD USB DISPLAY MUTE 1 2 3 TITLE 5 6 7 9 0 10 REPEAT RETURN AUDIO A B S...

Page 14: ...titles During audio CD playback press to enter CD Ripping Mode REPEAT Press repeatedly to cycle through available repeat modes A B Use to loop a specific section of the track Press once during playback to mark Point A Press again to mark Point B Points A B will start playing in repeat SETUP In DVD mode press to show DVD Setup Menu PBC MENU Show previous disc menu With PBC enabled VCDs press to tur...

Page 15: ...wer on at the wall outlet to start using the power supply from the car Using the Rechargeable Battery Battery specifications Output 7 4V Capacity 1800mA H Standard charge time 3 hours Standard discharge time 2 hours Storage temperature 20 C 45 C Standard charging temperature 0 C 45 C Standard discharging temperature 20 C 45 C The battery can be charged via the AC power adaptor or car adaptor In or...

Page 16: ...evel using the VOL buttons Note If the unit is connected to an external screen such as TV ensure that the TV is switched to the correct input mode such as AV Mode During DVD CD playback the following actions are available Pause Press the button to pause playback Press again to resume playing Stop Press the button to stop playback Forward Rewind Press and hold the buttons to fast forward rewind Rep...

Page 17: ...you wish to play a specific music file 2 Press OK to start playing a selected music track 3 When the player reaches the end of the file sequence it will stop playing and display the welcome logo Press the button to return to the Multimedia Menu During music playback the following actions are available Pause Press the button to pause playback Press again to resume playing Stop Press the button to s...

Page 18: ... forward rewind speeds Previous Next track Tap the buttons for previous next track GOTO Press the GOTO button and enter a specific time to jump to in the current track in HH MM SS format Subtitle Press SUBTITLE to choose subtitles subject to availability from the movie file Programmable Playback Programme a playlist with a customised track sequence 1 Press the PROG button to access the playlist se...

Page 19: ...n the TRACKS column select desired tracks from the list of available tracks and confirm with the OK button 7 T to start ripping 8 When ripping is complete the unit returns to the ripping menu To exit the SAFETY INFORMATION INTRODUCTION PANEL REMOTE UNIT OPERATION REFERENCE RIP CD UNKNOWN ALBUM TRACKS START QUIT ENCODER OPTIONS SPEED 1x BITRATE 128KBPS FILE OPTIONS CRATE ID3 TAG CRATE PLAYLIST STRA...

Page 20: ...or quick Password protect according to rating Customise password The default password is 0000 To change the password input the old password once and then the new password twice Default Reset all settings back to factory default SYSTEM SETUP power resume TV Type Password Rating Default LANGUAGE SETUP Osd Language Audio Lang Subtitle Lang Menu Lang Option Description Settings Audio Language Set a pr...

Page 21: ...FERENCE Option Description Settings L ANGUAGE SETUP KEY Option Description Settings Brightness Set the brightness level Contrast Set the contrast level Hue Set the hue level Saturation Option Description Settings Brightness Set the brightness level Contrast Set the contrast level Hue Set the hue level Saturation LANGUAGE SETUP KEY VIDEO SETUP Brightness Contrast Saturion Hue Sharpness ...

Page 22: ...r outputs the right channel audio only via both the FL and FR speaker MONO L The player outputs the left channel audio only via both the FL and FR speaker Digital Setup NOTE This function only applies to the Dolby AC 3 encoded 2 channel discs Option Description Settings DIGITAL SETUP Dual Mono MIX MONO The player outputs the average signal of the left channel and right channel audio via the FL spe...

Page 23: ...nd settings incorrect Check sound settings and adjust correctly Disc is dirty warped or damaged Clean the disc or use another disc No picture LCD screen is turned off or set in the incorrect video mode Turn on the LCD screen and or set to the correct video mode Device not correctly connected Check connections and connect device correctly Screen flashing Battery power is low Charge the battery Poor...

Page 24: ...t jack 3 5mm headphone jack LCD Panel Contrast 250 1 Screen Aspect Ratio 16 9 Video signal system NTSC PAL Audio frequency response 20Hz 20kHz Audio s n ratio 50dB Frequency Distortion Noise 70dB Channel Separation 55dB Dynamic range 85dB Output levels Audio 2Vp p Load impedance 10k Video 1 0Vp p Load impedance 75k unbalanced Negative polarity output level Brightness Y 1Vp p Chromaticity C 0 28Vp ...

Page 25: ...y period please call the TEAC Warranty Service Hotline 1300 553 315 Between Monday to Friday 8 30AM to 5PM AEST Please have your purchase receipt and the product s serial number ready For other enquiries and support please visit www teac com au DVP1013C ...

Reviews: