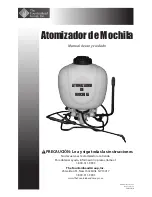
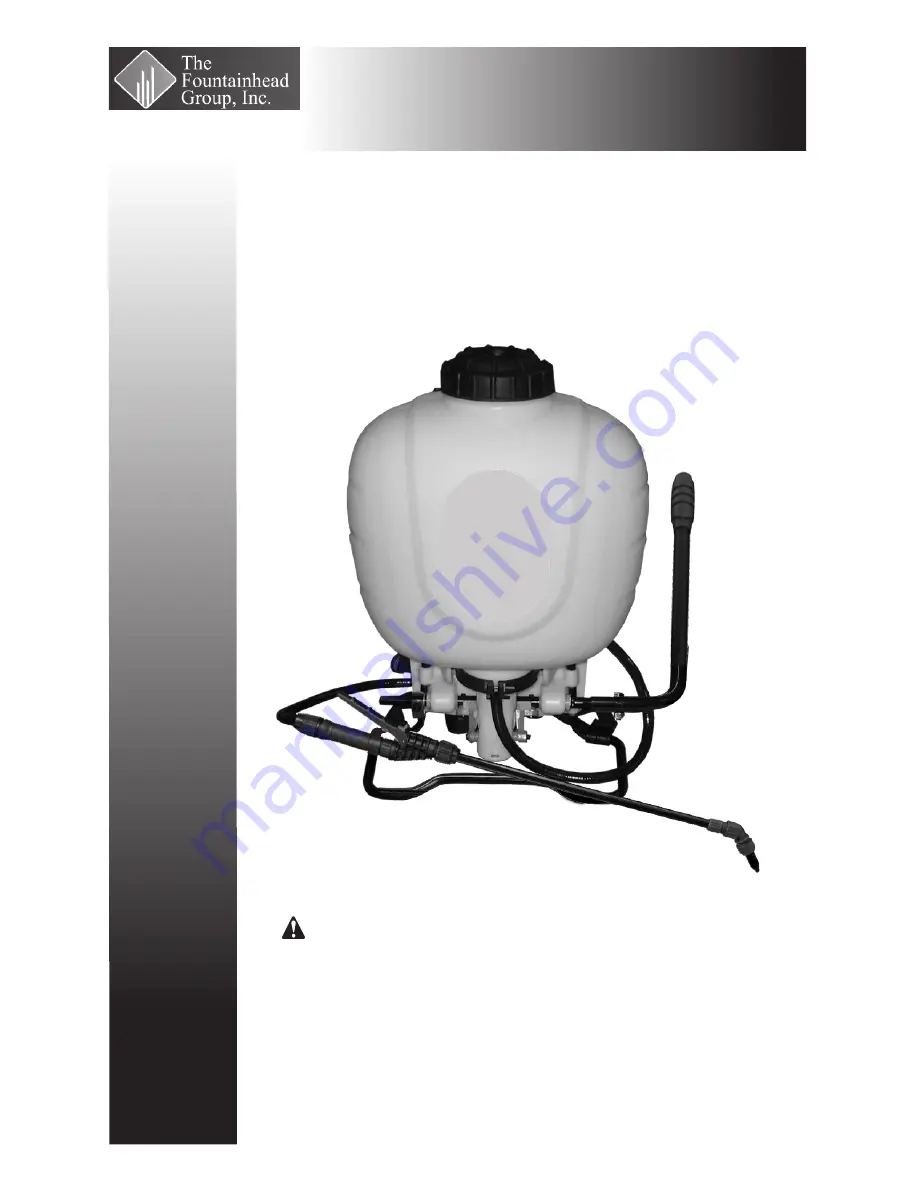
background image

Backpack Sprayer

Use and Care Manual

Manual No. 181623

Rev F. 1/14/13

ECN13-010

5 1/2 x 8 1/2” Booklet

Do Not Return This Backpack To The Store

For Help, Information or Parts, Call : 1-800-311-9903

The Fountainhead Group, Inc.

23 Garden St., New York Mills, NY 13417

1-800-311-9903

www.TheFountainheadGroup.com

CAUTION: Read and follow all instructions

BACKPACK

SPRAYER

Summary of Contents for Backpack Sprayer

Page 1: ... 5 1 2 x 8 1 2 Booklet Do Not Return This Backpack To The Store For Help Information or Parts Call 1 800 311 9903 The Fountainhead Group Inc 23 Garden St New York Mills NY 13417 1 800 311 9903 www TheFountainheadGroup com CAUTION Read and follow all instructions BACKPACK SPRAYER ...

Page 2: ...inal pump Do not store chemicals in this tank Always release pressure when sprayer is not in use and before performing any maintenance Clean and rinse sprayer thoroughly after each use Never attempt to alter sprayer from original condition Always use replacement parts from original manufacturer Keep the sprayer and all chemicals out of the reach of children WARNING The sprayer is operated with liq...

Page 3: ...t weed killer formulas from drifting into undesired areas Do not over tighten actual position will vary See Figure B 3 Install selected nozzle onto the end of the extension or optimizer if installed and tighten securely See Figure C Figure A Figure B Optional Figure C Pressurizing and Spraying 1 To begin pressurizing be sure shut off lever is not depressed Pump handle up and down in a smooth motio...

Page 4: ...e or leave any solution in the tank after use 4 Store in a warm dry location out of direct sunlight 5 Keep the sprayer and all chemicals out of the reach of children Tank Maintenance 1 After each use rinse the tank with cool clean water 2 Check the check valve See Figure G and filter basket gasket See Figure H Make sure they do not show signs of wear and are operating properly Replace them as requ...

Page 5: ...nder See Figure 4 5 Withdraw the crank arms from the drive link through the side of the pump cylinder See Figure 5 6 Now the drive link and piston assembly can be removed straight down through the bottom of the pump cylinder See Figure 6 Figure 4 Figure 5 Figure 6 Figure 7 Figure 8 Figure 9 7 The piston cup and cylinder walls should be periodically cleaned and recoated with fresh petroleum jelly T...

Page 6: ...r seal is seated properly Take care not to roll the o ring seal out of the groove as you reinsert the pressure cylinder Realign the tab on the tank with the notch on the pressure cylinder and make sure the flange on the pressure cylinder is flush with the flange on the tank Reassemble the clamp ring and tighten See Figure 12 Harness Installation 1 For each side remove the small plastic clips from ...

Page 7: ... Pump handle is difficult to operate 1 Swollen or damaged Piston Seal 34E 2 Dirty Drive Shaft Bushing 9 1 Clean and lubricate Piston Seal 34E and Pump Cylinder 6 with petroleum jelly or replace 2 Lubricate Bushing 9 with petroleum jelly Sprayer builds too much resistance after just a few pump strokes and only maintains pressure briefly Little to no air in the Pressure Cylinder 5 Holding shut off b...

Page 8: ...0 27 26 25 19 34E 6 17 15 11 12 33D 33A 33C 13 34B 18 17 37D 3 37A 37C 4 37B 37E 24 23 16 37D 7 38 39 34A 34E 34B 34D 34C 34B 34F 35C 35E 35B 35D 35F 35A 36C 36E 36D 36B 36F 36A 37A 37B 37C 37E 37F KIT 33 KIT 37 KIT 36 KIT 35 KIT 34 Page 8 KITS PARTS ACCESSORIES KIT 31 KIT 32 ...

Page 9: ...N PUMP HANDLE KIT 33A 181921 PUMP HANDLE ASSEMBLY GRIP INCLUDED 33B 181745 BOLT ON DRIVE SHAFT 33C 181756 BOLT 33D 181757 LOCK NUT KIT 34 181567 PISTON SEAL KIT 34A 181496 PRESSURE CYLINDER O RING 34B 181497 PUMP CYLINDER WASHER 2 34C 181498 SMALL PUMP CYLINDER O RING 34D 181499 LARGE PUMP CYLINDER O RING 34E 181503 PISTON SEAL 34F 171015 CHECK VALVE KIT 35 181869 POLY NOZZLE KIT 35A 181822 POLY A...

Page 10: ...SSORIES ARE AVAILABLE BY CONTACTING The Fountainhead Group Inc Customer Service Center Monday Friday 8 A M 5 P M EST Toll Free 1 800 311 9903 or e mail Info TheFGI com or Access online at www TheFountainheadGroup com Page 10 ...

Page 11: ...dado No devuelva este atomizador a la tienda Para obtener ayuda información o piezas llame al 1 800 311 9903 The Fountainhead Group Inc 23 Garden St New York Mills NY 13417 1 800 311 9903 www TheFountainheadGroup com PRECAUCIÓN Lea y siga todas las instrucciones ATOMIZADOR DE MOCHILA ...

Page 12: ...r la condición original del atomizador Siempre utilice las piezas de reemplazo del fabricante original Mantenga el atomizador y todas las sustancias químicas fuera del alcance de los niños ADVERTENCIA El atomizador funciona con líquido a presión Si no lo maneja con cuidado o no sigue las instrucciones de operación y limpieza podría ocasionar el deterioro o la ruptura del tanque manguera y otras pi...

Page 13: ...surización y atomización 1 Para empezar a presurizar asegúrese de que el gatillo de cierre no esté presionado Mueva el mango de la bomba hacia arriba y abajo con un movimiento suave Vea la Figura E La presión operativa se alcanza cuando el bombeado se torna difícil el cual no es a más de 4 a 6 bombeadas completas No presurice en exceso 2 Dirija la boquilla lejos de usted y presione la palanca de c...

Page 14: ...usarlo 4 Guarde la unidad en un lugar templado y seco fuera del alcance de la luz solar directa 5 Mantenga el atomizador y todas las sustancias químicas fuera del alcance de los niños Mantenimiento del tanque 1 Después de cada uso enjuague el tanque con agua limpia 2 Revise la válvula de retención Vea la Figura G y la junta de la canasta del filtro Vea la Figura H Asegúrese de que no presenten señ...

Page 15: ...ra 4 5 Retire los brazos de la manivela del eslabón de enlace a través del costado del cilindro de la bomba Vea la Figura 5 6 Ahora puede retirar el eslabón de mando y el ensamblaje del pistón por la parte inferior del cilindro de la bomba Vea la Figura 6 Figura 4 Figura 5 Figura 6 Figura 7 Figura 8 Figura 9 7 Es necesario limpiar periódicamente la cúpula del pistón y las paredes del cilindro y de...

Page 16: ...el sello del cilindro de presión quede bien asentado Procure no colocar el sello de anillo O fuera del surco a medida que reinserta el cilindro de presión Alinee nuevamente la pestaña en el tanque con la ranura en el cilindro de presión y verifique que la brida en el cilindro de presión esté al ras con la brida en el tanque Vuelva a ensamblar el anillo de brida y apriete Vea la Figura 12 Instalaci...

Page 17: ...lo del pistón de la bomba No 34E hinchado o dañado 2 El buje de la varilla impulsora está sucio No 9 1 Limpie y lubrique el sello del pistón No 34E y el cilindro de la bomba No 6 con jalea del petróleo o reemplace la pieza 2 Lubrique los bujes No 9 con jalea de petróleo El atomizador acumula demasiada resistencia después de unos cuantos bombeos y sólo conserva la presión por un corto periodo Hay p...

Page 18: ...34E 6 17 15 11 12 33D 33A 33C 13 34B 18 17 37D 3 37A 37C 4 37B 37E 24 23 16 37D 7 38 39 34A 34E 34B 34D 34C 34B 34F 35C 35E 35B 35D 35F 35A 36C 36E 36D 36B 36F 36A 37A 37B 37C 37E 37F KIT No 33 KIT No 37 KIT No 36 KIT No 35 KIT No 34 página 18 JUEGOS PIEZAS Y ACCESORIOS KIT No 31 KIT No 32 ...

Page 19: ...SAMBLAJE DE MANGO DE BOMBA AGARRADERA INCLUIDO 33B 181745 EJE CONDUCTOR ASEGURADO CON TORNILLO 33C 181756 TORNILLO 33D 181757 TUERCA DE BLOQUEO KIT No 34 181567 JUEGO DE SELLO DEL PISTÓN 34A 181496 ANILLO O DEL CILINDRO DEL PISTÓN 34B 181497 ARANDELA DEL CILINDRO DE LA BOMBA 2 34C 181498 ANILLO O PEQUEÑO DEL CILINDRO DE LA BOMBA 34D 181499 ANILLO O GRANDE DEL CILINDRO DE LA BOMBA 34E 181503 SELLO ...

Page 20: ...AN DISPONIBLES COMUNICÁNDOSE A The Fountainhead Group Inc Centro deservicio al cliente De lunes a viernes de 8 A M a 5 P M EST Llame sin costo al 1 800 311 9903 o Correo electrónico Info TheFGI com o Ingrese en línea a www TheFountainheadGroup com página 20 ...

Reviews: