
1
Setting up your ThermaData WiFi Logger
STEP 1 - Recommended Method
Connecting the device to your network using a Wi-Fi connected PC and USB cable
(Requires Windows PC or laptop connected to Wi-Fi.)
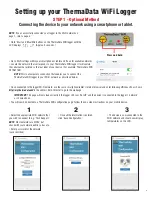
• Download and open ThermaData Studio and select ‘ThermaData WiFi’. (Available at www.thermoworks.com/software)
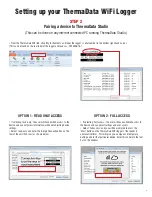
• Connect ThermaData WiFi logger to PC using the provided USB cable. The following menu items will then become active.
• Click on ‘Configure WiFi.’
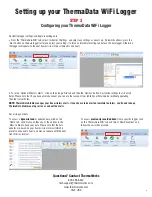
• Select desired Wi-Fi network from the ‘Network name’ drop down menu and enter the necessary details. (Wait for green bar to load across,
while the software scans for available networks.) Click on ‘Set WiFi network’
NOTE: Most networks use WPA2 encryption, but check with your network admin to be sure. The password is your network
password and is case sensitive.
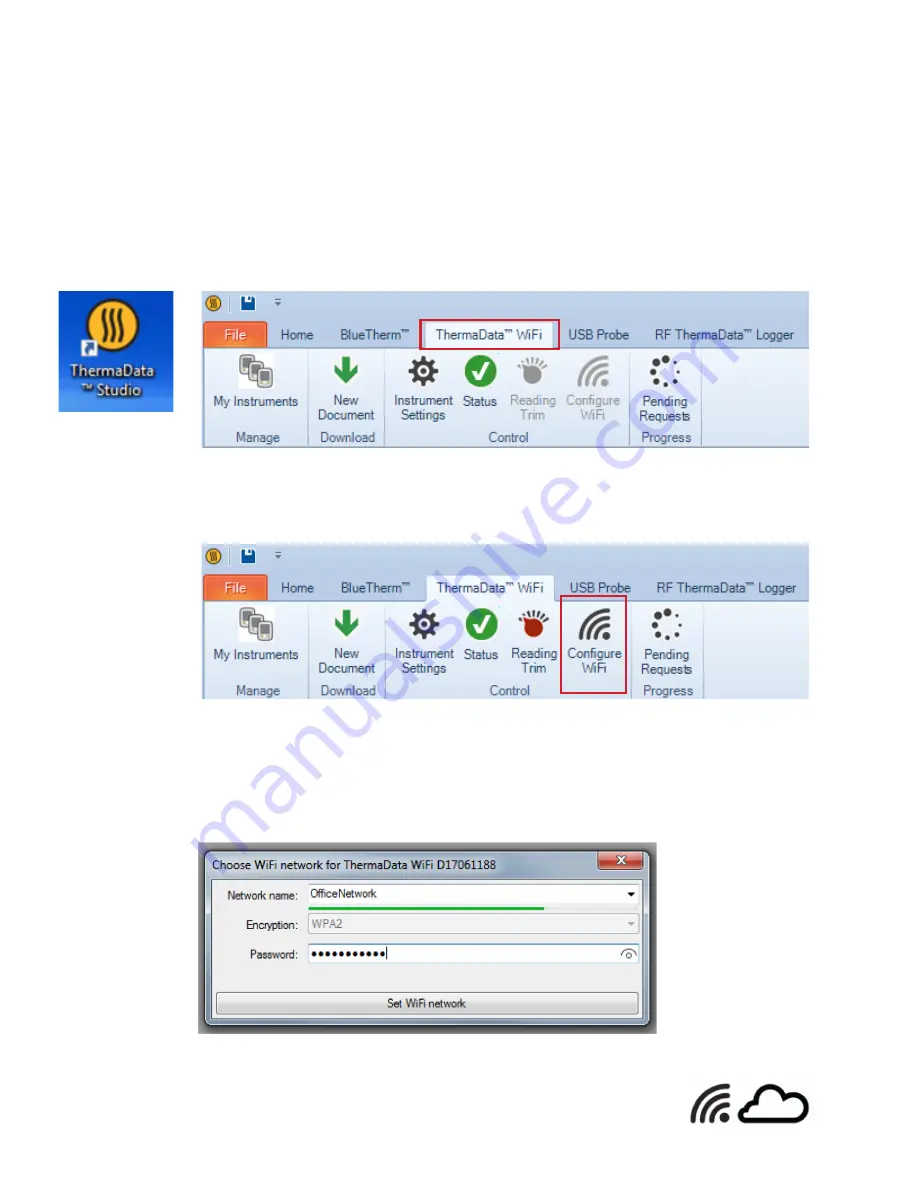
• The logger will connect and then display a Wi-Fi signal indicator and a cloud icon in the top left-hand
corner of the ThermaData WiFi logger’s LCD, indicating a successful connection.
• If you’ve successfully connected to the Wi-Fi, you can skip to page 3 ‘Pairing a device.’


