
NOTE: This sprayer comes with a filter plug installed in place of the filter assembly. Use this filter plug when spraying
textured products from a ready-mixed or powdered formulation. The filter parts are included with the sprayer in the tool box
and can be installed when spraying standard materials (refer to the Filter Parts in the Parts List section of this manual).
SETUP
Perform the following procedure before plugging in the power cord of an electric sprayer.
NOTE: If the sprayer will be used for spraying textured products, removal of the inlet screen in the foot valve may be necessary. This will allow proper
priming and flow of the textured product. Refer to “Cleaning the Inlet Screen” in the Cleanup section of this manual for removal instructions.
1)
Using a wrench, attach a minimum of 50’ of 1/4” nylon airless spray hose to the outlet fitting on the sprayer. Tighten securely.
2)
Attach an airless spray gun to the spray hose. Using two wrenches (one on the gun and one on the hose), tighten securely. Make sure all airless hoses
and spray guns are electrically grounded and rated at or above the maximum operating pressure range of the airless sprayer.
3)
Make sure the pressure control knob is in its OFF position in the black zone.
4)
Fill the oil cup with one tablespoon of piston seal lubricant (Piston Lube).
5)
Make sure the electrical service is 120V, 15 amp minimum & plug the power cord into a properly grounded outlet at least 25’ from the spray area.
Always use a minimum 12 gauge, three-wire extension cord with a grounded plug. Never remove the third prong or use an adapter.
SPRAYING
1)
Prepare the material to be sprayed according to the guidelines given by the material manufacturer.
2)
Place the foot valve into a container of material.
3)
Place the return hose into a metal waste container.
4)
Set the pressure to minimum by turning the pressure control knob to the “Min” setting in the yellow zone.
5)
Move the PRIME/SPRAY valve down to the PRIME position.
NOTE: Hold the return hose in the waste container when moving the PRIME/SPRAY valve to PRIME in case the sprayer is pressurized.
6)
Turn on the sprayer by moving the ON/OFF switch to the ON position.
7)
Allow the sprayer to run until material is coming through the return hose into the metal waste container.
8)
Turn off the sprayer by moving the ON/OFF switch to the OFF position.
9)
Remove the return hose from the waste container and place it in its operating position above the container of material.
10)
Move the PRIME/SPRAY valve up to the SPRAY position.
11)
Turn on the sprayer.
12)
Unlock the gun by turning the gun trigger lock to the unlocked position.
Ground the gun by holding it against the edge of the metal container while flushing. Failure to do so may lead to a static electric discharge, which may cause a
fire.
13)
Trigger the gun into the metal waste container until all air and solvent is flushed from the spray hose and material is flowing freely from the gun.
14)
Lock the gun by turning the gun trigger lock to the locked position.
15)
Turn off the sprayer.
16)
Attach tip guard and tip to the gun as instructed by the tip guard or tip manuals.
NOTE: When spraying textured products, the use of a splatter nozzle on the spray gun may be necessary. The splatter nozzle adds atomizing air to the fluid
stream to create the desired material consistency. Refer to the Splatter Nozzle Instruction Sheet (P/N 313-2468) for detailed instructions.
17)
Turn on the sprayer.
18)
Increase the pressure by turning the pressure control knob slowly clockwise toward the green zone and test the spray pattern on a piece of cardboard.
Adjust the pressure control knob until the spray from the gun is completely atomized. Try to keep the pressure control knob at the lowest setting that
maintains good atomization.
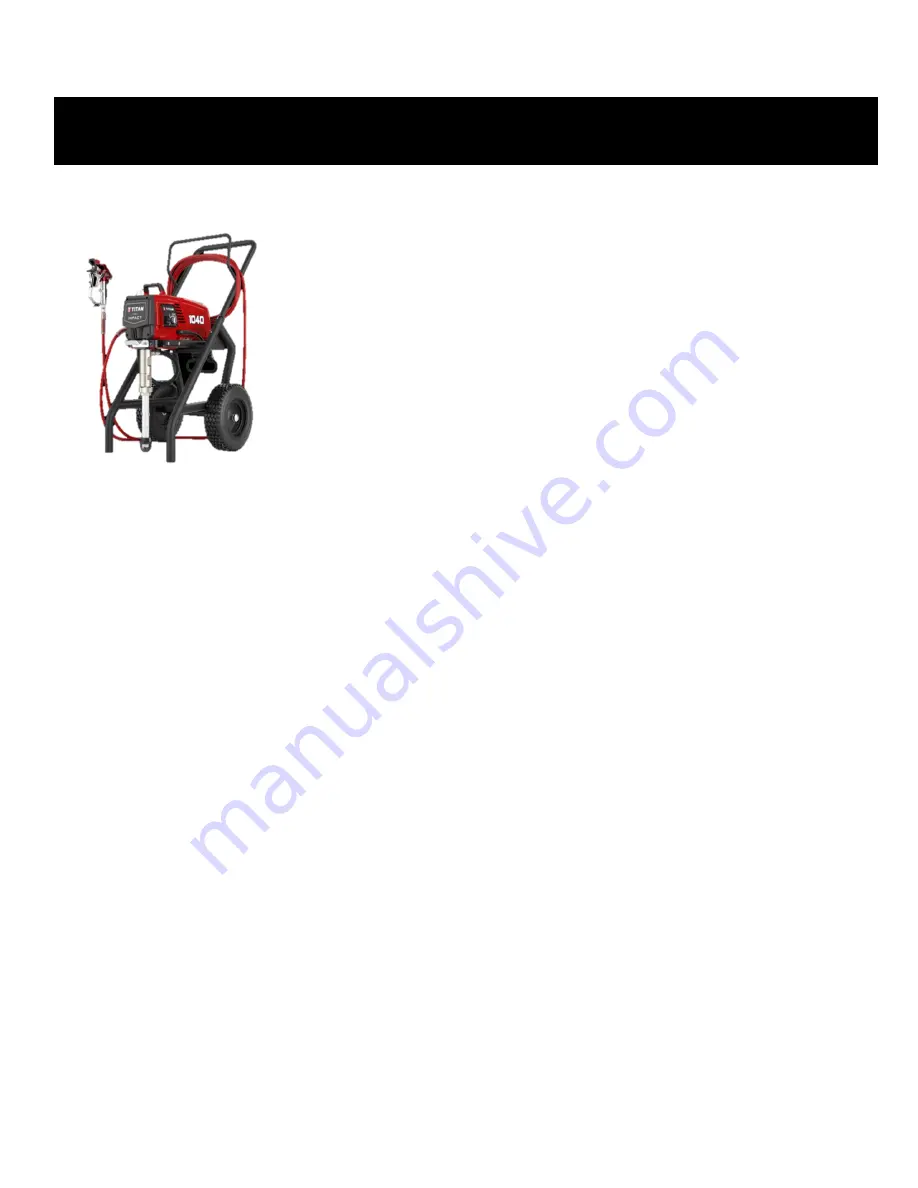
Impact
™
1040T
Electric Piston Airless Texture
& Paint Sprayer
The Impact 1040T is specially designed to apply a wide variety of interior texture finishes
and primers & finish quality paints. It sprays texture products in ready-mix or powdered
formulations for decorative finishes such as orange peel, splatter & knockdown. In addition,
spray skim coat in a level 5 finish.
MODEL NUMBER: 2405360
•
Submersed inlet valve fluid section uses ceramic ball valves for smooth,
uninterrupted application of joint compound and other heavy bodied materials
•
Exclusive fluid section design eliminates the need for a wearable cylinder
•
Use of the Splatter Nozzle and user supplied air compressor is necessary for
creating textured finishes
•
Cannot spray aggregated materials
•
Covered by the WearGuard™ Warranty
NOTE: THIS QUICK START GUIDE IS NOT A SUBSTITUTE FOR THE PRODUCT USER MANUAL
QUICK START GUIDE


