background image

 You are advised to record the following information to allow quick service.

Date of purchase :

Name of shop :

Tel : (          )

Date : year month day

2020.11.13

D07B68

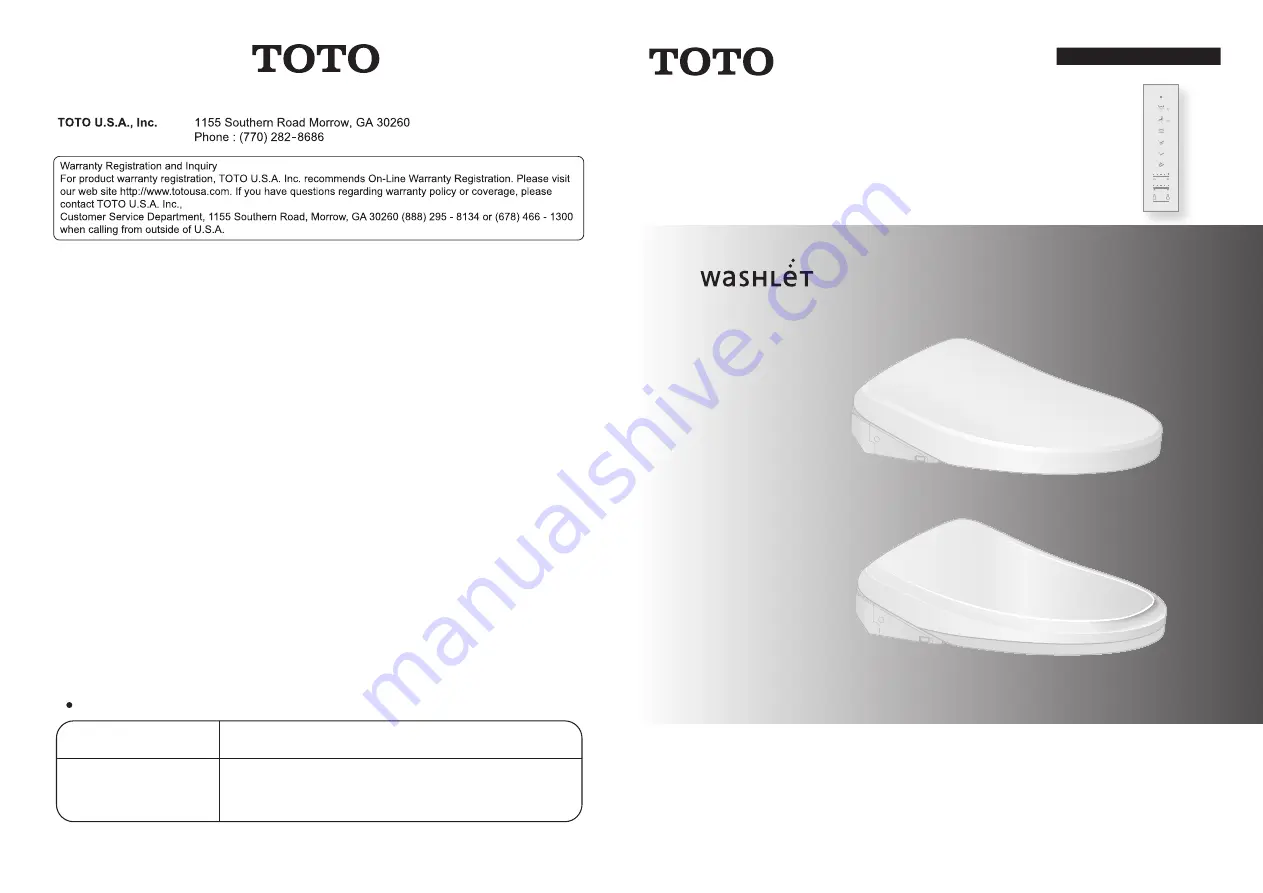
Instruction Manual

WASHLET

Thank you for your recent purchase of this product.
Please read the enclosed information to ensure the safe use of your product.

Be sure to read this Instruction Manual before using your product and keep it in a 
safe place for future reference.

SW3054AT40, SW3054
SW3044AT40, SW3044

SW3056AT40, SW3056
SW3046AT40, SW3046

Summary of Contents for SW3044

Page 1: ...B68 Instruction Manual WASHLET Thank you for your recent purchase of this product Please read the enclosed information to ensure the safe use of your product Be sure to read this Instruction Manual before using your product and keep it in a safe place for future reference SW3054AT40 SW3054 SW3044AT40 SW3044 SW3056AT40 SW3056 SW3046AT40 SW3046 ...

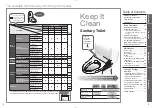
Page 2: ...e a check mark in this field as needed Part No 2 The available functions vary according to the model 3 Safety Precautions 4 Operational Precautions 11 Parts Names 14 Preparation 18 Changing Settings 42 What to Do 62 If the water does not ow due to a water service interruption 62 If you cannot operate with the remote control 62 Freeze Damage Prevention 63 Long Periods of Disuse 64 Removal of Operat...

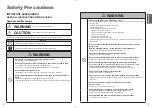
Page 3: ...ct makes a strange noise or emits a strange odor The product emits smoke The product is abnormally hot The toilet seat cushion is out of place Continued use after malfunction could cause a re electric shock heat short circuit injury or water damage Do not use other water than allowed by the laws and ordinances of the region of use Only use potable water Do not use seawater or recycled water Doing ...

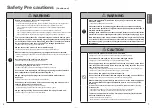
Page 4: ... before removing the main unit Failure to do so may cause a re or electrical shock Safety Precautions Continued 7 WARNING When leaking battery uid adheres to your body or clothes wash it away with clean water The uid may damage your eyes or skin Preliminary studies in females suggest that overuse of continuous spraying can increase the possibility of vaginal mucosa drying and potential reduction i...

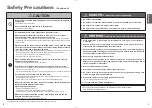
Page 5: ... for both new batteries any brand available Failure to do so may cause the batteries to leak uid generate heat rupture or ignite When the product is supposed not to be used for long time remove the batteries from the remote control Failure to do so may cause the batteries to leak uid 1 Available only when FLUSH button is located on the top side of the remote control 9 DANGER To reduce the risk of ...

Page 6: ...ft cloth tightly wrung out with water Do not lean against the toilet lid Dry cloth or tissue For prevention of malfunctions and failures Do not block the remote control transmitter or receiver May cause main unit to malfunction A toilet seat cover or a toilet lid cover cannot be used Covers Disconnect the power plug if there is a risk of lightning Do not urinate on the main unit toilet seat or wan...

Page 7: ...odi cations not expressly approved by the grantee of this device could void the user s authority to operate the equipment This device complies with part 15 of the FCC Rules Operation is subject to the following two conditions 1 this device may not cause harmful interference and 2 this device must accept any interference received including interference that may cause undesired operation RF exposure...

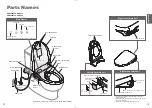
Page 8: ...Water supply hose Heated seat Warm air outlet cover Power plug Part no etc 15 Right side of main unit Right rear of main unit Toilet seat cushions 1 The shape and location vary depending on the type of toilet bowl and tank 2 Only used when FLUSH button is located on the top side of the remote control 3 Only used on models with Soft light function Deodorizer outlet Main unit removal button Pages 38...

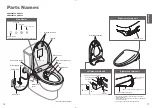
Page 9: ...ed seat Shutoff valve 1 Page 19 Part no etc Right side of main unit Right rear of main unit Left side of main unit Deodorizer outlet Water lter drain valve Page 41 Soft light 3 Cover For SW For SW T40 Auto ush function plug socket 2 17 Toilet seat cushions Remote control receiver Main unit removal button Pages 38 39 Deodorizing lter Page 36 1 The shape and location vary depending on the type of to...

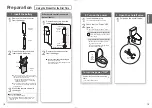
Page 10: ... out when no button on the remote control is pressed for about 60 seconds or more 3 Mount the remote control in the hanger About the batteries Use dry cell alkaline batteries Be sure to follow Safety Precautions to prevent the batteries from rupturing or leaking uid etc Pages 7 8 If the remote control is secured for anti theft 19 2 Turn on the power 1 Insert the power plug The wand extends and the...

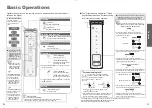
Page 11: ... adjustment and Personal setting lock functions are swipe operated 1 Available only when FLUSH button is located on the top side of the remote control 2 Except SW3046AT40 SW3046 SW3044AT40 SW3044 3 Remote control transmitter Front side Top side Functions that operate when a button is pressed during Rear cleansing Rear soft cleansing Front cleansing or Wide front cleansing Water pressure adjustment...

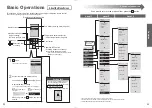
Page 12: ...ters of the selected item will be highlighted When MANUAL CLEANING is not chosen 1 MANUAL CLEANING 1 MANUAL CLEANING When MANUAL CLEANING is chosen When you press the button the item is entered Remote control back side 22 1 The setting items and numbers vary according to the model 2 Available only when FLUSH button is located on the top side of the remote control 3 Except SW3046AT40 SW3046 SW3044A...

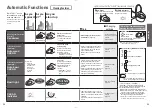
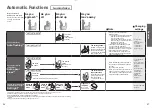
Page 13: ...h it extended ĺ Wand cleaning Page 37 1 What is meant by EWATER EWATER helps the self cleaning wand feature working effectively and preventing the dirt accumulation causing the stains EWATER is generated from potable water EWATER helps to minimize dirty surfaces but does not make cleaning unnecessary The effect and duration vary depending on the usage environment and conditions 2 Water comes out f...

Page 14: ...llowing cases ĺ About 60 seconds after the toilet is flushed After 60 seconds have passed flush using the remote control When the time spent sitting on the toilet seat or standing in front of the bowl unit is less than about 6 seconds Flush with the remote control The ushing varies depending on how long you sit on the toilet seat Around 6 to 30 seconds Light ush 5 Around 30 seconds or more Full us...

Page 15: ...from the step 2 CAUTION Display screen Temperature adjustment button Select the item Select the setting Select keys 28 4 Select the temperature level Settings complete DRYER TEMP WATER TEMP SEAT TEMP 5 Mount the remote control in the hanger If the remote control is secured to prevent theft Page 18 Warm water temperature Toilet seat temperature Drying air temperature 1 To prevent condensation the w...

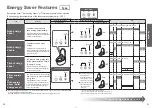
Page 16: ...during the set time period every day Timer energy saver Auto energy saver Auto energy saver You want to save a lot of energy with auto energy saver and timer energy saver When both Timer energy saver and Auto energy saver Auto energy saver are set Auto energy saver Auto energy saver operates when Timer energy saver is not operating 30 To set energy saver Page 32 and 33 1 The toilet seat temperatur...

Page 17: ...en energy saver is set the Energy saver LED green lights up Energy saver 3 Select AUTO ENERGY SAVER ENERGY SAVER 1 AUTO ENERGY SAVER 1 2 Press 4 Select AUTO ENERGY SAVER OFF AUTO ENERGY SAVER AUTO ENERGY SAVER Press AUTO ENERGY SAVER ON To return 3 Select AUTO ENERGY SAVER ENERGY SAVER 1 AUTO ENERGY SAVER 1 2 Press 4 Select AUTO ENERGY SAVER OFF AUTO ENERGY SAVER AUTO ENERGY SAVER AUTO ENERGY SAVE...

Page 18: ...or power cord 34 Main Unit Approximately daily Soft cloth soaked in water Toilet paper Dry cloth Nylon scrubbing brush May cause damage 1 Unplug the power plug 2 Wipe with a soft cloth that has been soaked in water and wrung out thoroughly For heavy dirt Wipe with a soft cloth soaked in diluted neutral kitchen detergent and then wipe with a soft cloth soaked in water Paint thinner Benzene Powdered...

Page 19: ...se damage 1 Extend the wand To operate from the back of remote control 1 Press 2 Select MANUAL CLEANING Press 3 Select WAND CLEANING ON OFF Press To operate from the front of remote control Recommended if the remote control is secured to prevent theft 1 Press Stopping button about 10 seconds or longer All the indicators on the remote control ash or an electronic sound is heard from the main unit 2...

Page 20: ...und is heard Failure to do so could cause the main unit to come loose and fall resulting in injury 5 Insert the power plug The Power LED lights up Maintenance Gap between the Main Unit and Bowl Unit 38 Click Base plate Main unit removal button Top of the bowl unit Base plate Bolt Gap between the Main Unit and Bowl Unit Approximately once a month You can remove the main unit to clean the top of the...

Page 21: ... lights up 8 Open and close the toilet lid to check the reinstallation Maintenance Gap between the Main Unit and the Toilet Lid 40 Water Filter Drain Valve Approximately once every 6 months If you think the water pressure has weakened 1 Close the shutoff valve The water supply stops CAUTION Do not remove the water lter drain valve while the shutoff valve is open Otherwise water may leak out Shutof...

Page 22: ...econds 90seconds Change the amount of time after which the lid seat opens automatically upon closing it with hands 15seconds 30seconds 90seconds Page 48 Automatically open and close the toilet lid Automatically open and close the toilet seat and toilet lid Lid Seat Lid Set whether or not to clean the wand automatically ON OFF All models Page 50 Set whether or not to spray mist in the bowl unit aut...

Page 23: ...her or not to clean the bowl unit automatically Auto ushing Change the amount of time before the toilet ushes automatically Auto ush delay Display screen Select keys Select the item or setting Menu Return button Enter button 45 4 Select AUTO FLUSH AUTO FLUSH 1 AUTO FLUSH 1 2 Press 5 Select ON or OFF ON OFF AUTO FLUSH Press AUTO FLUSH OFF To return 4 Select AUTO FLUSH DELAY 1 AUTO FLUSH 2 AUTO FLUS...

Page 24: ... close the toilet lid automatically Auto open close Change the amount of time before the lid seat closes automatically Auto close delay Display screen Menu Return button Select keys Select the item or setting Enter button 47 4 Select AUTO OPEN CLOSE AUTO OPEN CLOSE 1 AUTO OPEN CLOSE 1 4 Press 5 Select ON or OFF ON OFF AUTO OPEN CLOSE Press AUTO OPEN CLOSE OFF To return 4 Select AUTO CLOSE DELAY AU...

Page 25: ...isplay screen Menu Return button Select keys Select the item or setting Enter button Items set on this display 1 AUTO OPEN CLOSE Auto open close 2 AUTO CLOSE DELAY Auto close delay 3 AUTO OPEN DELAY Auto open delay 4 SEAT LID Seat lid 49 4 Select AUTO OPEN DELAY AUTO OPEN CLOSE 1 AUTO OPEN CLOSE 2 AUTO CLOSE DELAY 3 AUTO OPEN DELAY 3 4 Press 5 Select 15S 30S or 90S AUTO OPEN DELAY 15S 90S 30S Pres...

Page 26: ...l unit automatically Auto bowl CLEAN Display screen Menu Return button Select keys Select the item or setting Enter button Items set on this display 1 AUTO WAND CLEAN Auto wand CLEAN 2 AUTO BOWL CLEAN Auto bowl CLEAN 3 DEODORIZER Deodorizer 4 AUTO POWER DEODORIZER Auto power deodorizer 51 4 Select AUTO WAND CLEAN AUTO CLEANING 1 AUTO WAND CLEAN 1 4 Press 5 Select ON or OFF ON OFF AUTO WAND CLEAN P...

Page 27: ...tanding up Auto power deodorizer Display screen Menu Return button Select keys Select the item or setting Enter button Items set on this display 1 AUTO WAND CLEAN Auto wand CLEAN 2 AUTO BOWL CLEAN Auto bowl CLEAN 3 DEODORIZER Deodorizer 4 AUTO POWER DEODORIZER Auto power deodorizer 53 4 Select DEODORIZER AUTO CLEANING 2 AUTO BOWL CLEAN 1 AUTO WAND CLEAN 3 4 3 DEODORIZER Press 5 Select ON or OFF DE...

Page 28: ... indicator CLEAN indicator Display screen Menu Return button Select keys Select the item or setting Enter button Items set on this display 1 SOFT LIGHT Soft light 2 BOWL LIGHT Bowl light 3 INDICATOR CLEAN indicator 55 4 Select SOFT LIGHT LIGHT 1 SOFT LIGHT 1 3 Press 5 Select ON or OFF ON OFF SOFT LIGHT Press SOFT LIGHT OFF To return 4 Select BOWL LIGHT LIGHT 1 SOFT LIGHT 2 BOWL LIGHT 2 3 Press 5 S...

Page 29: ...lect the language displayed on the back of remote control Language Settings Display screen Menu Return button Select keys Select the item or setting Enter button Items set on this display 1 ѣᮽㆶ Simpli ed Chinese 2 繁體中文 Traditional Chinese 3 ENGLISH English 57 3 Select ѣᮽㆶ 繁體中文 or ENGLISH LANGUAGE ENGLISH Press LANGUAGE ENGLISH To return Reference ...

Page 30: ...his display 1 BEEP Beep sound 2 SETTING LOCK Setting lock 3 PERSONAL SETTING Personal setting 59 3 Select BEEP OTHER SETTING 1 BEEP 1 3 Press 4 Select ON or OFF BEEP ON OFF Press BEEP OFF To return 3 Select SETTING LOCK OTHER SETTING 1 BEEP 2 SETTING LOCK 2 3 Press 4 Select ON or OFF SETTING LOCK OFF ON Press SETTING LOCK PRESS ENTER FOR 2 SEC TO RESET 5 Check the displayed screen Display screen d...

Page 31: ...Setting lock 3 PERSONAL SETTING Personal setting 61 3 Select PERSONAL SETTING OTHER SETTING 1 BEEP 2 SETTING LOCK 3 PERSONAL SETTING 3 3 Press 4 Select SETTING PERSONAL SETTING 2 REGISTER1 1 SETTING 1 3 Press 5 Select ON or OFF SETTING ON OFF Press PERSONAL SETTING OFF To return 3 Select PERSONAL SETTING OTHER SETTING 1 BEEP 2 SETTING LOCK 3 PERSONAL SETTING 3 3 Press 4 Select REGISTER1 or REGISTE...

Page 32: ...a e f r e v a s y g r e n e e h t e s u t o n o d r e w o l r o 32 F 0 C o t p o r d o t y l e k i l s i e r u t a r e p m e t t n e i b m a e h t n e h W May damage the product Warm the bathroom or take measures against freezing so that the ambient temperature does not drop below 32 F 0 C Before starting work set AUTO FLUSH only when FLUSH button is located on the top side of the remote control P...

Page 33: ... i k a e l t o n s i r e t a w t a h t k c e h C 2 If the power is not on insert the power plug p u s t h g i l D E L r e w o P e h T 3 Discharge water from the wand 1 Pressing down the left side of the toilet seat 2 Press Rear cleansing button on the remote control to discharge water from the wand e l c a t p e c e r r e h t o r o p u c r e p a p a n i r e t a w e h t h c t a C 3 Press Stopping b...

Page 34: ...p for safety Unplug the power plug and wait about 10 seconds before inserting it again If the same symptom reappears There may be a malfunction Consult with TOTO customer service see contact information on the back cover The seat switch will not turn on unless you sit on the seat properly Sit back on the toilet seat 11 Are you using a toilet seat cover a toilet lid cover or a seat for infants Remo...

Page 35: ...g Sit back on the toilet seat If you lift your hip off the toilet seat during use or sit forward on it the seat switch may not turn on and thus auto flushing may occur during use 44 11 1 Available only when FLUSH button is located on the top side of the remote control 2 Except SW3046AT40 SW3044AT40 68 Toilet Seat and Toilet Lid Auto open close Trouble Please check Ref Page The toilet lid does not ...

Page 36: ... is retained The timer energy saver feature is not working Did you replace the remote control batteries Timer energy saver may be canceled when the batteries are replaced Set the timer energy saver again at the time you want to start it 32 The auto energy saver or auto energy saver feature is not working Because the function takes several days learning the usage conditions before starting energy s...

Page 37: ...EWATER Sound of extending the wand and draining remaining water from the product after operation of functions Auto bowl CLEAN Sound of spraying mist of EWATER inside the bowl unit You can turn it OFF 50 Troubleshooting 72 Speci cations Item SW3056AT40 SW3056 SW3046AT40 SW3046 SW3054AT40 SW3054 SW3044AT40 SW3044 Rated power supply AC 120 V 60 Hz Rated power consumption 1288 W 1287 W 1288 W 1287 W M...

Page 38: ...Limited Warranty One Year Limited Warranty 74 MEMO 75 ...

Reviews: