background image

SCION tC 

2008- 


ILLUMINATED DOOR SILLS 


Preparation 


Page 1 of 17 pages 


 Issue: C  06/13/07 

Part Number:  PTS21-21070 

NOTE:  

Part number of this accessory may not be 

the same as the part number shown. 

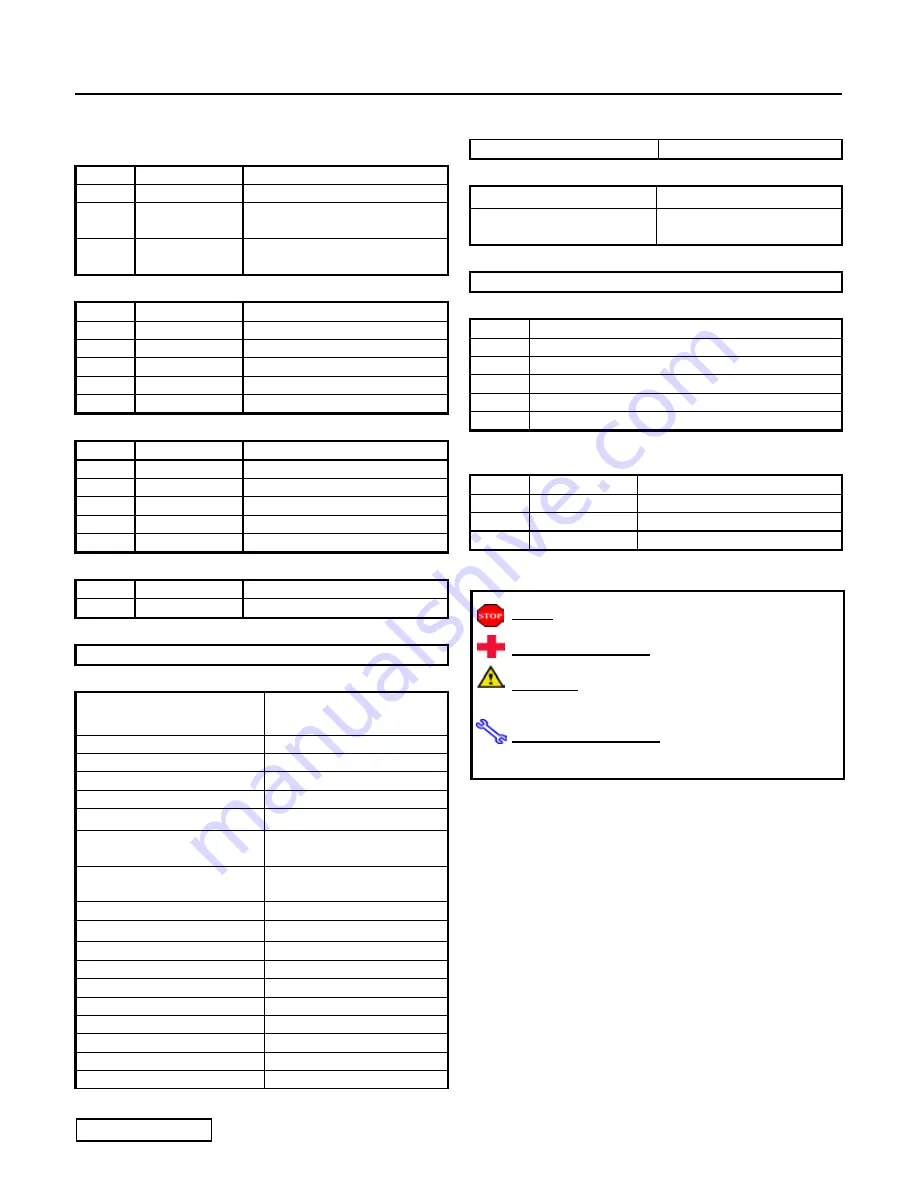
Kit Contents 

Item # 

Quantity Reqd.  Description 

Hardware Kit w/ power harness 

Front Left Illuminated Door Sill 
Protector 

Front Right Illuminated Door  
Sill Protector 

Hardware Kit Contents (LH) 

Item # 

Quantity Reqd.  Description 

Power Harness with Fuse 

Foam Pad (38.1 x 38.1 x 4.75) 

Foam Pad (63.5 x 38.1 x 1.57) 

12 

Wire Ties  

6 2 

T-taps 

Hardware Kit Contents (RH) 

Item # 

Quantity Reqd.  Description 

1 1 

Power 

Harness 

Foam Pad (38.1 x 38.1 x 4.75) 

Foam Pad (63.5 x 38.1 x 1.57) 

27 

Wire Ties  

6 1 

T-taps 

Additional Items Required For Installation 

Item # 

Quantity Reqd.  Description 


Conflicts 

None 

Recommended Tools 

Personal & Vehicle 
Protection 

Notes 

Safety Glasses 


Safety Gloves  

Optional 

Vehicle Protection 

Blankets, Part Boxes,  

Protective film 

PPO only, Wrap Guard 

Special Tools 

Notes 

Non-intrusive temperature 
probe 

For measuring door sill 
temperature if necessary 

Blow Drier 

For cold temperature 
installations. 


Installation Tools 

Notes 

Nylon Panel Removal Tool 


Screwdriver Phillips 

head 

#2 

Ratchet  
Extension 6 

in 

Socket 

10 mm (deep socket) 

Torque Wrench 

36 lbf-in 

Non-scratch wiping cloth 

3M Micro-fiber 

Pliers  


Wire Cutters 


Special Chemicals 

Notes 

All Purpose Cleaner 

mild water based, solvent 
free all purpose cleaner. 

General Applicability 

2008 SCION - tC 

Recommended Sequence of Application 

Item # 

Accessory 

V5 Security –  

Illuminated Door Sills 

3 Audio 
4 Satellite 

Radio 

5 Interior 

Light 

Kit 


Vehicle Service Parts


(may be required for reassembly) 

Item # 

Quantity Reqd.  Description 


Legend 


STOP:

 Damage to the vehicle may occur.  Do not 

proceed until process has been complied with. 

OPERATOR SAFETY:

 Use caution to avoid risk of 

injury. 

CAUTION:

A process that must be carefully observed 

in order to reduce the risk of damage to the 
accessory/vehicle and to ensure a quality installation.

TOOLS & EQUIPMENT:

 Used in Figures calls out the 

specific tools and equipment recommended for this 
process. 

Summary of Contents for PTS21-21070

Page 1: ...PO only Wrap Guard Special Tools Notes Non intrusive temperature probe For measuring door sill temperature if necessary Blow Drier For cold temperature installations Installation Tools Notes Nylon Panel Removal Tool Screwdriver Phillips head 2 Ratchet Extension 6 in Socket 10 mm deep socket Torque Wrench 36 lbf in Non scratch wiping cloth 3M Micro fiber Pliers Wire Cutters Special Chemicals Notes ...

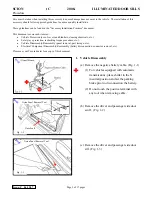
Page 2: ... procedure etc Vehicle Disassembly Reassembly panel removal part storage etc Electrical Component Disassembly Reassembly battery disconnection connector removal etc Please see your Toyota dealer for a copy of this document 1 Vehicle Disassembly a Remove the negative battery cable Fig 1 1 1 For vehicles equipped with automatic transmissions place shifter in the N neutral position and set the parkin...

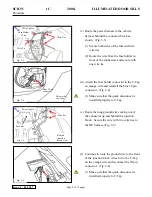
Page 3: ...e cowl cover Fig 1 5 1 Remove the one nut securing the cowl cover f Remove the glove box assembly Fig 1 6 1 Release the damper lever g Remove the fuse box cover Fig 1 7 1 Take care not to damage the two upper tabs Fuse Box Cover Fig 1 7 Fig 1 4 Nylon Panel Removal Tool Glover Box Under Panel Fig 1 6 Damper Glove Box Fig 1 5 Nut Cowl Cover Nylon Panel Removal Tool ...

Page 4: ...el left and right to gain access to the screws 3 Remove the key i Remove the lower steering column cover Fig 1 9 FOR MANUAL TRANSMISSION MODELS ONLY Step 1 j j Remove the gearshift knob then loosen the console panel Fig 1 10 FOR AUTOMATIC TRANSMISSION MODELS ONLY Step 1 k k Loosen the console panel Fig 1 11 Fig 1 9 Column Cover Fig 1 11 Console Panel Cigarette Lighter Fig 1 10 Nylon Panel Removal ...

Page 5: ... screw driver to remove screws Fig 1 14 2 Remove connectors at rear and remove head unit 2 Install Driver Side Door Sill a Locate and disconnect the 30 pin connector on the junction block behind fuse box cover Fig 2 1 b Install a T Tap to the orange wire pin 21 on the 30 pin connector about 1 inch from the connector end Fig 2 1 1 Using pliers make sure that T Tap is snapped in correctly Fig 1 13 N...

Page 6: ...h weld surface and apply a thin piece of foam tape over the depression Fig 2 4 g Installation Temperature 1 The Door Sill Protector and Sill surface temperature must be between 60 F and 90 F at time of actual installation 2 If necessary a blow drier can be used to heat the part and surface to correct installation temperature h Clean the Door Sill Surface 1 Clean the rocker panel surface with a mil...

Page 7: ...ment holes Gently place the sill on the rocker surface and press the sill piece toward the pinch weld to relieve any slack 3 Once the sill is in the proper position apply firm pressure to the sill working from the center outward making sure the perimeter of the sill is adhered to the rocker surface Fig 2 6 k Run the power wire from lighted side sill over the thin foam tape attached to the pinch we...

Page 8: ...ss with three wire ties in the areas shown Fig 2 10 o Place a protective blanket on top of the side sill 3 Install Driver Side Power Harness a Connect power harness to the driver s side sill harness Fig 3 1 1 Wrap connected connectors with thick foam tape b Secure the sill harness to the OE harness as shown with two wire ties Fig 3 2 1 Do not wire tie to any air bag harnesses Wire Cutters Wire Tie...

Page 9: ... 4 1 Make sure that the quick disconnect is installed properly to T Tap e Route the long ground wire coming out of the connector up and behind the junction block Secure the wire with two wire ties to the OE harness Fig 3 5 f Continue to route the ground wire to the front of the junction block Attach it to the T Tap on the orange wire and reconnect the 30 pin connector Fig 3 6 1 Make sure that the ...

Page 10: ... and wrap with the thick foam tape Fig 4 1 b Attach harness to vehicle harness under junction box with two wire ties Fig 4 2 NOTE For vehicles with the factory security system installed the wiring will follow the same path to the passenger side c Place two wire ties as shown along vehicle harness Fig 4 3 Fig 4 1 Connectors Wire ties Fig 4 3 Wire Cutters Wire ties Fig 4 2 Connector Foam Pad Wire Cu...

Page 11: ... harness to vehicle harness with three wire ties in the driver side center console area Fig 4 5 f Route the crossover harness toward the glove box area then secure it to the vehicle harness with three wire ties in the passenger side center console area Fig 4 6 g Route the Crossover harness to the glove box area then secure it to the vehicle harness with five wire ties Fig 4 7 Fig 4 7 Wire Ties Wir...

Page 12: ... pin 18 Blue wire Fig 4 10 1 For vehicles with the factory alarm the connector will be located on a Y adapter harness near the connector block k Install a T Tap to the blue wire pin 18 on the 20 pin connector about 1 inch from the connector end Fig 4 10 1 Using pliers make sure that T Tap is snapped in correctly l Connect the black wire from the cross over harness to the T Tap installed on the blu...

Page 13: ...urface temperature must be between 60 F and 90 F at time of actual installation 2 If necessary a blow drier can be used to heat the part and surface to correct installation temperature d Clean the Door Sill Surface 1 Clean the rocker panel surface with a mild water based solvent free all purpose cleaner and a clean non scratch cloth 2 Surface must be free from all contaminants plastic protectants ...

Page 14: ...he sill working from the center outward making sure the perimeter of the sill is adhered to the rocker surface Fig 5 4 g Run the power wire from lighted side sill over the thin foam tape attached to the pinch weld Fig 5 5 h Reinstall door weather stripping to pinch weld i Secure the power wire from the lighted side sill to vehicle harness using a wire tie Fig 5 6 j Route lighted side sill harness ...

Page 15: ...s negative battery cable c The light should be on with the door open d Press door ground switch to test the lighted door sill The light should turn off when pushed in e Disconnect the battery 7 Vehicle Reassembly a Reinstall the glove box b Reinstall the head unit For DIO 1 Reconnect head unit connectors and antenna wire c Reinstall the center cluster panel 1 Reconnect the heater control connector...

Page 16: ...orque 3 Do not touch the positive battery terminal with any tool when replacing the cable j Initialize the passenger side window controls 1 Refer to the factory repair manual for proper procedures k Initialize the sunroof 1 Refer to the factory repair manual for proper procedures 8 Completing the Installation a Perform vehicle accessory function checks b If required remove the DCC fuse located in ...

Page 17: ...ocks should function properly Power windows Power windows should function properly Sunroof Sunroof should be functioning properly Audio system Audio system should function properly Turn signals and stop lamp The turn signals and stop lamp should function properly Hazard lights Hazard lights should be functioning properly Combination meter lights The combination meter lights should function properl...

Reviews: