

AGP FS
Pellet Stove
ꞏ
•
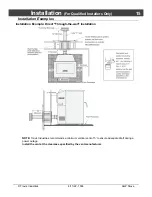
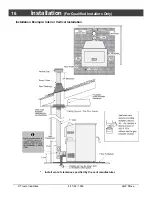
Horizontal or Vertical Vent
• Freestanding
Stove
• Mobile Home Approved
• Class A Chimney Retrofit
• Hearth Stove into Existing
Masonry Chimney, Masonry
Fireplace, or Z.C. Fireplace
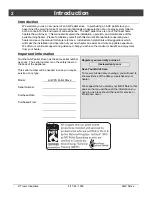
-- Please read this entire manual before
installation and use of this pellet fuel-
burning room heater. Failure to follow
these instructions could result in property
damage, bodily injury, or even death.
-- Contact local building or fire officials
about restrictions and installation
inspection requirements in your area.
-- Save these instructions.
Tested and Listed by:
ASTM E1509 ULC-S627
French language manuals at lopistoves.com.
Manuels de langue Française à
lopistoves
.com
Installer
: After installation give this manual to the home-
owner and explain the operation of this stove.
Consumer
: Retain this manual for future reference.
$10.00
Copyright 2022, T.I.
Part # 100-01566
4/11/22
Travis Industries, Inc.
www.travisproducts.com
12521 Harbour Reach Drive SW
Mukilteo, WA 98275


