background image

TRT-BA-PCSS05-20V-TC2020-24-001-EN

PCSS 05-20V

EN

ORIGINAL INSTRUCTIONS

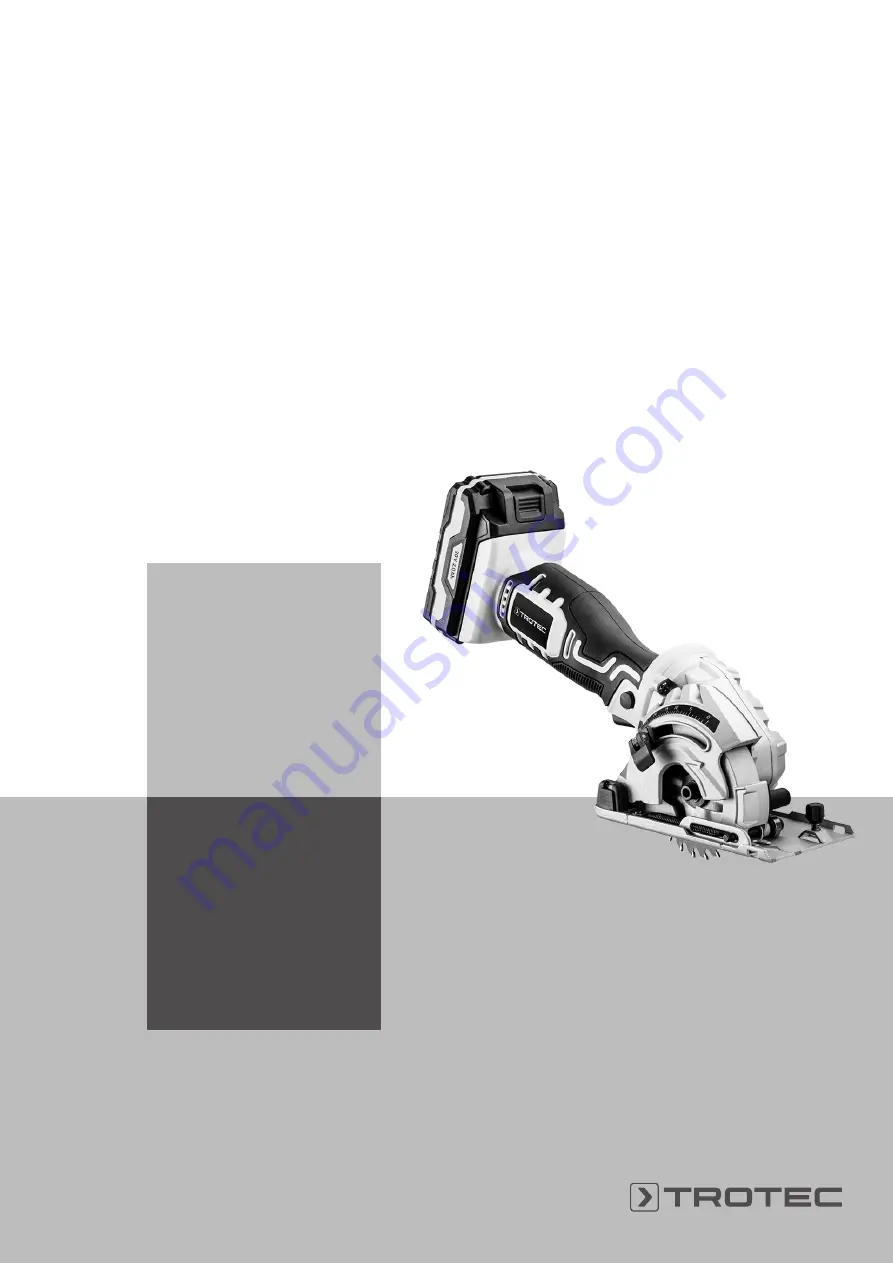
MINI CORDLESS PORTABLE
CIRCULAR SAW

Summary of Contents for PCSS 05-20V

Page 1: ...TRT BA PCSS05 20V TC2020 24 001 EN PCSS 05 20V EN ORIGINAL INSTRUCTIONS MINI CORDLESS PORTABLE CIRCULAR SAW ...

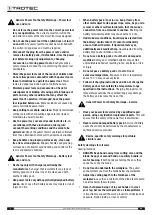
Page 2: ... which if not avoided can result in serious injury or death Caution This signal word indicates a hazard with a low risk level which if not avoided can result in minor or moderate injury Note This signal word indicates important information e g material damage but does not indicate hazards Info Information marked with this symbol helps you to carry out your tasks quickly and safely Follow the manua...

Page 3: ...itable for outdoor use Use of a cord suitable for outdoor use reduces the risk of electric shock If operating a power tool in a damp location is unavoidable use a residual current device RCD protected supply Use of an RCD reduces the risk of electric shock General Power Tool Safety Warnings Personal safety Stay alert watch what you are doing and use common sense when operating a power tool Do not ...

Page 4: ...s only with specifically designed battery packs Use of any other battery packs may create a risk of injury and fire When battery pack is not in use keep it away from other metal objects like paper clips coins keys nails screws or other small metal objects that can make a connection from one terminal to another Shorting the battery terminals together may cause burns or a fire Under abusive conditio...

Page 5: ...aw in the workpiece centre the saw blade in the kerf and check that saw teeth are not engaged into the material If saw blade is binding it may walk up or kickback from the workpiece as the saw is restarted Support large panels to minimise the risk of blade pinching and kickback Large panels tend to sag under their own weight Supports must be placed under the panel on both sides near the line of cu...

Page 6: ...device is not intended for processing ferrous metals Any other use than the one described in the chapter Intended use is regarded as reasonably foreseeable misuse Personnel qualifications People who use this device must have read and understood the instructions especially the Safety chapter Personal protective equipment Wear hearing protection Excessive noise can lead to hearing loss Wear eye prot...

Page 7: ...o drill in or slit open Warning Risk of injuries caused by flying parts or bursting tool heads Warning Dangers can occur at the device when it is used by untrained people in an unprofessional or improper way Observe the personnel qualifications Warning The device is not a toy and does not belong in the hands of children Warning Risk of suffocation Do not leave the packaging lying around Children m...

Page 8: ...e For an improved guidance a rip fence can be mounted The battery comes with its own battery level indication As a result you can check the current charging status without having to connect it to the device Device depiction 23 2 3 21 5 1 4 22 7 19 20 6 6 8 9 18 10 17 16 15 5 11 14 12 13 No Designation 1 Locking lever for the cutting depth 2 Start lock 3 Handle 4 Battery holder 5 On off switch 6 Ri...

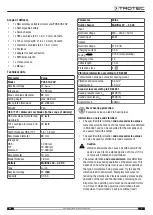
Page 9: ...ection class II Vibration information according to EN 62841 Total vibration emission value for sawing wood Vibration emission value Uncertainty K 3 6 m s 1 5 m s Sound values according to EN 62841 Sound pressure level LpA 82 dB A Sound power level LWA 93 dB A Uncertainty K 3 dB A Wear hearing protection Excessive noise can lead to hearing loss Information on noise and vibration The specified total...

Page 10: ...aging Please also observe any other national regulations Storage Before storing the device proceed as follows Switch off the device Hold onto the mains plug while pulling the power cable of the charger out of the mains socket Allow the device to cool down Remove the battery from the device If attached disconnect the dust extraction system from the device Clean the device as described in the Mainte...

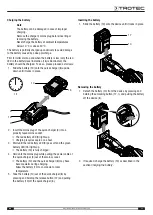
Page 11: ...properly fused mains socket ð The red battery LED 9 lights up ð Charging requires approx one hour 3 Wait until the red battery LED 9 goes off and the green battery LED 18 lights up ð The battery 10 is fully charged 4 Hold onto the mains plug while pulling the power cable of the quick charger 8 out of the mains socket ð The battery 10 and the quick charger 8 may have become warm during charging All...

Page 12: ...epth scale 25 1 25 3 Lock the locking lever 1 again Changing the saw blade Warning of electrical voltage Before any work on the device remove the mains plug from the mains socket and the battery from the device Hold onto the mains plug while pulling the power cable out of the mains socket Warning of hot surface The insertion tool might still be hot after the application Burn hazard when touching t...

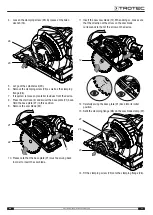
Page 13: ... plate 21 back Hold the base plate 21 in this position 9 Remove the saw blade 22 22 2 21 10 Please note that the base plate 21 must be swung back in order to insert the saw blade 11 Insert the new saw blade 12 When doing so make sure that the direction of the arrow on the saw blade corresponds to that of the arrow on the device 12 12 Carefully swing the base plate 21 back into its initial position...

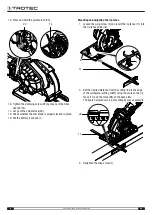
Page 14: ...erly locked in place 19 Put the battery 10 back in Mounting and adjusting the rip fence 1 Loosen the wing screw 7 and insert the rip fence 11 into the rip fence holder 6 6 11 7 2 Set the desired distance from the cutting line to the edge of the workpiece cutting width using the scale on the rip fence 11 and the mark 28 on the base plate The figure below shows a 4 cm setting by way of example 4 c m...

Page 15: ...king tape In this case the cutting line can also be drawn on the masking tape to protect the workpiece surface Non coated saw blades can be protected against corrosion by applying a thin layer of acid free oil Remove any oil before starting to saw to prevent oil residues from reaching the wood When sawing lightweight construction materials observe the legal regulations and recommendations of the m...

Page 16: ...5 2 7 Press the on off switch 5 and hold it during operation 8 Wait a moment until the motor has reached full speed 9 Place the saw blade onto the workpiece and start sawing 10 Move the device along the cutting line with a slight forward motion 11 After completing the sawing operation let go of the on off switch 5 to stop the device 5 Connecting the dust extraction system You can connect a vacuum ...

Page 17: ...r proper functioning several times during production If malfunctions occur nonetheless check the device according to the following list Troubleshooting tasks which require the housing to be opened must only be carried out by an authorized specialist electrical company or by Trotec Light smoke or odour is emitted during the first use This is not a fault These phenomena disappear after a brief runti...

Page 18: ...trical voltage Do not touch the mains plug or the battery with wet or damp hands Switch off the device Allow the device to cool down completely Remove the battery from the device Warning of electrical voltage Maintenance tasks which require the housing to be opened must only be carried out by authorised specialist companies or by Trotec Notes on maintenance Inside the device there are no parts tha...

Page 19: ...lators Please dispose of batteries and accumulators according to the relevant legal requirements Declaration of conformity The text below sets out the contents of the declaration of conformity The signed declaration of conformity can be found at https hub trotec com id 44514 Declaration of conformity in accordance with the EC Machinery Directive 2006 42 EC Annex II Part 1 Section A Herewith we Tro...

Page 20: ...Trotec GmbH Grebbener Str 7 D 52525 Heinsberg 49 2452 962 400 49 2452 962 200 info trotec com www trotec com ...

Reviews: