background image

............ www.truemfg.com ............

............ www.truemfg.com ............

TABLE OF CONTENTS

Safety Information

Safety Precautions

1

Proper Disposal

2

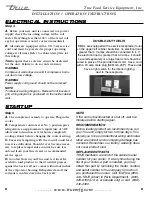
Connecting Electricity

3

Adapter Plugs

3

Installation / Operation Instructions

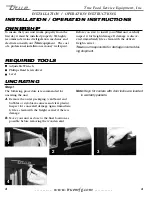
Ownership

4

Required Tools

4

Uncrating

4

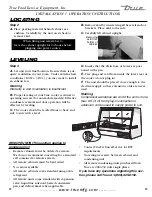
Location

Leveling Cabinet

5

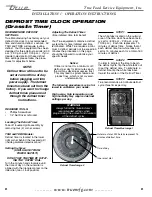
Defrost Timer Instructions (Grasslin Timer)

6

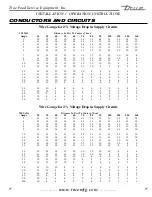
Wire Gauge Chart

7

Electrical Instructions & Start-up

8

Shelving & Sealing Unit to Floor

9

Maintenance, Care & Cleaning

Temperature Control Adjustment

10

Cleaning the Condenser

11

Important Warranty Information

12

Stainless Steel Equipment Care & Cleaning

13-14

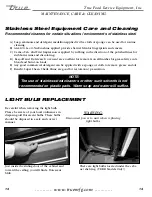
Lightbulb Replacement

14

Warranty (U.S.A. & Canada Only!)

15

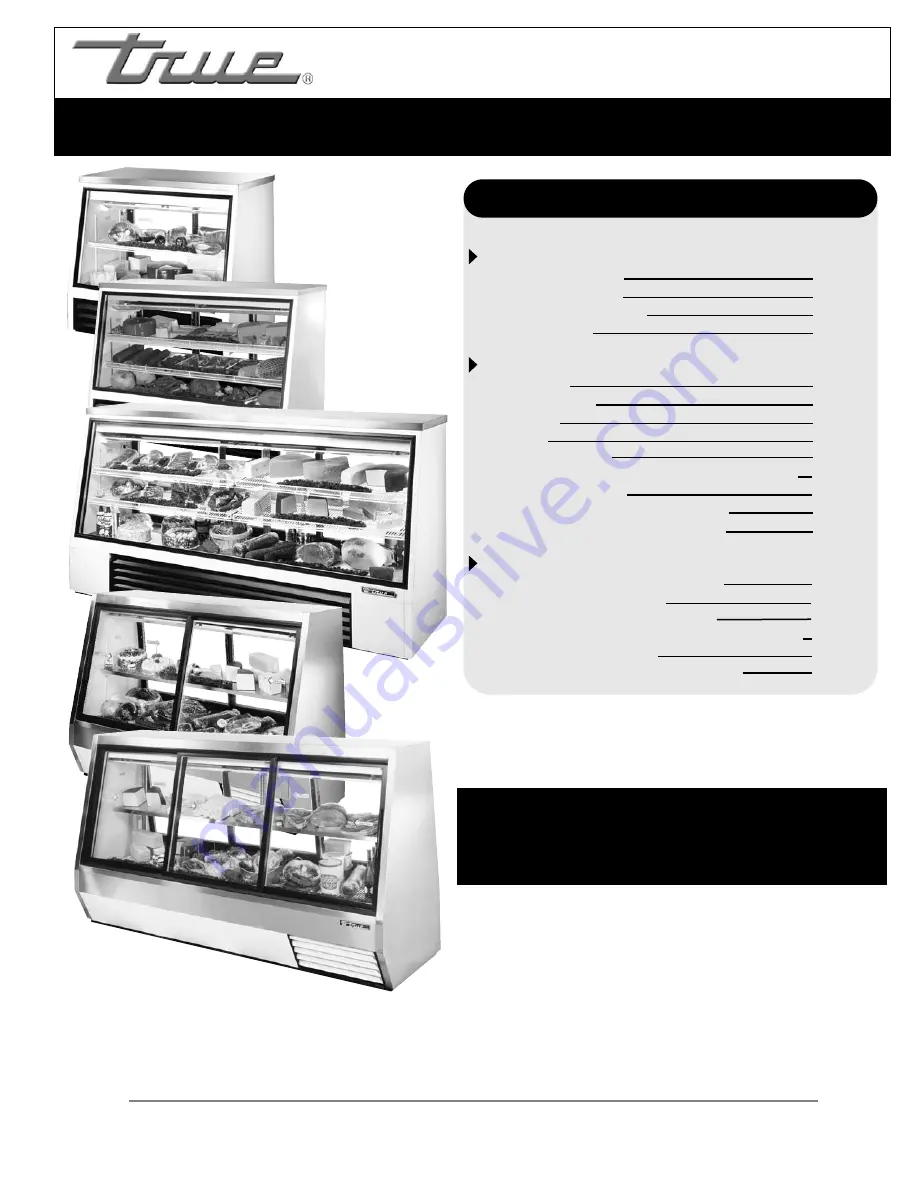
I N S T A L L A T I O N   M A N U A L   F O R  

S I N G L E   D U T Y   A N D   D O U B L E   D U T Y   D E L I   E Q U I P M E N T

S I N G L E   D U T Y   A N D   D O U B L E

S I N G L E   D U T Y   A N D   D O U B L E

D U T Y   D E L I   E Q U I P M E N T  

D U T Y   D E L I   E Q U I P M E N T  

TRUE FOOD SERVICE EQUIPMENT, INC.

2001 East Terra Lane • P.O. Box 970 • O’Fallon, Missouri 63366

(636)-240-2400 • FAX (636)272-2408 • INT’L FAX (636)272-7546 • (800)325-6152

Parts Department (800)424-TRUE • Parts Department FAX# (636)272-9471

CONGRATULATIONS!   

You have just purchased the finest commercial 

refrigerator available.  You can expect many years of 

trouble-free operation.

TSID-48-2-L

TSID-72-3

TSID-96-3

TDBD-72-4

TDBD-96-6

*Spanish version included.

3/19/07-2K  SB #897017

Summary of Contents for TDBD-72-4

Page 1: ...re Cleaning 13 14 Lightbulb Replacement 14 Warranty U S A Canada Only 15 INSTALLATION MANUAL FOR SINGLE DUTY AND DOUBLE DUTY DELI EQUIPMENT S I N G L E D U T Y A N D D O U B L E S I N G L E D U T Y A N D D O U B L E D U T Y D E L I E Q U I P M E N T D U T Y D E L I E Q U I P M E N T TRUE FOOD SERVICE EQUIPMENT INC 2001 East Terra Lane P O Box 970 O Fallon Missouri 63366 636 240 2400 FAX 636 272 24...

Page 2: ... www truemfg com www truemfg com True Food Service Equipment Inc True Food Service Equipment Inc ...

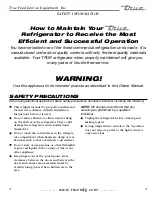
Page 3: ...end that any servicing be preformed by a qualified individual Unplug the refrigerator before cleaning and making repairs Setting temperature controls to the 0 position does not remove power to the light circuit or evaporator fans WARNING Use this appliance for its intended purpose as described in this Owner Manual How to Maintain Your Refrigerator to Receive the Most Efficient and Successful Opera...

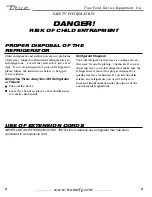
Page 4: ...hey will sit for just a few days If you are getting rid of your old refrigerator please follow the instructions below to help pre vent accidents Before You Throw Away Your Old Refrigerator or Freezer Take off the doors Leave the shelves in place so that children may not easily climb inside Refrigerant Disposal Your old refrigerator may have a cooling system that uses Ozone Depleting chemicals If y...

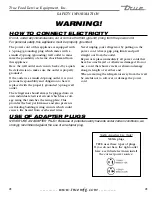
Page 5: ... the power cord Always grip plug firmly and pull straight out from the outlet Repair or replace immediately all power cords that have become frayed or otherwise damaged Do not use a cord that shows cracks or abrasion damage along its length or at either end When removing the refrigerator away from the wall be careful not to roll over or damage the power cord HOW TO CONNECT ELECTRICITY Do not under...

Page 6: ...age If damage is discov ered immediately file a claim with the delivery freight carrier True is not responsible for damage incurred dur ing shipment OWNERSHIP Adjustable Wrench Phillips Head Screwdriver Level REQUIRED TOOLS Step 1 The following procedure is recommended for uncrating the unit A Remove the outer packaging cardboard and bubbles or styrofoam corners and clear plastic Inspect for conce...

Page 7: ...oler should be leveled front to back and side to side with a level D Ensure that the drain hose or hoses are posi tioned in the pan E Free plug and cord from inside the lower rear of the cooler do not plug in F The unit should be placed close enough to the electrical supply so that extension cords are never used Warning Compressor warranties are void if the unit is more than 9 ft 3 m from plug in ...

Page 8: ...gle marker on the inner dial two o clock position Adjusting The Defrost Timer time initiated time terminated Your True equipment contains a defrost system that is time initiated and time terminated While True requires a mini mum 3 defrost periods not to exceed 60 minutes the procedure on this page should be followed to customize your specific needs Notice If timer is not set for a minimum of 3 def...

Page 9: ... 6 5 4 4 30 12 10 8 8 6 6 6 6 5 4 4 3 35 10 10 8 6 6 6 5 5 4 4 3 2 40 10 8 8 6 6 5 5 4 4 3 2 2 45 10 8 6 6 6 5 4 4 3 3 2 1 50 10 8 6 6 5 4 4 3 3 2 1 1 Wire Gauge for 2 Voltage Drop in Supply Circuits 230 Volts Distance In Feet To Center of Load Amps 20 30 40 50 60 70 80 90 100 120 140 160 5 14 14 14 14 14 14 14 14 14 14 14 14 6 14 14 14 14 14 14 14 14 14 14 14 12 7 14 14 14 14 14 14 14 14 14 14 12...

Page 10: ...e sure it is ordered from your True dealer or recommended service agent D Good air flow in your True unit is critical Be careful to load product so that it neither presses against the back wall nor comes within four inches of the evaporator housing Refrigerated air off the coil must circulate down the back wall NOTE If the unit is disconnected or shut off wait five minutes before starting again RE...

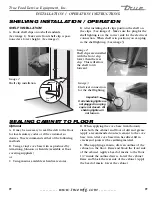
Page 11: ...stallation Image 2 Shelf clips are installed with the front clip lower than the rear clip This will allow the shelf to tilt forward Optional A It may be necessary to seal the deli to the floor for local sanitary codes or if the customer so desires True recommends either of the following methods B Using a vinyl cove base trim as produced by Armstrong Johnson or Kentile available at floor covering s...

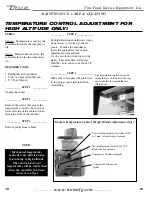
Page 12: ...necessary to warm up the set points To make the adjustment insert the appropriate tool in each adjustment screw and turn 1 4 of a revolution clockwise to the right This procedure will adjust both the cut in and cut out about 2 F warmer ___________ STEP 5 ___________ Make sure to reconnect the pink wire to the proper spade terminal when reinstalling NOTE Mechanical temperature controllers are affec...

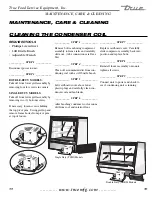
Page 13: ...s at top of louver ___________ STEP 3 ___________ Remove bolts anchoring compressor assembly to frame rails and carefully slide out tube connections are flexi ble ___________ STEP 4 ___________ Clean off accumulated dirt from con densing coil with a stiff bristle brush ___________ STEP 5 ___________ Lift cardboard cover above fan at plastic plugs and carefully clean con denser coil and fan blades ...

Page 14: ...rtical fins You need to be able to see through the condenser for the unit to function at maximum capacity Do not place filter material in front of condensing coil This material blocks air flow to the coil similar to having a dirty coil THE CLEANING OF THE CONDENSER IS NOT COVERED BY THE WARRANTY HOW TO CLEAN THE CONDENSER 1 Disconnect the electrical power to the unit 2 Remove the louvered grill 3 ...

Page 15: ...ible lines on some stainless steels Use a plastic scouring pad or soft cloth when you cannot see the grain 3 Use alkaline alkaline chlorinated or non chloride containing cleaners While many traditional cleaners are loaded with chlorides the industry is providing an ever increasing choice of non chloride cleaners If you are not sure of your cleaner s chloride content contact your cleaner supplier I...

Page 16: ...ations environments of stainless steel A Soap ammonia and detergent medallion applied with a cloth or sponge can be used for routine cleaning B Arcal 20 Lac O Nu Ecoshine applied provides barrier film for fingerprints and smears C Cameo Talc Zud First Impression is applied by rubbing in the direction of the polished lines for stubborn stains and discoloring D Easy off and De Grease It oven aid are...

Page 17: ...st be obtained W WARRANTY CLAIMS ARRANTY CLAIMS All claims for labor or parts must be made directly through TRUE All claims should include model number of the unit the serial number of the cabinet proof of purchase date of installation and all pertinent information supporting the existence of the alleged defect In case of warranty compressor the compressor model tag must be returned to TRUE along ...

Reviews: