background image

PAGE 1 OF 18 

0622 IH-7935

ALL-WEATHER

LOW PROFILE

FLOOR SCALE

1-800-295-5510

uline.com

H-7935, H-7936 

H-9672, H-9673

INTRODUCTION
INTRODUCTION

SITE SELECTION 

Select a site for the floor scale where it is least likely to 

be damaged by forklifts and other material handling 

devices. Floor scale load cell weighing elements are 

prone to overload damage caused by side impacts, 

falling objects and weight loads that exceed the rated 

capacity of the scale. 

Site should be:

• Level within 1/4".

• Free from vibration.

• Clean of debris.

•  Out of the way of vehicle traffic patterns, unless 

installed in a pit while having a rated capacity 

that exceeds all loaded vehicle weights that could 

possibly drive onto or contact the scale.

The cable from the floor scale to the digital weight 

indicator should be run through conduit to protect it 

against possible damage. Running the instrument cable 

through conduit is the best method of protection.

UNPACKING

1.  Inspect your shipment for damage. If you see visible 

signs of damage, notify carrier at once.

2.  Remove floor scale from the shipping pallet. 

3.  Unpack the digital indicator. Digital indicator and 

power cord ship in a separate box.

RAMP INSTALLATION (OPTIONAL)

1.  Set floor scale in a desired location.

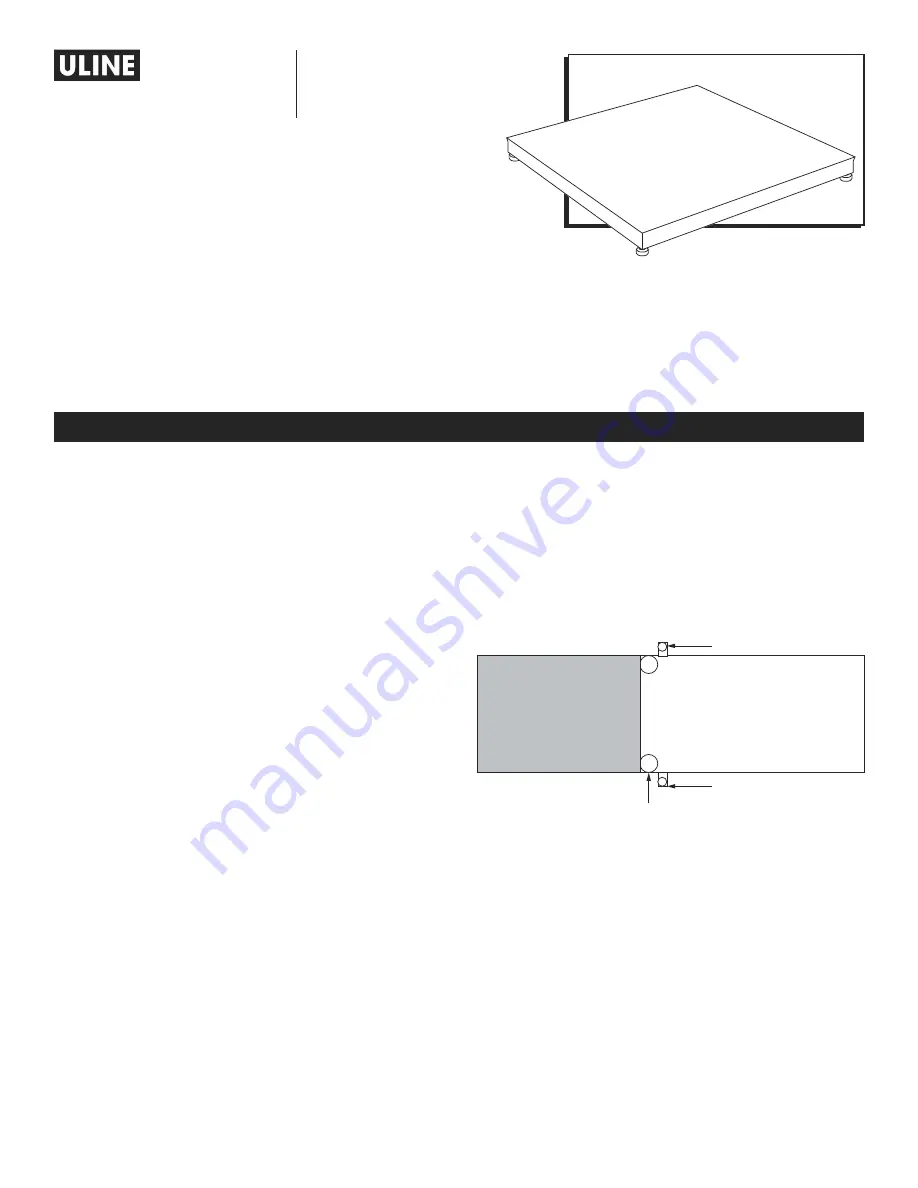
2.  Position the scale feet inside the mounting tabs.  

(See Figure 1)

3.  Anchor the ramp to the floor using two 1/2 x 3" 

anchors (not included).

HEIGHT AND LEVEL ADJUSTMENTS

1.  Unlock the locknuts on all four feet.

2.  Using a pry bar, lift the weight of the scale base off 

the scale feet.

3.  Make adjustments by screwing the feet 

counterclockwise. All four feet should make firm 

contact with the floor.

4.  Do not screw feet counterclockwise more than ten 

turns.

5.  Tighten locknuts on feet.

6.  Check your work.

Para Español, vea páginas 7-12.

Pour le français, consulter les pages 13-18.

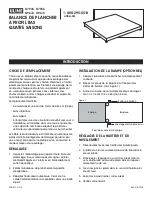
Figure 1

Ramp

Scale

Mounting Tabs

Load Cell Foot

Anchor goes here.

Summary of Contents for H-9672

Page 1: ...possible damage Running the instrument cable through conduit is the best method of protection UNPACKING 1 Inspect your shipment for damage If you see visible signs of damage notify carrier at once 2 R...

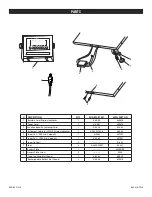
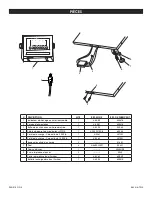
Page 2: ...isplay Indicator 1 H 754 7510CB 65088 5 Load Cell 5 000 lb Capacity 1 H 5261 307301 5 Load Cell 10 000 lb Capacity 1 H 5262 307501 6 Load Cell Bolt 2 51601 7 Foot 4 H 4602 SFEET 50431 8 Access Plate 1...

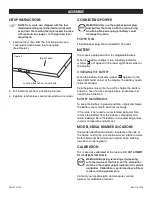
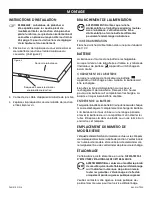
Page 3: ...f the display the battery needs to be recharged Plug the power plug into the wall to charge the battery Allow 3 4 hours to fully charge battery Scale does not need to be turned on BATTERY MAINTENANCE...

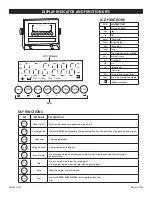
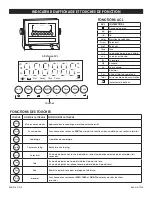
Page 4: ...k to net weight automatically Tare At gross weight mode get the tare weight At net weight mode clear the tare get the gross weight Zero Zeros the weight within tolerance Print Works with ZERO TARE ON...

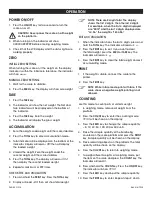
Page 5: ...weight NOTE There are 8 digits total The display shows the first 4 digits then the last 4 digits For example when the first 4 digits displayed are 0012 and the last 4 digits displayed are 34 56 the w...

Page 6: ...input and output nnnnnnn Calibration error Bad connection Load cell has quality problem Check that scale is level Check load cell connection Inspect load cell Check input and output Maintain a good co...

Page 7: ...ento a trav s de un conducto es el mejor m todo de protecci n DESEMPACAR 1 Inspeccione el cargamento en busca de da os Si observa se ales de da os visibles notifique al transportista de inmediato 2 Re...

Page 8: ...e Pantalla LP 7510 1 H 754 7510CB 65088 5 Celda de Carga Capacidad de 5 000 lb 1 H 5261 307301 5 Celda de Carga Capacidad de 10 000 lb 1 H 5262 307501 6 Perno de la Celda de Carga 2 51601 7 Pata 4 H 4...

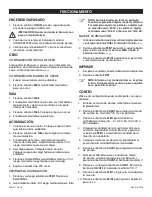
Page 9: ...cha de la pantalla la bater a deber cargarse de nuevo Enchufe a la pared para cargar la bater a Permita de 3 4 horas para cargar la bater a completamente No necesita encender la b scula MANTENIMIENTO...

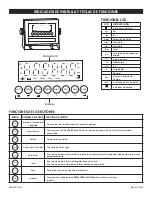
Page 10: ...apagar Acumulaci n Funciona con el bot n PRINT para activar la funci n de acumulaci n y verificar el resultado acumulado Conteo Operaci n de conteo Conversi n a Lbs Kgs Convierte entre lbs y kgs Peso...

Page 11: ...itos en total La pantalla muestra los primeros 4 d gitos luego los ltimos 4 Por ejemplo cuando los primeros 4 d gitos que se muestren sean 0012 y los ltimos 4 d gitos mostrados sean 34 56 el peso es d...

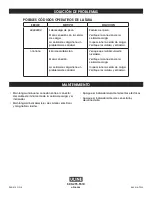
Page 12: ...y entradas nnnnnnn Error de calibraci n Mala conexi n La celda de carga tiene un problema de calidad Verique que la b scula est nivelada Verifique la conexi n de la celda de carga Inspeccione la celda...

Page 13: ...r le c ble par un conduit est le meilleur moyen de le prot ger D BALLAGE 1 Inspectez l emballage pour rep rer toute trace de dommage Si vous remarquez des signes visibles d endommagement informez en i...

Page 14: ...10 1 H 754 7510CB 65088 5 Cellule de charge Capacit de 5 000 lb 1 H 5261 307301 5 Cellule de charge Capacit de 10 000 lb 1 H 5262 307501 6 Boulon de cellule de charge 2 51601 7 Pied 4 H 4602 SFEET 504...

Page 15: ...appara t sur l affichage en bas droite la batterie doit tre recharg e Branchez la fiche d alimentation au mur pour le rechargement de la batterie Pr voyez 3 4 heures pour que la batterie soit compl te...

Page 16: ...Net Affichage ACL Touches TOUCHE NOM DE LA TOUCHE FONCTION DE LA TOUCHE Mise en marche arr t Appuyez deux secondes pour mettre en marche arr t Accumulation Fonctionne avec la touche PRINT pour remplir...

Page 17: ...tal L cran affiche les 4 premiers chiffres puis les 4 derniers Par exemple lorsque les 4 premiers chiffres affich s sont 0012 et les 4 derniers 34 56 le poids est de 1234 56 QUITTER LA FONCTION ACCUMU...

Page 18: ...la sortie nnnnnnn Erreur d talonnage Mauvaise connexion Probl me de qualit de la cellule de charge V rifiez que la balance est de niveau V rifiez la connexion de la cellule de charge Inspectez la cel...

Reviews: