background image

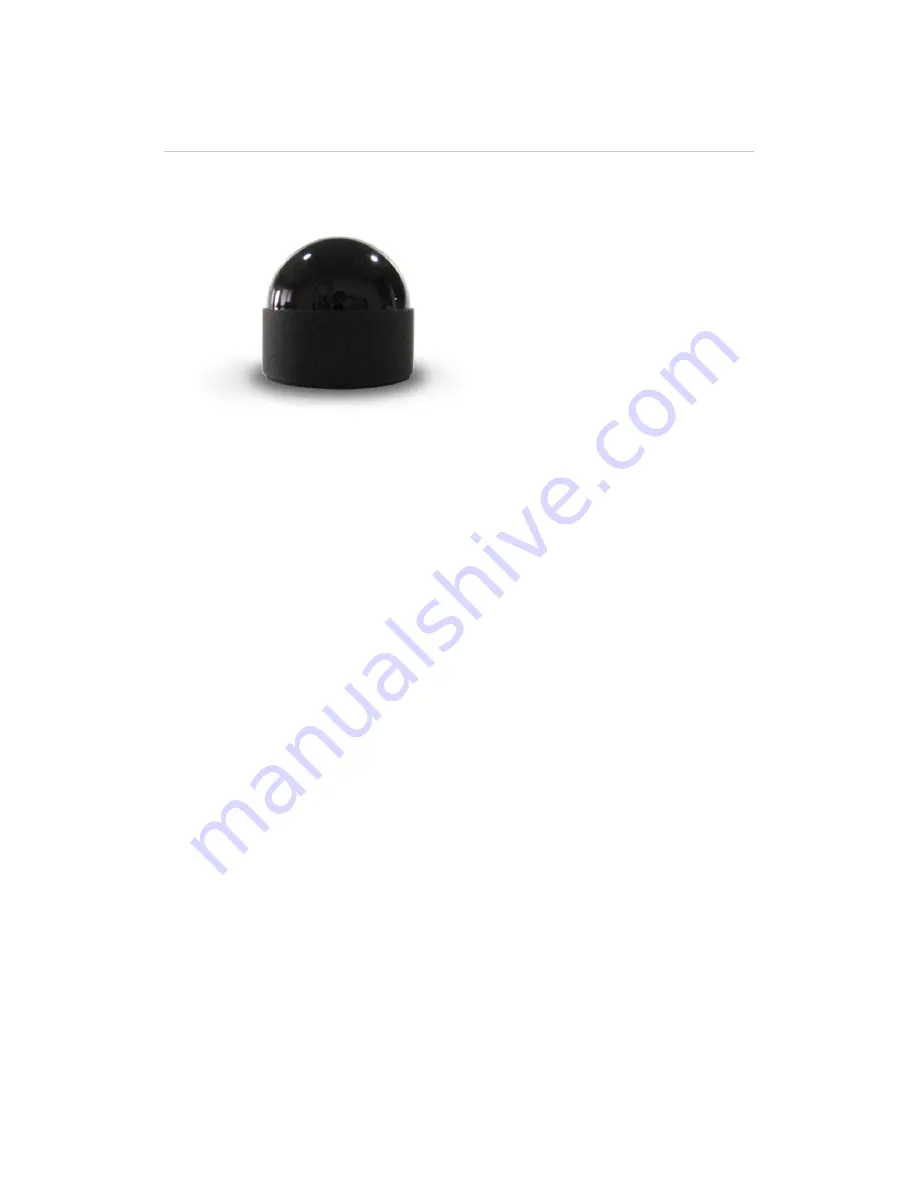
Smart


IR


Controller

 ‐ 

Manual


Product


name:


Smart


IR


Controller


Product


description:


this


is


one


of


the


components


of


USUNG


SmartHome


System,


and


it


must


work


with


other


SmartHome


components.


It


can


replace


various


remote


controllers


to


control


different


infrared


devices


such


as


air


conditioners,


TVs,


DVDs,


etc.


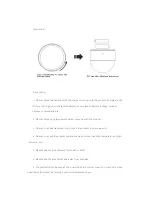
Installation&


Usage:


1.


Put


the


infrared


controller


in


upside


down


position,


and


turn


its


bottom


cover


counterclockwisely


and


open


it;


2.


Take


out


the


VII


two


AAA


alkaline


batteriesfromthe


package,


and


insert


the


batteries


properly


by


following


the


positive/negative


terminal


marks.


3.


Aligning


the


notch


on


the


bottom


cover


to


the


protrusion


on


top


cover


of


the


Controller,


drop


the


cover


and


turn


it


clockwisely;


4.


Place


directly,


or


use


the


foam


tape


come


up


with


the


product


package


to


fix,


the


Infrared


Controller


to


a


proper


position;


Summary of Contents for Smart IR Controller

Page 1: ...n Usage 1 Put the infrared controller in upside down position and turn its bottom cover counterclockwisely and open it 2 Take out the VII two AAA alkaline batteriesfromthe package and insert the batteries properly by following the positive negative terminal marks 3 Aligning the notch on the bottom cover to the protrusion on top cover of the Controller drop the cover and turn it clockwisely 4 Place...

Page 2: ...ter come up with the product 3 Please do not disassemble or try to repair the product in your own will 4 Please do not put the product under extreme conditions like high temperature or high pressure etc 5 Please keep the product away from baby or child 6 Please keep the product dry and away from humidity 7 The product ID can be seen at the inner side of the bottom cover You may find it when open t...

Page 3: ...Xiamen Tongren IOT Technology Co Ltd 24Hr hotline service 4008888022 Website http home iusung com ...

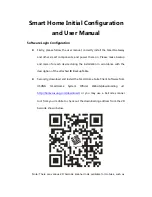
Page 4: ...ing the installation in accordance with the description of the attached ID Backup Table z Secondly download and install the SmartHome Suite Client Software from USUNG SmartHome System Official Website downloading url http home iusung com download or you may use a barcode scanner tool from your mobile to check out the downloading address from the 2D barcode shown below Note There are various 2D bar...

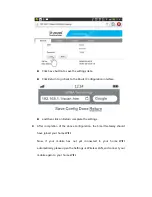
Page 5: ...ct Discover choose Scan if not available please enable the Scan tool in the Settings z Then on your mobile enter Settings Æ Wireless LAN find the AP named like WIMA z Open the client software from the Login interface click on the Initial ...

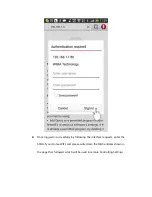
Page 6: ...figuration interface z In Router Configuration interface click on Confirmation button and you will be redirect to your mobile phone s default browser where you can login to the Smart Gateway with admin as both default username and password ...

Page 7: ...ogged in successfully by following the interface requests enter the SSID of your Home WIFI and please write down the MAC address shown in the page that followed which will be used in remote Controlling Settings ...

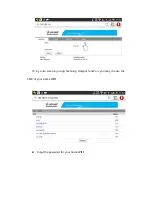
Page 8: ...Or by auto scanning using Scanning Hotspot function you may choose the SSID of your Home WIFI z Input the password for your home WIFI ...

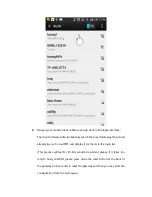
Page 9: ...e and then click on Return complete the settings z After completion of the above configuration the Smart Gateway should have joined your home WIFI Now if your mobile has not yet connected to your home WIFI automatically please open the Settings Æ Wireless LAN and connect your mobile again to your home WIFI ...

Page 10: ... that joined already in your home WIFI and display it or them in the login list This process will last for 10 60 seconds be patient please If it takes too long to find your WIFI please press down the reset button at the back of the gateway for 6 seconds to reset the gateway and then you may start the configuration from the start again ...

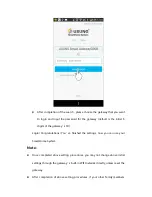
Page 11: ...s of the gateway s ID Login Congratulations You ve finished the settings now you can use your SmartHome System Note z Once completed above setting procedures you may not change above initial settings through the gateway s built in WIFI network directly unless reset the gateway z After completion of above setting procedures if your other family members ...

Page 12: ... connection to the wireless LAN of your home router z If you changed the home WIFI router you need to reset the gateway for guidance please refer to the product manual and repeat the configurations described in this manual Using APP Software z Naming and Area Definition Please confirm firstly that you have correctly installed and powered on all smart components Open the SmartHome APP software and ...

Page 13: ...smart components The default name of a newly added device is its ID Click on any device in the popup menu you can rename the device and assign an area to it if you have marked down the information of the device such as installation location etc by using the suite attached ID Backup Table ...

Page 14: ...p right corner z Using Smart Power Controller Before start using please make sure you have correctly installed the Smart Power Controller strictly following the attached Product Manual Then please go back to the home interface of the software click on Online Devices button to enter the Online Device list ...

Page 15: ... Find any Smart Power Controller item in the list click on the Switch button and you may turn on off the light or light group controlled by this controller ...

Page 16: ... Device Details interface click Associate Device to open the Select Device to Bind list and check the device that you want to bind with this Switch Panel After binding you may use the Switch Panel to turn on off the light or light group controlled by this Smart Power Controller Click it again to cancel the binding The Panel can be bound to multiple Smart Power Controllers simultaneously ...

Page 17: ...er and the appliances Click to enter My Settings Æ Remote Devices Click top right corner and add a new simulated remote controller for the mobile client In the Add New Simulative Remote Controller interface enter the name for the simulative Remote Controller and select the type for the remote controller e g TV Click the Remote Controller Name in the Add New list to open the Remote Controller Learn...

Page 18: ...ally Click any key on the simulative remote controller to enter the learning mode when seeing prompt On learning key please turn your remote controller to the gateway and press down corresponding key please operate according to the prompt message When the key turns dark and the prompt learning s done pops up it shows the key is successfully learnt ...

Page 19: ... to learn other necessary keys for your simulative remote controller After the key learning is done go back to My Settings interface and click to enter Online Device Click Guest Room Infrared Controller to enter Device Details interface ...

Page 20: ... Click on Associate Remote Controller to enter Set Remote Binding interface In Bind Remote Controller list check to bind simulative TV remote ...

Page 21: ...tting is done Go back the software home click Remote Controllable Devices key in the remote controllable device list click to open TV simulative remote controller Now you may start to use the keys of simulative remote controller to control your TV ...

Page 22: ...ipment does cause harmful interference to radio or television reception which can be determined by turning the equipment off and on the user is encouraged to try to correct the interference by one or more of the following measures Reorient or relocate the receiving antenna Increase the separation between the equipment and receiver Connect the equipment into an outlet on a circuit different from th...

Reviews: