background image

MADE IN THE U.S.A.

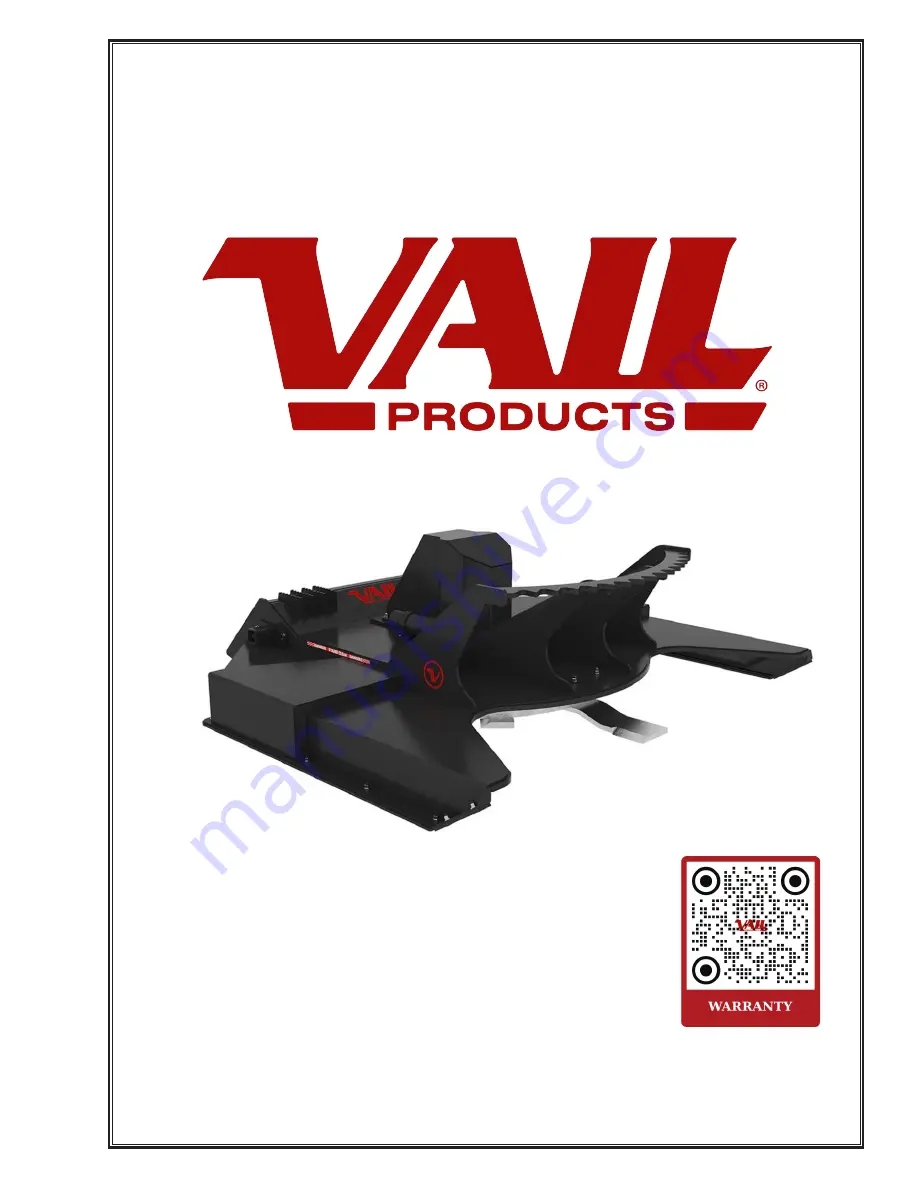
OWNER’S MANUAL

XBC2-8515/20

XBC2-7715/20

Rev. 

11

-

9

-2022

Summary of Contents for PXBC2-8515/20

Page 1: ...MADE IN THE U S A OWNER S MANUAL XBC2 8515 20 XBC2 7715 20 Rev 11 9 2022...

Page 2: ...SPECIFICATIONS AND DESIGN ARE SUBJECT TO CHANGE WITHOUT NOTICE AND WITHOUT LIABILITY...

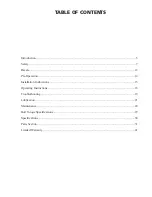
Page 3: ...n 5 Safety 7 Decals 12 Pre Operation 14 Installation Instructions 15 Operating Instructions 16 Troubleshooting 19 Lubrication 21 Maintenance 22 Bolt Torque Specifications 29 Specifications 30 Parts Se...

Page 4: ...EQUIPMENT If you do not understand any section of this manual and or function of this product please contact your local authorized dealer immediately SPECIFICATIONS AND DESIGN ARE SUBJECT TO CHANGE W...

Page 5: ...l If there is any portion of this manual for function you do not understand contact your local authorized dealer or the manufacturer to obtain further assistance Keep this manual available for referen...

Page 6: ...SPECIFICATIONS AND DESIGN ARE SUBJECT TO CHANGE WITHOUT NOTICE AND WITHOUT LIABILITY...

Page 7: ...safety statements in all manuals prior to operating or working on this equipment Know and obey all OSHA regulations local laws and other professional guidelines for your operation Know and follow goo...

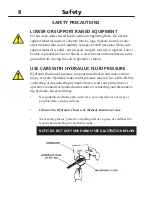
Page 8: ...YDRAULIC FLUID PRESSURE Hydraulic fluid under pressure can penetrate the skin and cause serious injury or death Hydraulic leaks under pressure may not be visible Before connecting or disconnecting hyd...

Page 9: ...correct tools for the job at hand Make sure they are in good condition for the task required Wear the protective equipment specified by the tool manufacturer SAFELY OPERATE EQUIPMENT Do not operate e...

Page 10: ...n of the useful life of the unit drain all fluids and dis mantle by separating the different materials rubber steel plastic etc Follow all federal state and local regulations for recycling and disposa...

Page 11: ...er When driving on public roads use safety lights reflectors Slow Moving Vehicle signs etc to prevent accidents Check local government regulations that may affect you Do not drive close to ditches exc...

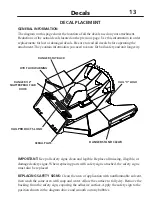
Page 12: ...LADES STAYBACK DANGER ROTATING BLADES DANGER DO NOT OPERATE DANGER STAY CLEAR 300 FEET DANGER DO NOT EXIT WARNING HIGH PRESSURE FLUID DANGER THROWN OBJECTS DANGER 1 2 THICK SHATTERPROOF CAB DOOR VAIL...

Page 13: ...ey contain information you need to know for both safety and unit longevity IMPORTANT Keep all safety signs clean and legible Replace all missing illegible or damaged safety signs When replacing parts...

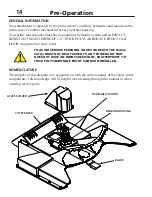
Page 14: ...T CAB DOOR to operate the rotary cutter TO AVOID SERIOUS PERSONAL INJURY OR DEATH THE Rotary Cutter MUST NOT BE ATTACHED TO ANY POWER UNIT THAT DOES NOT HAVE AN IMPACT RESISTANT SHATTERPROOF 1 2 THICK...

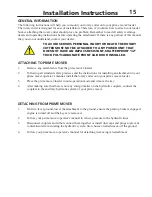
Page 15: ...er 3 Place the prime mover loader in non operation mode and remove the key 4 After making sure that there is not any foreign matter on the hydraulic couplers connect the couplers to the auxiliary hydr...

Page 16: ...o prevent overheating of the hydraulic system If the rotary cutter stalls disengage auxiliary hydraulics and remove cutter from debris before restarting Blade rotation is maintained by operating the a...

Page 17: ...t full speed and then start forward travel CUTTING LARGE BRUSH AND SMALL TREES UP TO 10 IN DIAMETER WARNING TREES CAN FALL IN ANY DIRECTION IT IS THE OPERATOR S RESPONSIBILITY TO BE CERTAIN THE AREA I...

Page 18: ...ary cutter from debris Engage auxiliary hydraulics to start blade rotation Be sure the rotary cutter is operating smoothly and at full speed and then start forward travel REPEATED STALLING OF ROTATING...

Page 19: ...m to be unable to handle the volume of brush slow down the travel speed until the unit reaches full speed before proceeding SCALPING THE GROUND OR BOTTOMING OUT Be aware of changes in the terrain Stay...

Page 20: ...help prevent damage Replace decals if damaged or in unreadable condition Apply a rust preventive spray to all moving parts and to the bottom of the deck Store the unit in a dry and protected place Lea...

Page 21: ...edless replacement of parts WEEKLY CHECK The oil level in the drive bearing housing should be checked once a week Fill as necessary with a mild extreme pressure lubricant API GL 5 No 80 or 90 weight g...

Page 22: ...e requirements have been reduced to an absolute minimum However it is very important that these maintenance functions be performed as described To avoid serious injury Lower the rotary cutter to the g...

Page 23: ...ened position one of the nuts in the access opening and remove the nut securing the blade to the blade carrier Remove blade and blade bolt NOTE When replacing the blades with new ones or sharpening th...

Page 24: ...n hardware HYDRAULIC MOTOR MOTOR COVER BEARING HOUSING REPLACING HYDRAULIC MOTOR When replacing the hydraulic motor the unit should be setting firmly on the ground with the hydraulic couplers disconne...

Page 25: ...RIVE BEARING HOUSING When replacing the drive bearing housing the unit must be detached from the prime mover in a clean open location with a hoist available that has adequate lift capacity for lifting...

Page 26: ...10 Re install motor cover using existing hardware and torque to specification See Bolt Torque Specifications 11 Re attach the hoist to the push bar and slowly lift the rotary cutter and place it upsid...

Page 27: ...xtraction hose into the housing so that it reaches the bottom 2 Place the output hose into an approved container or drum that will hold the waste oil 3 Following the instructions for your fluid remova...

Page 28: ...ly Remove any foreign material from blade carrier assembly CUTTER STALLS TOO EASILY OR LOSS OF POWER Power and return hoses reversed Check flow direction and switch hydraulic couplers Bearing failure...

Page 29: ...grade NOTE Manufacturing marks will vary Pounds Feet Newton Meters Pounds Feet Newton Meters Inches Millimeters UNC UNF UNC UNF UNC UNF UNC UNF GRADE 2 1 4 6 35 8 9 11 12 10 13 14 18 5 16 7 94 14 17...

Page 30: ...all Width 79 5 88 Overall Length 79 84 Cutting Width 67 75 5 Minimum Cutting Height 0 625 0 625 Cutting Capacity Max Tree Diameter 10 Deck Thickness 3 16 High Strength 1 4 High Strength Max Operating...

Page 31: ...31 Parts Section 77 85 Deck 8 9 9 13 18 20 10 21 22 16 17 1 19 10 11 14 12 15 2 3 4 6 7 5...

Page 32: ...crew Gr 9 Torque to 239 Ft lbs 8 9 51090800 5 8 Lock Washer Nord Lock 8 10 51091100 1 2 SAE Flat Washer 18 11 79513320 1 2 Lock Washer 6 12 79510300 1 2 NC x 1 1 4 Hex Cap Screw Gr 5 6 13 59999000 Man...

Page 33: ...33 Parts Section 77 x 85 Drive 1 2 12 4 19 20 6 3 7 9 10 18 8 5 11...

Page 34: ...1 51060700 Hydraulic Fitting Case Drain 04 MBo x 06 ORFS 1 12 51060600 Hydraulic Fitting Supply 12 MBo x 12 ORFS 2 15 51067000 Protective Sleeve 66 NOT SHOWN 1 16 51095200 Heat Shrink Band Clamp 2 2 1...

Page 35: ...35 77 85 Drive continued Parts Section 30 21 26 31 27 28 33 32 29...

Page 36: ...x 49 2 29 51060821 Hyd Hose Assy Case Drain Internal 3 8 x 52 1 30 51060831 Hyd Hose Assy Supply External 3 4 x 72 5 2 31 51060841 Hyd Hose Assy Case Drain External 3 8 x 72 5 1 30 51060851 Hyd Hose A...

Page 37: ...s This section describes the installation replacement of the Mulching blades Plow bolts must be properly positioned and bottomed out in the countersunk square holes in the mulching blade Install and t...

Page 38: ...1060301 Blade Bolt Square 3 4 3 51060411 Blade 3 4 Thick NO Emboss 3 4 4 51091151 1 1 8 Thick Flat Washer 3 4 5 51090651 1 1 8 UNF Lock Nut 3 4 6 51060450 Blade Mulch 3 4 7 51090020 1 x 3 1 2 Plow Bol...

Page 39: ...39 Bolt Kit Blade Kit Mulch Blade Kit 1 2 3 4 5 7 6 77 85 Blades Parts Section...

Page 40: ...of item 5 and four 4 each of item 6 7 1 51060301 Blade Bolt Square 1 2 51060411 Blade 3 4 Thick NO Emboss 1 3 51091151 1 1 8 Thick Flat Washer 1 4 51090651 1 1 8 UNF Lock Nut 1 5 51060450 Blade Mulch...

Page 41: ...ucts not supplied by the seller s licensed manufacturer it extends to the buyer the warranties of the manufacturer only Vail Products equipment are warranted against any defect in material and workman...

Page 42: ...42...

Page 43: ...43...

Page 44: ...OWNER S MANUAL OWNER S MANUAL MUST STAY WITH PRODUCT...

Reviews: