background image


One Blue Hill Plaza, 16

th

 Floor, PO Box 1546 

Pearl River, NY 10965 

1-800-PC-AMERICA, 1-800-722-6374 

(Voice) 845-920-0800 (Fax) 845-920-0880 

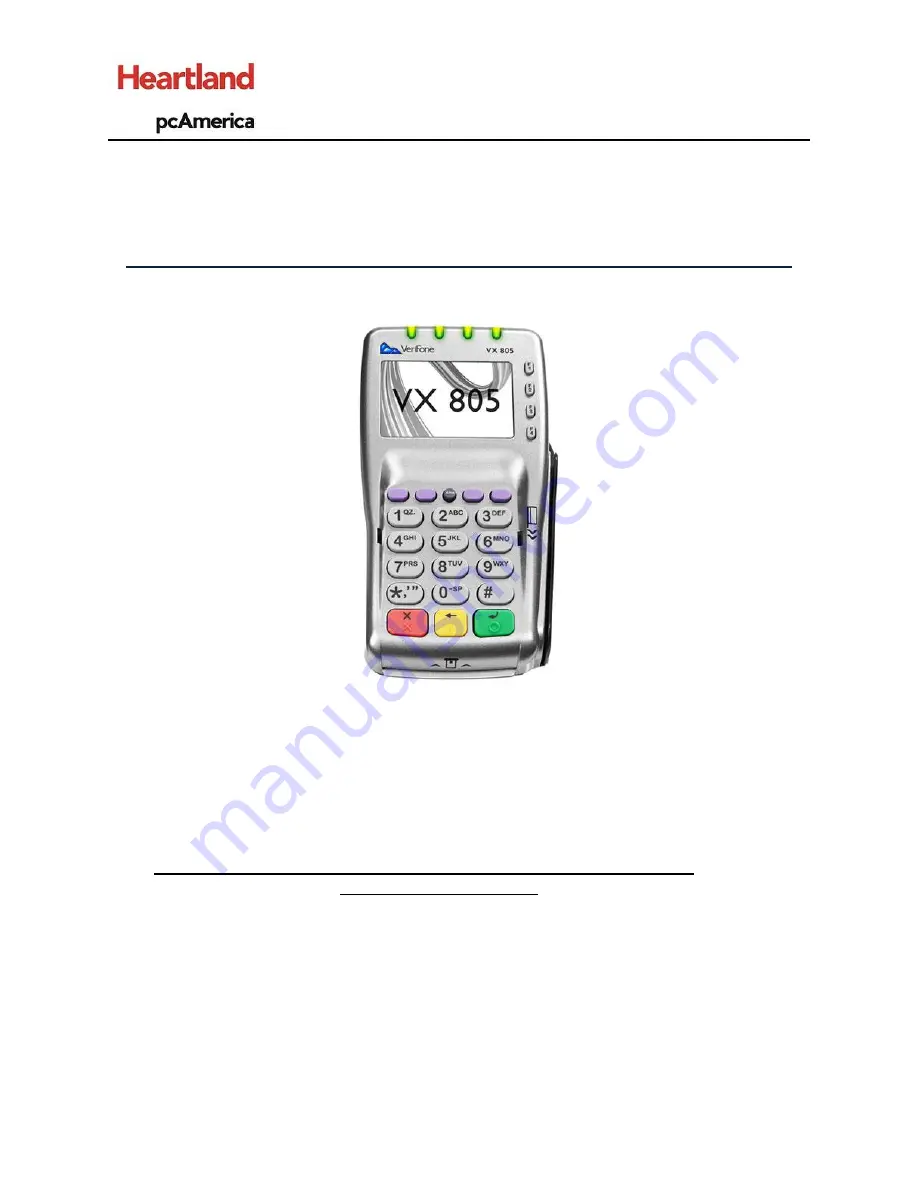
Verifone VX 805 with Elavon Processing  


This document provides step-by-step instructions on installing the Verifone VX 805, configuring settings, 

and processing transactions in CRE using Elavon through DataCap. 


Note: 

You must have a Deployment ID for the computer acting as the NetEpay server created prior to 

attempting this installation. You must also have a License for each station that is processing 

transactions through the NetEpay server. If you do not have them, please contact your reseller or 

processor for information on how to obtain them. 


Summary of Contents for VX 805

Page 1: ...Verifone VX 805 configuring settings and processing transactions in CRE using Elavon through DataCap Note You must have a Deployment ID for the computer acting as the NetEpay server created prior to...

Page 2: ...RING SETTINGS IN CRE RPE REQUIRED ON EACH PC THAT WILL PROCESS CARD PAYMENTS 19 CONFIGURING CASH BACK WITH A DEBIT CARD EBT CASH SALES 20 CONFIGURING THE VX 805 TO ACCEPT EBT CARDS 21 RINGING UP AN EM...

Page 3: ...e is required The click here for the pinpad s supported application load for version supported by DataCap Elavon The NETePay software only needs to be installed on 1 station which will act as the Data...

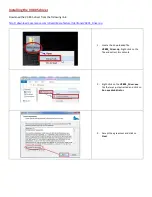
Page 4: ...camerica com drivers Manufacturer Verifone VX805_Driver zip 1 Locate the downloaded file VX805_Driver zip Right click on the file and extract its contents 2 Right click on the VX805_Driver exe file th...

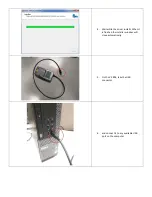
Page 5: ...4 Wait while the driver installs When it is finished the installer window will close automatically 5 On the VX 805 take the USB connector 6 and connect it to any available USB port on the computer...

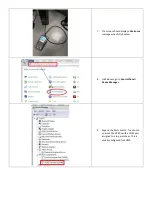
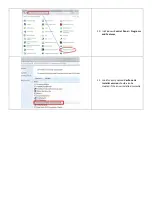
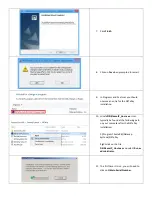
Page 6: ...ay a Welcome message when fully booted 8 In Windows go to Control Panel Device Manager 9 Expand the Ports branch You should now see the VX 805 with a COM port assigned to it in parenthesis This is usu...

Page 7: ...10 In Windows Control Panel Programs and Features 11 Look for entry named Verifone Vx Installer version should also be created if the driver installed correctly...

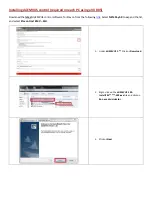
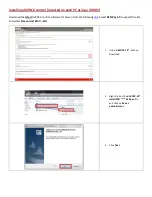
Page 8: ...test dsiEMVUS control software for Elavon from the following link Select NETePay5 0 to expand the list and select Elavon Host EMV ELH 1 Under dsiEMVUS 1 Click on Download 2 Right click on the dsiEMVUS...

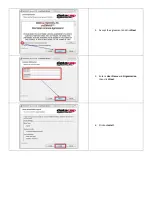
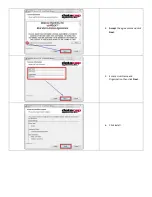
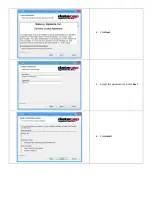
Page 9: ...4 Accept the agreement and click Next 5 Enter a User Name and Organization then click Next 6 Click on Install...

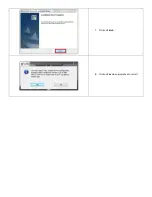
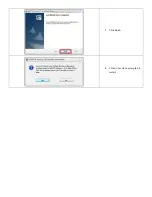
Page 10: ...7 Click on Finish 8 Click on Yes when prompted to restart...

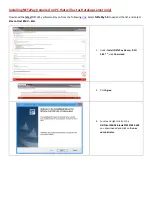
Page 11: ...latest dsiPDCX control software for Elavon from the following link Select NETePay5 0 to expand the list and select Elavon Host EMV ELH 1 Under dsiPDCX 1 5 click on Download 2 Right click on the dsiPDC...

Page 12: ...4 Accept the agreement and click Next 5 Enter a User Name and Organization then click Next 6 Click Install...

Page 13: ...7 Click Finish 8 Click on Yes when prompted to restart...

Page 14: ...ay software Elavon from the following link Select NETePay5 0 to expand the list and select Elavon Host EMV ELH 1 Under Install NETePay Elavon RCH 5 06 click Download 2 Click Agree 3 Locate and right c...

Page 15: ...4 Click Next 5 Accept the agreement and click Next 6 Click Install...

Page 16: ...llation 10 Locate DSIElavonIP_Host exe It can typically be found at the following path on your computer after the NETePay installation C Program Files x86 Datacap Systems NETePay Right click on the fi...

Page 17: ...al number that was automatically assigned to NETePay Click OK 13 This dialog box indicates that NETePay has not yet retrieved merchant parameters from Datacap s PSCS server It cannot operate until the...

Page 18: ...entry from the beginning of Step 17 20 If NETePay successfully retrieves the parameters associated with the entered DeploymentID from the PSCS server you will see the dialog box on the left Click OK...

Page 19: ...t DataCap 3 under the Processing Company dropdown select Elavon 4 under IP Address enter the IP address of the PC where you installed the NETePay software 5 Select Verifone VX805 under the Pinpad drop...

Page 20: ...ng Other Options in the Max Debit Cashback field any amount greater than 0 to enable the cashback feature for debit and EBT sales To disable the cashback function enter 0 in the field 3 NOTE the amoun...

Page 21: ...k on Payment Processing EBT 3 For Payment Processor select DataCap 4 For Processing Company select Elavon 5 Enter the IP Address of the computer where the NETePay software is installed 6 Enter the Mer...

Page 22: ...Debit 2 The Amount Tendered screen will gray out and go away after the transaction is completed Note You cannot cancel a card payment from within CRE at this point You can cancel by hitting the red bu...

Page 23: ...e is ready to accept the card 5 Fully insert the chip card face up into the slot on the bottom of the VX 805 You should feel the card catch when it is fully inserted and a Do Not Remove Card message s...

Page 24: ...onse should appear on the screen indicating the transaction was successful 8 Remove the card when prompted The device will beep if the card is left inserted 9 The screen will then go back to the WELCO...

Page 25: ...he Amount Tendered screen will gray out and go away after the transaction is completed Note You cannot cancel a card payment from within CRE at this point You can cancel by hitting the red button on t...

Page 26: ...4 Press the F3 button for YES 5 In this example we will press the F1 button for 20 cashback...

Page 27: ...Press the green key to accept the sale with the cashback amount 7 Swipe the debit card to process the transaction Note You cannot insert EMV cards for debit sales at this time Debit sales must be swip...

Page 28: ...8 Wait while the transaction processes 9 Wait for the approval 10 The screen will then go back to the WELCOME standby screen...

Page 29: ...creen Select EBT NOTE If you ve enabled Tax Exempt on Foodstamp Purchases you can see the amount the customer will be charged after the tax has been removed from Foodstamp items 2 Select EBTFoodstamp...

Page 30: ...4 Enter the Pin for the EBT card and press the green key to confirm the pin 5 The screen will then go back to the WELCOME standby screen...

Page 31: ...ceed to the Amount Tendered Pay screen Select EBT NOTE Tax Is not Exempt from EBT Cash Sales 2 Select EBTCash 3 Enter the cashback amount Note If the amount entered exceeds the amount set in the Max D...

Page 32: ...4 When the pinpad prompts swipe the EBT card 5 Enter the pin for the EBT card and press the green button to continue with the sale...

Page 33: ...ry sale 1 Ring up a sale and from the amount tendered screen select Credit Debit as the payment method 2 The Credit Card Information screen may appear grayed out like the picture on the left 3 Hit the...

Page 34: ...4 Click Ok to the message that appears in CRE 5 Click on Manual Entry 6 Enter the card number using the keypad on the pinpad then press the green key on the keypad...

Page 35: ...hen press the green key on the keypad 8 Enter the CVV code on the back of the card using the keypad on the pinpad then press the green key on the keypad 9 Enter the zip code for the card using the key...

Page 36: ...10 Press the green key on the keypad to select YES if it is an EMV chip card 11 You should see an APPROVED message on the pinpad once the transaction has completed successfully...

Page 37: ...ntry EBT Foodstamp sale 1 Ring up a sale and from the amount tendered screen select EBT as the payment method 2 Select EBT Foodstamp 3 The Credit Card Information screen may appear grayed out like the...

Page 38: ...4 Hit the red key on the keypad 5 Click Ok to the message that appears in CRE 6 Click on Manual Entry...

Page 39: ...keypad on the pinpad then press the green key on the keypad 8 Enter the Pin for the EBT card and press the green key to confirm the pin 9 You should see an APPROVED message on the pinpad once the tran...

Page 40: ...Options Manager Administrative Credit Card Settlement 2 Click Settle 3 Click OK once the settlement has successfully completed Note The settlement can be done on any station and only needs to be done...

Reviews: