Wellness AquaGlo Plus N1581, Owner'S Manual
The Wellness AquaGlo Plus N1581 Owner's Manual is available for free download at 88.208.23.73:8080. This comprehensive manual provides detailed instructions and guidelines for optimal use of the Wellness AquaGlo Plus N1581, ensuring you get the most out of this innovative product. Explore its features and benefits today!
Share
Download

Reviews:
No comments
Related manuals for AquaGlo Plus N1581

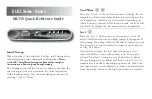
GS100
Brand: Balboa Pages: 2

YUME SWING
Brand: Takara Belmont Pages: 36

CoverMate ECO
Brand: Leisure Concepts Pages: 2

ESTHE PLACE
Brand: Takara Belmont Pages: 24
Masters Icon
Brand: OAKWORKS Spa Pages: 32
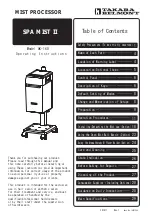
SPA MIST II AK-160
Brand: Takara Belmont Pages: 32

Lift ’n Glide
Brand: Backyard Plus Pages: 3
Mach 3 GL Series
Brand: Balboa Instruments Pages: 2

UPRITE
Brand: Watkins Wellness Pages: 16
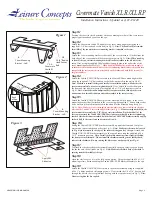
Covermate Vanish XLR
Brand: Leisure Concepts Pages: 2
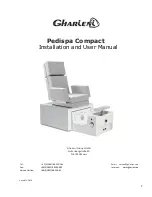
Pedispa Compact
Brand: GHARiENi Pages: 22
booster KIT spa-pack
Brand: Jacuzzi Pages: 80
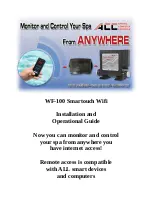
WF-100 Smartouch Wifi
Brand: ACC Pages: 13
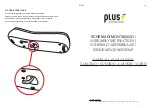
PLUST GUMBALL SUNLOUNGE
Brand: EURO3PLAST SPA Pages: 2

SOLFOG V3
Brand: WDT Pages: 72
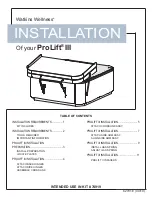
ProLift III
Brand: Watkins Wellness Pages: 16
NP5022
Brand: Bluewave Pages: 12

SANTANNA
Brand: Waterway Pages: 4


