


Summary of Contents for HDD-202
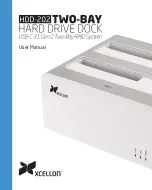
Page 1: ...User Manual...
Page 20: ...GG2...
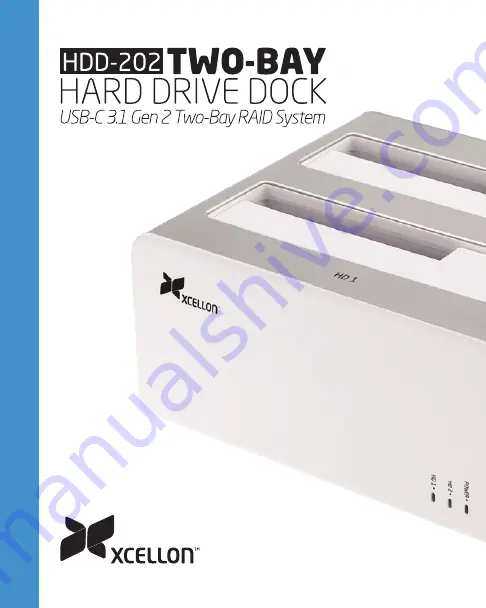
The Xcellon HDD-202 is a high-quality external hard drive that provides ample storage capacity for all your digital files. Ensure seamless setup and usage by referring to the free User Manual, available for download from our website. Maximize the performance of your device with step-by-step instructions and troubleshooting tips.
Page 1: ...User Manual...
Page 20: ...GG2...