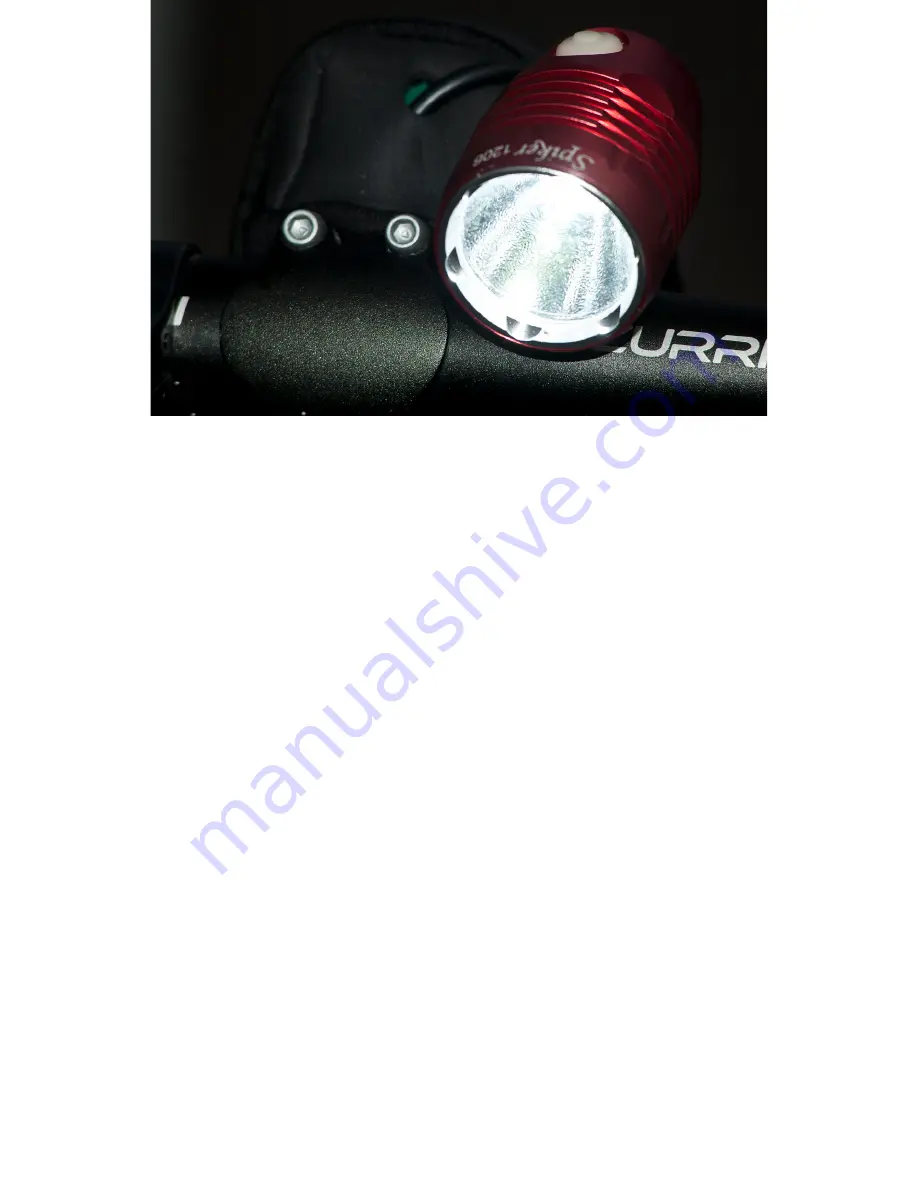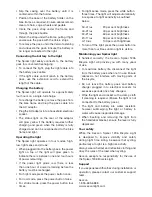
Parts list
A. LED light
B. Battery
C. Handlebar bracket
D. AC Adaptor
E. Extension cable
F. Battery strap
Mounting the headlamp
The universal handlebar bracket is designed to fit
virtually any handlebar.
• To fit the handlebar bracket, position the
bracket as required with the light mount facing
upward and the screw facing forward.
• Thread the serrated strap through the base
slot of the screw and turn the screw clockwise
to advance the strap until tight.
• To remove the bracket, turn the screw anti-
clockwise until the serrated strap can be pulled
gently from the slot and the unit removed from
the handlebar.
Inserting the light into the bracket
The Spiker light is easily inserted into and removed
from the handlebar bracket for safe storage.
• To insert the light, depress the small lever at
the rear of the runners while sliding the light
fully onto the mount.
• To remove the light, depress the lever and slide
the light backward from the mount.
Rotating the light
The Spiker light can be rotated 360 degrees.
• To swivel the light, mount the light on the
handlebar bracket as outlined previously and
turn clockwise through 360° as required.
• Do not rotate beyond one complete revolution.
Mounting the battery pack
The Spiker light connects to a discreet, removable
rechargeable battery pack during operation.
• To insert the battery into the strap, thread the
connector cable through the base slot and out
the small hole at the front of the holder.
USER GUIDE
Thank you for purchasing the Xeccon Spiker 1206 Bicycle Light. To get the most
from your Spiker light, please refer to the instructions that follow.
Xeccon Spiker 1206 Bicycle Light


