background image

© Xena Networks – May 2022 


Version 5.1 


Xena Networks ApS


Gammel Lundtoftevej 1B, 2

nd

 floor


2800 KGS Lyngby


Denmark 

www.xenanetworks.com


Val-C12-2400G Chassis 

Installation Guide 

HOW TO INSTALL VALKYRIE TEST MODULES 

Summary of Contents for ValkyrieBay Val-C12-2400G

Page 1: ...Networks May 2022 1 Version 5 1 Xena Networks ApS Gammel Lundtoftevej 1B 2nd floor 2800 KGS Lyngby Denmark www xenanetworks com Val C12 2400G Chassis Installation Guide HOW TO INSTALL VALKYRIE TEST MO...

Page 2: ...ve Bay 1 x 2 5 SATA Drive with Hot swap Environmental Operating Temperature 10 to 35 C Storage Temperature 30 to 70 C Humidity 8 to 90 non condensing Power AC Voltage 100 240 VAC Max watt 1800W Regula...

Page 3: ...mounting the two finger screws 9 Replace the air flow cover by sliding it till it in place and securing the two finger screws on top 10 Position the restraining bar in place and screw the restraining...

Page 4: ...he original Xena boxes for shipping including the polystyrene foam and anti static bags Recommendations For ports that are not in use keep dust caps mounted Do not cover the front or rear ventilation...

Page 5: ...e installation steps outlined above are described in detail below Please refer to the relevant section STEP 1 Remove the top cover by unscrewing the two finger screws at the back of the chassis STEP 2...

Page 6: ...works May 2022 6 STEP 3 Remove the air flow cover by unscrewing the two finger screws on top and sliding it backwards till it releases STEP 4 Remove the alignment bar by loosening the two finger screw...

Page 7: ...2022 7 STEP 4 cont STEP 5 If you are installing a Thor or Freya module you would have received the module itself a blind board and a special single 12V cable replacing the 12V splitter cable included...

Page 8: ...in and remove the bracket Please note that if you are installing a Thor or Freya module the module itself is taking up 2 slots You also need to reserve a slot to install blind board on the heat sink...

Page 9: ...Xena Networks May 2022 9 STEP 6 cont Press the test module firmly but carefully into place do not force it and then fasten again with the screw from Step 3...

Page 10: ...icture below shows a configuration with 4 high speed modules installed Slot 0 Thor 400G module Slot 2 Blind Board Slot 3 Thor 400G module Slot 5 Blind Board Slot 6 Thor 400G module Slot 8 Blind Board...

Page 11: ...Xena Networks May 2022 11 Step 7 If needed see list on page 3 and 4 connect 12 V power cable Use delivered 12V cable...

Page 12: ...May 2022 12 Step 8 Mount the alignment bar by mounting the two finger screws The alignment bar fixes the modules in place Please make sure the top of the module goes into the appropriate slot in the...

Page 13: ...g it forward into place and securing the two finger screws on top STEP 10 Position the restraining bar in place and screw the restraining bar tightly in place If sideways adjustments of the modules ar...

Page 14: ...Xena Networks May 2022 14 STEP 11 Remount top lid and fasten it with the two finger screws Do not operate the chassis without top lid...

Page 15: ...Xena Networks May 2022 15...
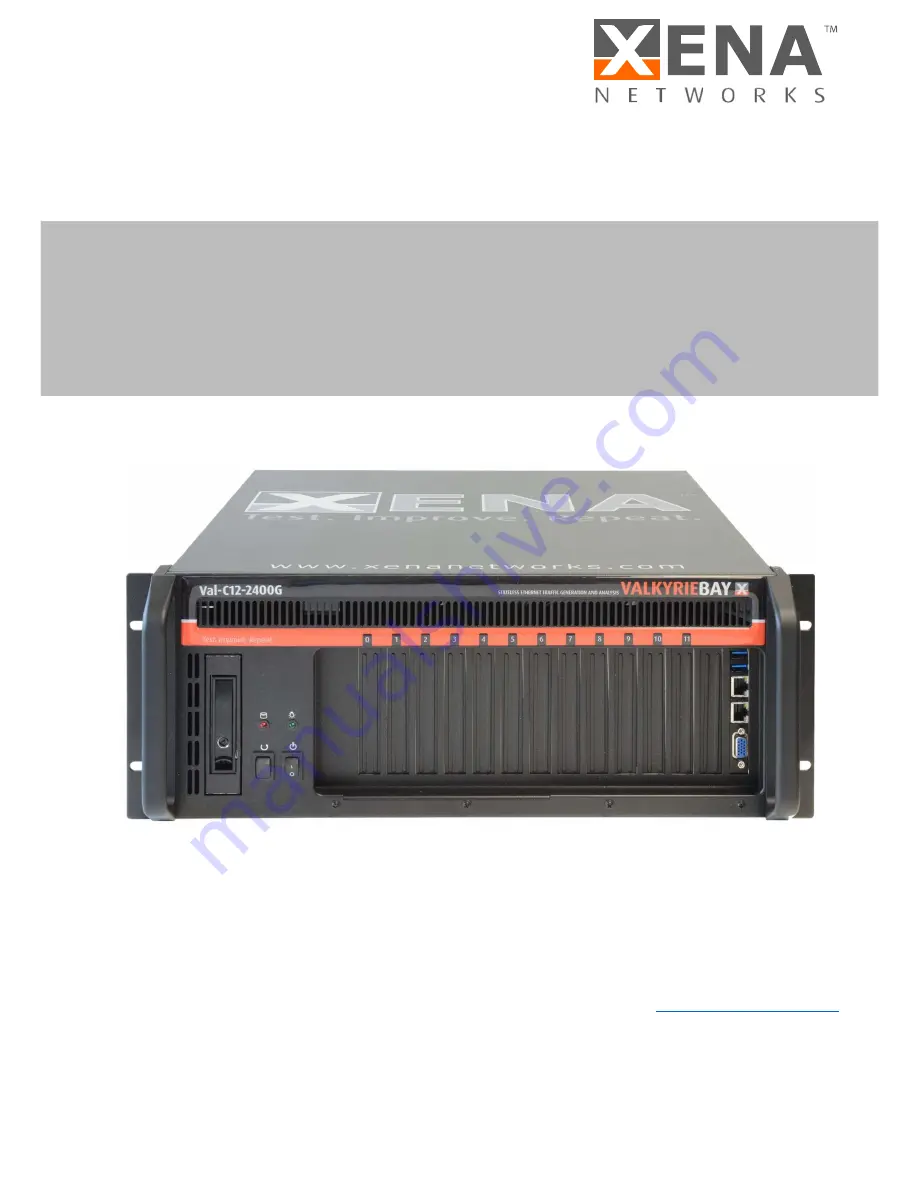
Page 16: ...t ticket https xenanetworks com support IMPORTANT ALWAYS REMOVE LONG TEST MODULES BEFORE SHIPPING To minimize the risk of damage please remove long test modules before transportation This includes any...

Reviews: