background image

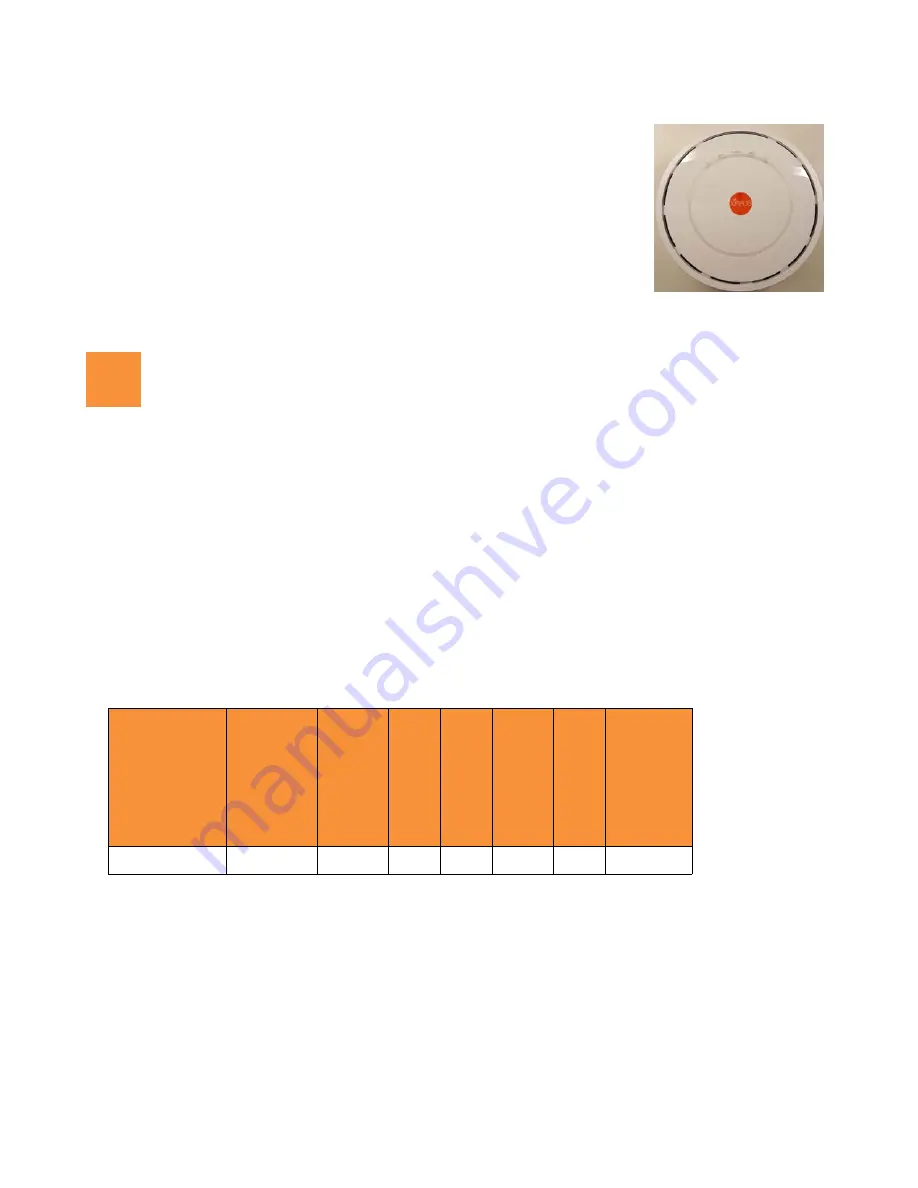
XD2-230 Two-Radio Access Points

1

Quick Installation Guide  

For the XD2-230 AP

The XD2-230 Access Point (AP) is part of the Xirrus wireless portfolio. With two 
omnidirectional 802.11ac radios, an integrated controller, and cloud management, 
this AP delivers robust wireless connectivity. 

The XD2-230 (Model XD2230) AP’s radio1 is a dual-band (2.4GHz/5GHz) 3x3 
802.11ac Wave 1 radio, set to 2.4GHz by default. Radio2 is a 5GHz-only Wave 2 
radio.

This Guide covers the steps required to install and start these APs. 

You Need the Following Items

Power and Ethernet connection(s) to your wired network using Cat 5e or Cat 6 cables:

GIG1/POE

This Gigabit port powers the AP via Power over Ethernet (PoE) using a Cat 5e or Cat 6 cable 

that also carries data traffic. See below for Power details.

GIG2

This second, data-only Gigabit port is only available on the XD2-240, and provides additional 

bandwidth. Its use is optional. Connect with Cat 5E or Cat 6 cable.

AP must be connected to PoE networks without routing cabling to the outside plant. This ensures that cabling is 
not exposed to lightning strikes or possible crossover from high voltage lines. AP, PoE injectors, and switches 
must be installed and used indoors. The total Cat 5e or Cat 6 cable length from the switch to the AP must be no 
more than 100 m, including all cable segments. 

Power—See the matrix below to select a compatible PoE switch or Xirrus-supplied injector for your AP. XD2 
models require 802.3at. If using an injector, you must provide a data connection from the switch to the injector 
as well as another cable from the injector's OUT port to the AP’s GIG1/POE port. 

Apply power to GIG1/POE port only—other AP Gigabit ports will not draw power if connected to a 
powered switch port, and AP LEDs will not light.

If you are using a POE switch, it is imperative that you know that the switch has sufficient power budget 
to power all connected devices. 

Xirrus XD2 APs are Type 2, Class 4 POE-802.3at devices. If your switch vendor provides a setting for the 
type of powered-device detection with options such as Legacy, 4-Point, or BOTH, set the port to BOTH or 
4-Point. Do not use settings intended for legacy devices. 

AP Type

Generic PoE+

Injector or Swi

tch

(802

.3

at

)

Xirrus 

PoE+ Switch

(8

0

2

.3at

)

XP1-MSI-30

XP1-MSI-75M

XP1-MSI-75

(PO

E

-75U-

1UP-X)

XP8-MSI-70M

XP2-MSI-95M

XD2-230








1

Summary of Contents for XD2-230

Page 1: ...posed to lightning strikes or possible crossover from high voltage lines AP PoE injectors and switches must be installed and used indoors The total Cat 5e or Cat 6 cable length from the switch to the AP must be no more than 100 m including all cable segments Power See the matrix below to select a compatible PoE switch or Xirrus supplied injector for your AP XD2 models require 802 3at If using an i...

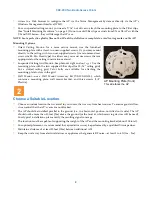
Page 2: ...d T Bar clips for 15 16 ceiling grid For a slotted ceiling grid T slot bolts are available for attaching the mounting plate to slots in the grid Wall Mount use a Wall Mount Accessory Kit XE 500 WALL which contains a mounting plate wall mount bracket and three screws 1 4 Plastite Choose a Suitable Location Choose an indoor location that is central to your users that is away from heat sources To ens...

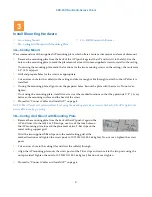
Page 3: ...between the mounting surface and the head of the screw 5 Proceed to Connect Cables and Install AP on page 4 NOTE The AP must not be disassembled If not using the mounting plate do not remove the back of the AP to tighten the screws after mounting to ceiling 3B Ceiling Grid Mount with Mounting Plate 1 Remove the mounting plate from the back of the AP push it against the AP and twist it to the left ...

Page 4: ...y kit Other screws that seem equivalent in size may damage the mounting plate 2 Use the three screws provided in the accessory kit to attach the wall mount bracket to the AP mounting plate 3 Use the Wall Mounting Bracket as a template and mark the locations on the wall for the mounting holes The bracket must be secured to the wall in 3 places When marking the holes make sure the mounting plate is ...

Page 5: ...detects and provisions new Xirrus devices deployed in your network via a similar provisioning approach Set up the SSH Users page in the Discovery section and create and configure a default profile for newly added APs After discovery these new devices automatically receive the configuration defined in your default profile If you are not using XMS see the Xirrus Wireless AP User s Guide to configure...

Page 6: ...f the battery is replaced by an incorrect type Dispose of used batteries according to the battery manufacturer s instructions NOTE Power over Ethernet must be supplied by a UL listed I T E product 7 1 800 947 7871 Toll Free in the US 1 805 262 1600 Sales 1 805 262 1601 Fax 2101 Corporate Center Drive Thousand Oaks CA 91320 USA To learn more visit xirrus com or email info xirrus com 201 Xirrus Inc ...

Page 7: ...he interference by one or more of the following measures Reorient or relocate the receiving antenna Increase the separation between the equipment and receiver Connect the equipment into an outlet on a circuit different from that to which the receiver is connected Consult the dealer or an experienced radio TV technician for help FCC Caution Any changes or modifications not expressly approved by the...

Page 8: ...sceptible d en compromettre le fonctionnement IMPORTANT NOTE IC Radiation Exposure Statement This equipment complies with IC RSS 102 radiation exposure limits set forth for an uncontrolled environment This equipment should be installed and operated with minimum distance 20 cm between the radiator your body Cet équipement est conforme aux limites d exposition aux rayonnements IC établies pour un en...

Reviews: