Zenith HDR230, Installation And Operating Manual, Warranty
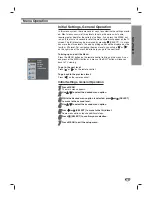
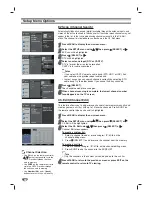
The Zenith HDR230 is a high-definition satellite receiver that offers superior picture quality and sound. Ensure proper installation and operation with the included Installation and Operating Manual. Download the manual for free at 88.208.23.73:8080 to access important information on warranty and user instructions.
Share
Download


Reviews:
No comments
Related manuals for HDR230

SDR-5900
Brand: Chiayo Pages: 8

UNIVERS U4150
Brand: FTE Pages: 24

Model 500
Brand: Audiotech Pages: 7

BV7332B
Brand: Boss Audio Systems Pages: 21

Airtime AT-MSX
Brand: Lathem Pages: 7

iF22SR
Brand: Icom Pages: 36

NET20 PRO
Brand: SXblue GPS Pages: 19

MyM-3S Micro Master
Brand: A2B Electronics Pages: 20

PDR3000
Brand: WiPath Pages: 6

RF-5000DE
Brand: Harris Pages: 9

Clonix 2E
Brand: BFT Pages: 2

CITATION 24
Brand: Harman Kardon Pages: 16

BVA 8051 series
Brand: Leadtek Pages: 11

HT3E
Brand: HTRONIC Pages: 24

WS2
Brand: Whisper SPORT Pages: 2

DVD-5000B
Brand: Boss Audio Systems Pages: 16

CD-4500R
Brand: Boss Audio Systems Pages: 18

LR-202
Brand: Monacor Pages: 4


