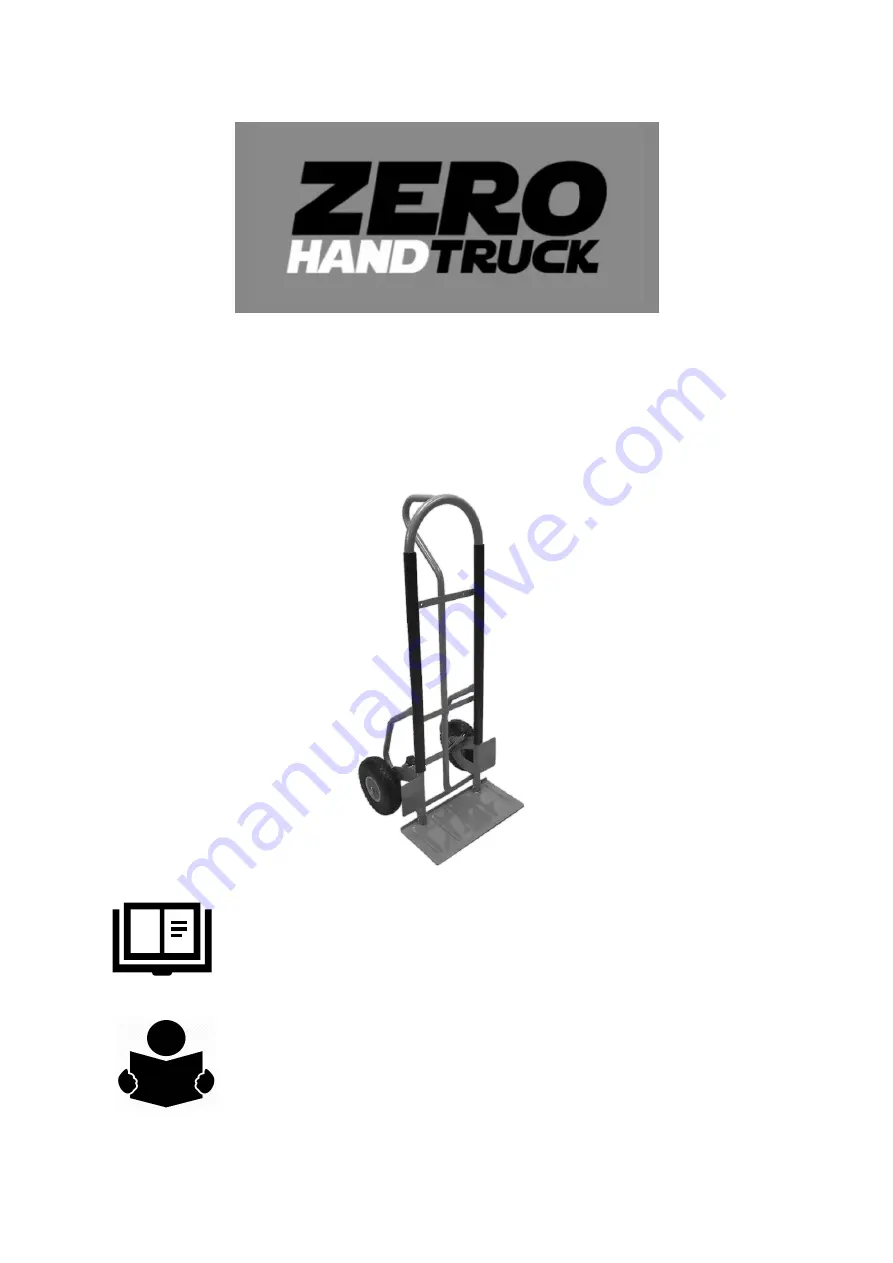
background image


Zero Pro Hand Truck  

Handbook 


This manual contains important information for setting up 
your hand truck correctly and the safe use of your hand 
truck 


Ensure you read and understand this manual before you 
attempt to assemble or operate your hand truck. 
Remember to keep this manual as you may need to refer to 
it at a later point. 

Summary of Contents for Pro

Page 1: ...formation for setting up your hand truck correctly and the safe use of your hand truck Ensure you read and understand this manual before you attempt to assemble or operate your hand truck Remember to...

Page 2: ...2 Packaging Contents Part No Part Qty Picture 1 Frame 1 2 Toe Plate 1 3 Puncture Resistant Wheels 2 4 20mm Axle 1 5 Hand Screw or Bolt 8 mm 2 6 Axle Washers 20mm 6 7 Spacers 20mm 2 or...

Page 3: ...x 45mm Cap Head Bolts 2 9 M6 Nuts 2 10 Caps 2 11 Mud Guard 2 12 M8 x 16mm Round Head Bolts 4 13 M8 Nuts 4 14 M8 Washers 4 You will require Spanner 10mm and 13mm Allen Key 5mm Screwdriver Flathead or P...

Page 4: ...4 Step 1 The hand truck will have plastic stops in the outer section of the axle at the bottom of the frame shown in the picture below and they must be removed before you begin assembly...

Page 5: ...1 where you have just removed the plastic stop and the inner section of the axle so that there is the same amount of space on each side of the frame You may need to apply pressure to the outer axle o...

Page 6: ...6 Step 3 Next place on the axle the Axle Washers 6 Spacers 7 Wheels 3 and Caps 10 in the order shown on the diagram below 7 3 6 6 6 10...

Page 7: ...its side so you can give the caps a good tap with a soft rubber hammer or the palm of your hand Be sure to place some cloth or cardboard etc under the other wheel of the truck as to not damage the opp...

Page 8: ...ate 2 onto the exposed ends of the frame and fasten with the M6 x 45mm Bolts 8 and M6 Nuts 9 using a 10mm spanner and 5mm allen key Then screw the Hand Screws or Bolts 5 into the threads above the spr...

Page 9: ...eading the M8 x 16mm Bolts 12 through the guards and the holes in front of the wheels and fasten with M8 washers 14 and M8 nuts 13 using a 13mm spanner and a screwdriver The setup is now complete Plea...

Page 10: ...or is missing 4 Make sure the pivot springs are intact and in the correct position Any bends or deformities could cause the truck to fail 5 Check the caps on the end of the wheels are still flush with...

Page 11: ...to secure the load to the truck 6 When lifting the loads make sure you have both feet on the ground and stand slightly back from the truck Zero Hand Trucks do not require you to place a foot on the a...

Page 12: ...when dropping to each step 14 In a work environment always park the truck in a designated area never leave in an aisle or area of traffic 15 Never leave a load stationary on the truck for a long peri...

Page 13: ...korrekten Einrichten Ihres ZERO Hand Trucks Vergewissern Sie sich dass Sie diese Anleitung gelesen und verstanden haben bevor Sie versuchen Ihren ZERO Hand Truck zu montieren oder zu bedienen Bitte be...

Page 14: ...14 Lieferumfang Teile nummer Teil Menge Bild 1 Rahmen 1 2 Fu platte 1 3 Rad 2 4 20mm Achse 1 5 u ere Achse oder Bolzen 8 mm 2 6 Achsscheiben 20mm 6 7 Abstandshalt er 20mm 2 oder...

Page 15: ...sse 2 10 Deckel 2 11 Radabdeckun g 2 12 M8 x 16mm Schrauben 4 13 M8 N sse 4 14 M8 Unterlegschei ben 4 Ben tigtes Werkzeug Schraubenschl ssel 10 mm und 13mm Inbusschl ssel 5 mm Schlitzschraubendreher...

Page 16: ...16 Schritt 1 Der Handwagen hat Kunststoffstopfen im u eren Teil der Achse an der Unterseite des Rahmens siehe Abbildung unten diese m ssen vor der Montage entfernt werden...

Page 17: ...s Rahmens 1 wo der Kunststoffstopfen entfernt wurde und den inneren Teil des Rahmens so dass auf jeder Seite des Rahmens die Achse gleichm ig heraus steht Eventuell m ssen Sie Druck auf die u ere Achs...

Page 18: ...anzst cke 7 R der 3 und Kappen 10 in der Reihenfolge wie unten abgebildet montieren Es ist am einfachsten diesen Schritt durchzuf hren indem Sie den Wagen auf die Seite drehen und die Kappen mit einem...

Page 19: ...e die Kappen mit einem weichen Gummihammer oder der Handfl che gut anfassen k nnen Stellen Sie sicher dass Sie etwas Tuch oder Pappe usw unter das andere Rad des Wagen legen um die gegen berliegende K...

Page 20: ...liegenden Enden des Rahmens und befestigen Sie sie mit den M6 x 45mm Bolzen 8 und M6 Muttern 9 mit einem 10mm Schl ssel und 5mm Inbusschl ssel Dann die Handschrauben oder Schrauben 5 in die Gewinde be...

Page 21: ...2 durch die Radabdeckung und die L cher vor den R dern schrauben und mit M8 Unterlegscheiben 14 und M8 Muttern 13 mit einem 13mm Schraubenschl ssel und einem Schraubenzieher befestigen Das Setup ist j...

Page 22: ...ch eine Schraube oder Mutter gel st hat oder fehlt 4 Stellen Sie sicher dass die Drehfedern intakt und in der richtigen Position sind Jegliche Biegungen oder Verformungen k nnen zum Ausfall des Ger te...

Page 23: ...einer Ladung darauf dass gr ere und schwerere Gegenst nde unten auf der Sackkarre stehen und kleinere und leichtere Gegenst nde oben platziert werden 4 F r Lasten die viel gr er als die Fu platte und...

Page 24: ...rsuchen zu heben k nnen Sie Verletzungen davontragen oder das Gewicht der Ladung kann Sie die Treppe hinunterziehen Normalerweise sollten Sie beim Anheben einen zus tzlichen Schritt ber der Sackkarren...

Page 25: ...nen und Aktualisierungen zu technischen Informationen und diesen Richtlinien finden Sie auf der Website oder wenden Sie sich an uns Telfon 44 0 191 296 6939 Email info zerohandtruck com Website zeroha...

Page 26: ...s importantes pour la configuration correcte de votre chariot manuel Assurez vous de lire et de comprendre ce manuel avant d essayer d assembler ou d utiliser votre chariot manuel N oubliez pas de con...

Page 27: ...27 Contenu de l emballage Num ro de pi ce Partie Qt Image 1 Cadre 1 2 Plaque d orteil 1 3 Roues 2 4 20mm Axe 1 5 Vis main ou un boulon 8 mm 2 6 Axe rondelles 20mm 6 ou...

Page 28: ...m Boulons 2 9 M6 noisettes 2 10 Casquettes 2 11 Garde boue 2 12 M8 x 16mm Boulons 4 13 M8 noisettes 4 14 M8 Rondelles 4 Vous aurez galement besoin de Spanner 10mm et 13mm Cl Allen 5mm Tournevis t te p...

Page 29: ...29 Le chariot manuel aura des but es en plastique dans la partie ext rieure de l essieu au bas du ch ssis illustr ci dessous et elles devront tre enlev es avant de commencer l assemblage...

Page 30: ...2 Faites glisser l axe de 20 mm 4 travers le trou du cadre 1 o vous venez d enlever la but e en plastique et la section int rieure de l essieu de sorte qu il y ait la m me quantit de chaque c t du ca...

Page 31: ...6 entretoises 7 roues 3 et chapeaux 10 dans l ordre indiqu sur le sch ma ci dessous Il est plus facile d effectuer cette op ration en tournant le chariot sur le c t et en tapotant les bouchons avec u...

Page 32: ...ous pouvez donner aux capuchon un bon robinet avec un marteau en caoutchouc souple ou la paume de votre main Assurez vous de placer un chiffon ou un carton etc sous l autre roue du camion pour ne pas...

Page 33: ...s extr mit s expos es du cadre et fixez les avec les boulons M6 x 45mm 8 et les crous M6 9 l aide d une cl 10mm et d une cl hexagonale de 5mm Puis vissez les Vis Main ou les Boulons 5 dans les filets...

Page 34: ...M8 x 16mm 12 travers les protections et les trous devant les roues et fixez avec les rondelles M8 14 et les crous M8 13 l aide d une cl de 13 mm un tourne vis La configuration est maintenant termin e...

Page 35: ...qu elles tournent librement sur l essieu 3 V rifiez tous les boulons et les crous pour vous assurer qu ils sont intacts et bien serr s Ne pas utiliser si un boulon ou un crou s est d tach ou est manqu...

Page 36: ...us que des articles plus gros et plus lourds sont plac s au bas du camion et que des articles plus petits et plus l gers sont plac s en haut 4 Pour les charges qui sont beaucoup plus grandes que la bu...

Page 37: ...uez de vous blesser ou le poids de la charge peut vous entra ner dans les escaliers En r gle g n rale vous devez faire un pas suppl mentaire au dessus du chariot manuel lorsque vous le soulevez et fai...

Page 38: ...ns et mises jour sur les informations techniques et ces directives s il vous pla t se r f rer au site Web ou n h sitez pas nous contacter Phone 44 0 191 296 6939 Email info zerohandtruck com Website z...

Reviews: