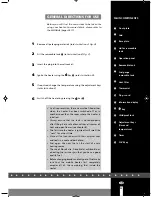
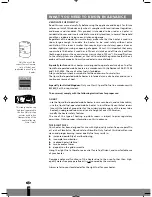
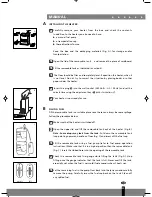
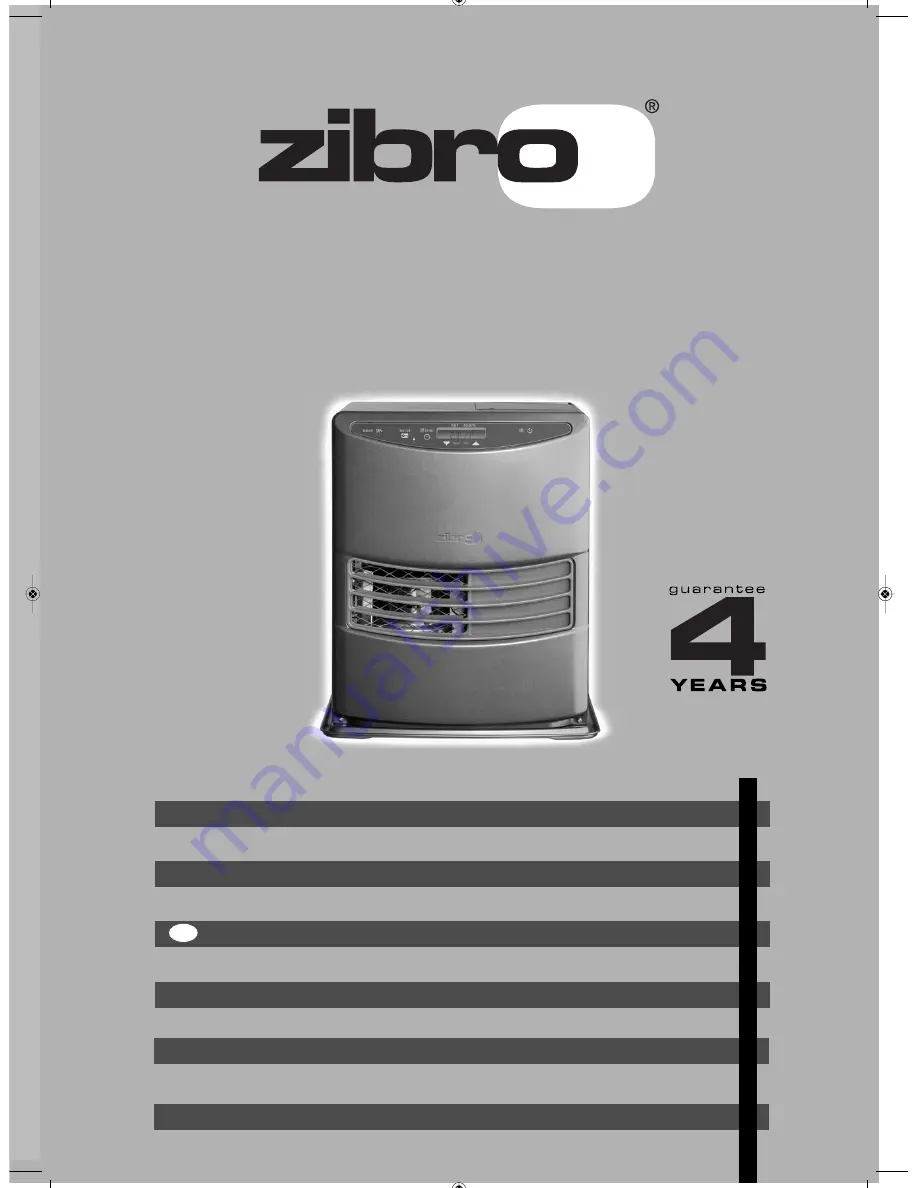
background image

  B


  F  


  S  


  S  


  J  


  I  


  P  


  H    


  A    


  S  


  W 


  O  


  D


SRE 229 TC

!"#

3

2

6

5

4

>

u

1

:

=

MANUEL D'UTILISATION

GEBRAUCHSANWEISUNG

BRUGSANVISNING

INSTRUCCIONES DE USO

KÄYTTÖOHJE

OPERATING MANUAL

ISTRUZIONI D’USO

BRUKSANVISNING

GEBRUIKSAANWIJZING

INSTRUKCJA OBS

Ł

UGI

BRUKSANVISNING

2

12

22

32

42

52

62

72

82

92

102


Summary of Contents for SRE 229 TC

Page 1: ... 1 MANUEL D UTILISATION GEBRAUCHSANWEISUNG BRUGSANVISNING INSTRUCCIONES DE USO KÄYTTÖOHJE OPERATING MANUAL ISTRUZIONI D USO BRUKSANVISNING GEBRUIKSAANWIJZING INSTRUKCJA OBSŁUGI BRUKSANVISNING 2 12 22 32 42 52 62 72 82 92 102 ...

Page 2: ... 3 PAGE PLIANTE 2 FALTBLATT 6 FOLDEUDSIDE 5 HOJA DESPLEGABLE 5 AUKI TAITETTU SIVU 4 FOLD OUT PAGE PIEGHEVOLE u UTBRETTSIDE 1 UITVOUWBLAD INSTRUKCJE ROZŁOŻYC UTVIKNINGSSIDA EMC LV ...

Page 3: ... these Directions for Use first to ensure maximum lifetime for your heater Your heater comes with a 48 month manufacturer s warranty on all defects in materials or workmanship We wish you a warm and comfortable time with your heater Yours sincerely PVG Holding b v Customer Service Department 1 READ THE DIRECTIONS FOR USE FIRST 2 IN CASE OF ANY DOUBT CONTACT YOUR DEALER 3 BEFORE YOU START READING F...

Page 4: ...ting season The use of Zibro Extra Zibro Kristal or Zibro Bio as a heating fuel assures you that you have a good quality fuel Before changing brands and or types of fuel make sure that the mobile heater first completely empties all of the remaining fuel inside the heater MAIN COMPONENTS Front plate Grid Base plate Lid for removable tank Operation panel Removable tank Fuel gauge removable tank Vent...

Page 5: ...our dealer or check our website for the addresses of our retailers The liquid fuel operated mobile heater is intended as an extra heater and not as a continuous source of heat Especially for United Kingdom Only use Class C1 paraffin fuel in accordance with BS2869 Part 2 or equivalent The user must comply with the following instructions for proper use DO NOT use the liquid fuel operated mobile heat...

Page 6: ... a suitable place since there can always be some spillage Follow the procedure below Make sure that the heater is switched off Open the upper lid and lift the removable tank out of the heater Fig B Note Some drops may leak from the tank Put down the removable tank cap pointing upwards handle on floor Fig C and screw off the fuel cap Fill the removable tank using a fuel pump refer to fuel pump oper...

Page 7: ... start blinking indicating that the ignition procedure has started This will take a short while Once the heater is burning the POWER lamp will remain lit red The information display will show two numbers The light next to them indicates that these numbers refer to the temperatures Fig F The actual room temperature is indicated below ROOM while the temperature setting is indicated below SET The lat...

Page 8: ...mer setting G SWITCHING OFF THE HEATER There are two ways to switch off the heater Press the button The information display will show the CLOCK signal Within approximately one minute the flame will have extinguished Press the TIMER key when you want to switch off the heater and ignite it again with the timer the next time This not only switches off the heater but it also activates the timer functi...

Page 9: ... the burner is clean again the heater will automatically switch back to the highest setting again I CHILDPROOF LOCK The childproof lock can be used to prevent children accidentally changing the heater settings When the heater is burning and the childproof lock is on the heater can only be switched off Other functions are blocked then If the heater has already been switched off the childproof lock ...

Page 10: ...tch off automatically If the indicator continues blinking after extra ventilation please contact your dealer M MAINTENANCE Switch off the heater and let it cool down before you start any maintenance work Also disconnect the plug from the mains Your heater needs hardly any maintenance It is however important that you clean the vent filter with a vacuum cleaner and the grid with a damp cloth both on...

Page 11: ... filter and the removable tank outside the heater Place the transportation cap into the position of the fuel filter Fig M Press it tight The transportation cap will as much as possible prevent oil leakage from the heater during transport Always move the heater in an upright position Make the fixed tank empty with a fuel pump before transportation or in case of wrong or dirty fuel First remove the ...

Page 12: ... immediately In case of emergency you may use a fire extinguisher but only a type B extinguisher a carbon dioxide or powder extinguisher 11 TIPS FOR SAFE USE 1 Children should be supervised to ensure that they do not play with the appliance 2 Do not move the heater when it is burning or still hot Do not refill nor service the heater when it is burning or still hot 3 Position the front of the heate...

Page 13: ... 0 ...

Page 14: ... du trenger informasjon eller hvis du har et problem med produktet kan du gå til nettsidene www zibro com Alternativt kan du kontakte med PVG forbrukertjeneste telefonnummeret i www zibro com Als u informatie nodig hebt of als u een probleem hebt bezoek dan de onze website www zibro com of neem contact op met de afdeling sales support adres en telefoon op www zibro com P Se necessitar de informaçõ...

Page 15: ... 1 MANUEL D UTILISATION GEBRAUCHSANWEISUNG BRUGSANVISNING INSTRUCCIONES DE USO KÄYTTÖOHJE OPERATING MANUAL ISTRUZIONI D USO BRUKSANVISNING GEBRUIKSAANWIJZING INSTRUKCJA OBSŁUGI BRUKSANVISNING 2 12 22 32 42 52 62 72 82 92 102 ...

Page 16: ... 3 PAGE PLIANTE 2 FALTBLATT 6 FOLDEUDSIDE 5 HOJA DESPLEGABLE 5 AUKI TAITETTU SIVU 4 FOLD OUT PAGE PIEGHEVOLE u UTBRETTSIDE 1 UITVOUWBLAD INSTRUKCJE ROZŁOŻYC UTVIKNINGSSIDA EMC LV ...

Page 17: ...iese Gebrauchsanweisung aufmerksam durch um so eine optimale Lebensdauer Ihres Kaminofens zu garantieren Im Namen des Herstellers bieten wir Ihnen 48 Monate Garantie auf alle eventuell auftretende Material und Herstellungsfehler Wir wünschen Ihnen viel Wärme und Komfort mit Ihrem Kaminofen Mit freundlichen Grüßen PVG Holding b v Abteilung Kundendienst 1 LESEN SIE ZUERST DIE GEBRAUCHSANWEISUNG 2 WE...

Page 18: ... Originaldeckel und Versiegelung kühl und dunkel Brennstoff altert Beginnen Sie jede Heizsaison mit neuem Brennstoff Wenn Sie Zibro Extra Zibro Kristal oder Zibro Bio benutzen können Sie sich auf die Qualität des Brennstoffs verlassen Wenn Sie zwischen den einzelnen Sorten Marken wechseln müssen Sie den Kaminofen erst vollständig leer brennen lassen WICHTIGE EINZELTEILE Frontplatte Gitter Bodenpla...

Page 19: ... Heizofen wurde als zusätzliches Heizgerät ausgelegt und nicht als ständige Wärmequelle Speziell für Großbritannien Verwenden Sie ausschließlich Petroleum Brennstoff der Klasse C1 gemäß BS2869 Teil 2 oder einen gleichwertigen Brennstoff Im Hinblick auf die richtige Verwendung muss der Benutzer folgende Anweisungen befolgen ES IST VERBOTEN den mit flüssigem Brennstoff betriebenen mobilen Heizofen i...

Page 20: ...en Stelle falls etwas verschüttet wird Gehen Sie wie folgt vor Der Kaminofen sollte ausgeschaltet sein Öffnen Sie den Deckel und ziehen Sie den Brennstofftank aus dem Kaminofen Abb B Achtung der Tank kann kurz nachtropfen Stellen Sie den Brennstofftank ab Tankverschluß nach oben Griff auf dem Boden und drehen Sie den Tankverschluß auf Füllen Sie den Brennstofftank mit einer Brennstoffpumpe siehe G...

Page 21: ...n zu starten brauchen Sie nur die Taste zu betätigen Die An Aus Lampe blinkt dann um zu zeigen daß der Zündvorgang läuft Es dauert einige Zeit bis der Vorgang abgeschlossen ist Anschließend leuchtet die An Aus Lampe ständig Das Informations Display zeigt zwei Zahlen an An den Kontroll Lampen neben den Zahlen können Sie sehen daß sich diese auf die Temperatur beziehen Abb F Unter ROOM steht die tat...

Page 22: ...rden Die Taste betätigen Das Informations Display springt auf CLOCK und innerhalb ca einer Minute ist die Flamme gelöscht Wenn Sie den Kaminofen ausschalten möchten und ihn das nächste Mal über die Zeitschaltuhr wieder starten wollen dann betätigen Sie die Taste TIMER Dadurch wird der Kaminofen ausgeschaltet und gleichzeitig die Zeitschaltuhr aktiviert Sie können die gewünschte Zeit über die Einst...

Page 23: ...nens kann der Kaminofen dann nur noch ausgeschaltet werden Wenn der Kaminofen bereits ausgeschaltet ist verhindert die aktivierte Kindersicherung auch daß der Ofen versehentlich eingeschaltet wird Sie aktivieren die Kindersicherung dadurch daß Sie die betreffende Taste länger als 3 Sekunden gedrückt halten Die Kontroll Lampe KEY LOCK leuchtet auf Abb H um anzuzeigen daß die Kindersicherung eingesc...

Page 24: ...ieren Sie regelmäßig den Brennstofffilter Nehmen Sie den Brennstofftank aus dem Kaminofen und entfernen Sie den Brennstofffilter Abb L Dieser kann etwas nachtropfen halten Sie ein Tuch bereit Klopfen Sie den umgedrehten Brennstofffilter auf einem harten Untergrund aus um so den Schmutz zu entfernen Niemals mit Wasser reinigen Setzen Sie den Brennstofffilter wieder ein Entfernen Sie selbst keine Te...

Page 25: ...er Wasser enthält P TECHNISCHE DATEN Zündung Elektrisch Abmessungen einschließ Breite 376 Brennstoff Petroleum lich Bodenplatte mm Tiefe 296 Kapazität kW max 3 20 Höhe 428 Kapazität kW min 0 80 Zubehör Brennstofpumpe Geeigneter Raum m3 50 120 Transportverschluß Brennstoffverbrauch Ltr Std 0 333 Netzspannung 230 V AC 50 Hz Brennstoffverbrauch g Std 267 Stromverbrauch Brenndauer pro Tank Std 16 2 Zü...

Page 26: ... Mauern Gardinen und Möbeln befindet Achten Sie ebenfalls darauf daß der Raum über dem Kaminofen frei ist 4 Benutzen Sie den Kaminofen nicht in staubigen Räumen und nicht an Stellen an denen es stark zieht In beiden Fällen erhalten Sie keine optimale Verbrennung Benutzen Sie den Kaminofen nicht in unmittel barer Umgebung einer Badewanne Dusche oder eines Swimmingpools 5 Schalten Sie den Kaminofen ...

Page 27: ... 0 ...

Page 28: ... du trenger informasjon eller hvis du har et problem med produktet kan du gå til nettsidene www zibro com Alternativt kan du kontakte med PVG forbrukertjeneste telefonnummeret i www zibro com Als u informatie nodig hebt of als u een probleem hebt bezoek dan de onze website www zibro com of neem contact op met de afdeling sales support adres en telefoon op www zibro com P Se necessitar de informaçõ...

Reviews: