Real Time Automation, Inc.
28
1-800-249-1612
Configuring Read and Write Scan Lines
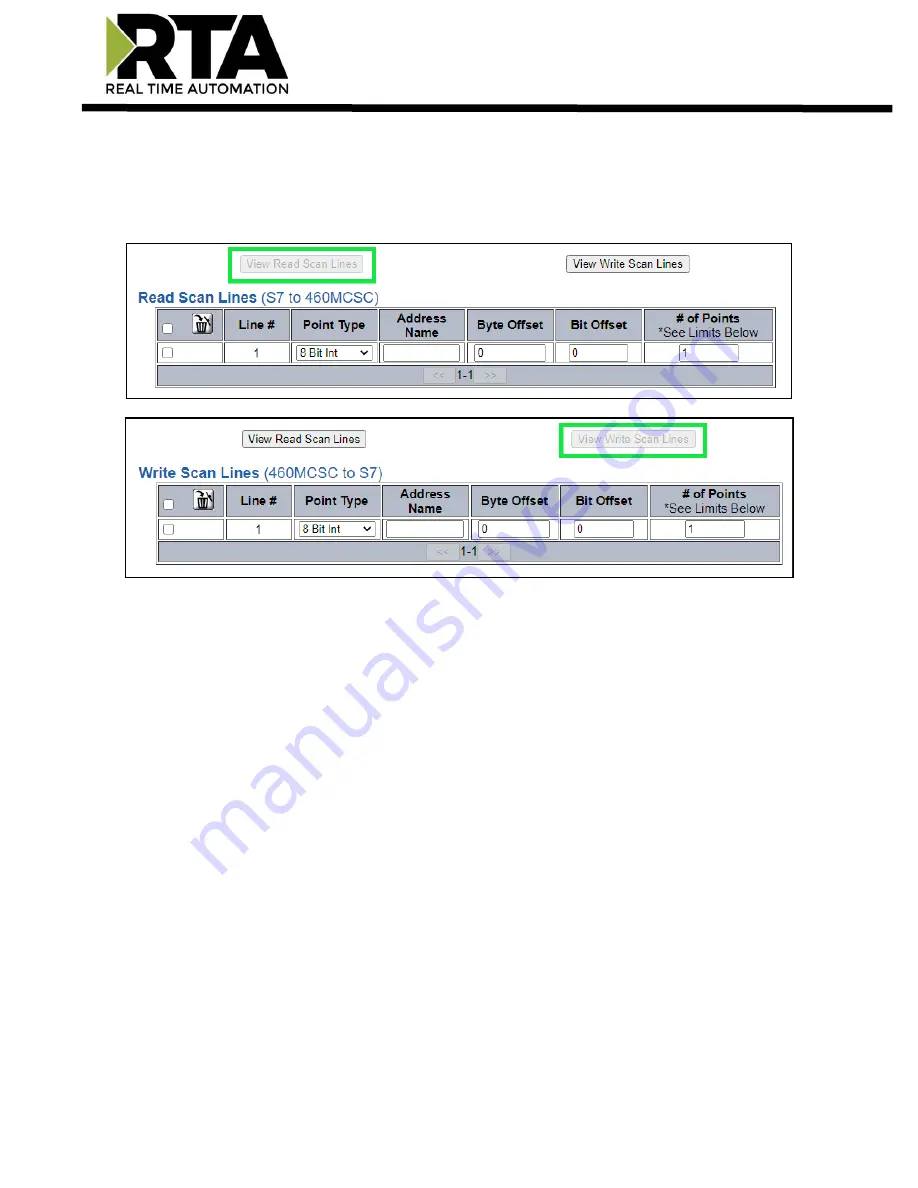
Follow these steps to manually configure read and write scan lines.
1)
Click the
View Read Scan Lines
or
View Write Scan Lines
button.
2)
Select a
Point Type
for each scan line. Options include: 8 Bit Int, 16 Bit Int, 32 Bit Int, 32 Bit Float,
Bool, Char.
a)
Char Point Type:
When using a Char Data Type, the 1
st
byte of each Memory address is reserved
for the Length field. The remaining bytes will be used for the actual data. You must use an array
of Char. String data type is not supported.
3)
Select an
Address Name
- Choose if the data address is an input address(I), output address(Q) or
Data Block(DB#).
a)
Note:
Input address(I) is only available in the RTA gateway write direction (460SC to S7)
4)
Enter a
Byte Offset
- Enter the first data address you want to read/write within the scan line.
5)
Enter a
Bit Offset
- Only for Bool data type. Enter the offset to the desired bit of the data address
you want to read/write within the scan line.
a)
Bits are organized from left to right, 7 down to 0. The value will be set to 0 for non-Bool data
types.
6)
Enter the
# of consecutive points
to read for that point/data type. See the
Scan Line Data Limit
section at the bottom of the webpage for max values in a scan line.


