EVK-R41Z - User guide
UBX-19033357 - R03
Setting up the evaluation board
Page 16 of 23
Setting up the evaluation board
This section provides information on how to set up and program the R41Z evaluation kit with
an example application.
☞
This process will erase any preloaded firmware provided by u-blox including bootloader and
demonstration firmware, if provided. To access any firmware or demo applications that
may be preloaded on the R41Z evaluation kit, please contact your u-blox sales rep.
3.1
Set up the tool chain
The MCUXpresso tools are used for application development for the R41Z. All examples within
the SDK for the NXP FRDM-KW41Z will function, unchanged, on the R41Z-EVAL.
1.
Establish an account and login to the NXP website:
a.
https://www.nxp.com/webapp-signup/register
b.
https://www.nxp.com/security/login
to login to an existing account
2.
Download and install the NXP Semiconductors “IoT Toolbox” app on an available iOS or
Android device. The app is available from the respective app stores. This app will be used
to connect to the R41Z-EVAL board loaded with the SDK examples.
3.
on a PC. Windows, macOS and Linux are
supported.
4.
on a PC. Windows, macOS and Linux
are supported.
5.
. Select the FRDM-KW41Z Development Board. This
download will be a zip file.
a.
The SDK documentation is available in the “docs” directory within the zip file.
6.
Open the MCUXpresso IDE.
7.
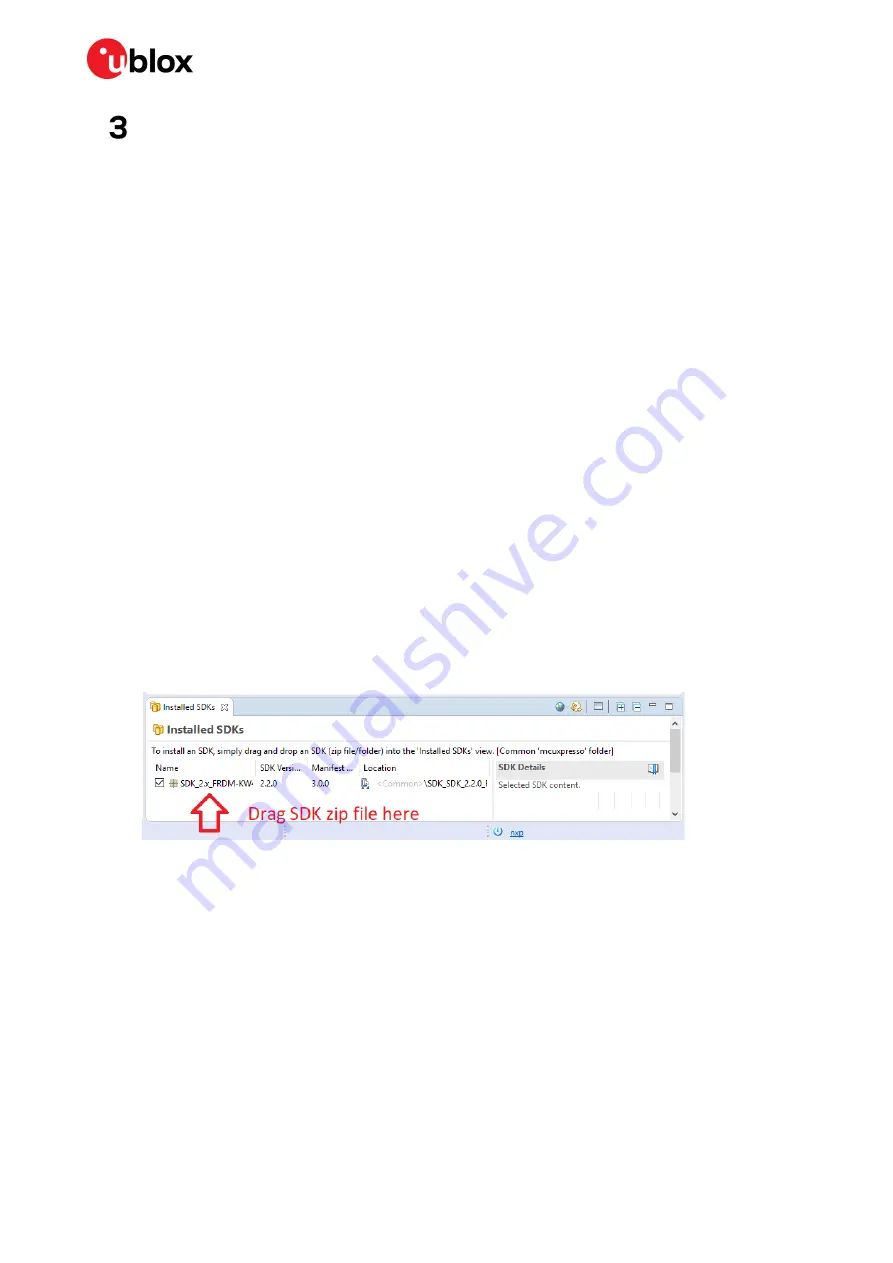
Install the MCUXpresso SDK into the IDE by dragging the downloaded zip file to the lower
right pane:
Figure 17: SDK installation
8.
Connect the R41Z evaluation board to your host computer using the supplied USB cable.
The board will show up as a mass storage device and a new virtual COM port will also
appear.


