


VMM501
V. 01 – 17/01/2019
157
©Velleman nv
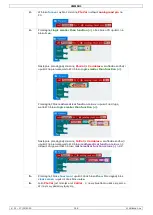
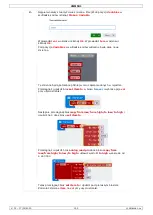
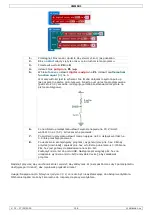
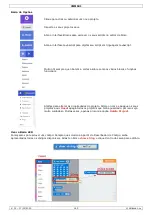
2.
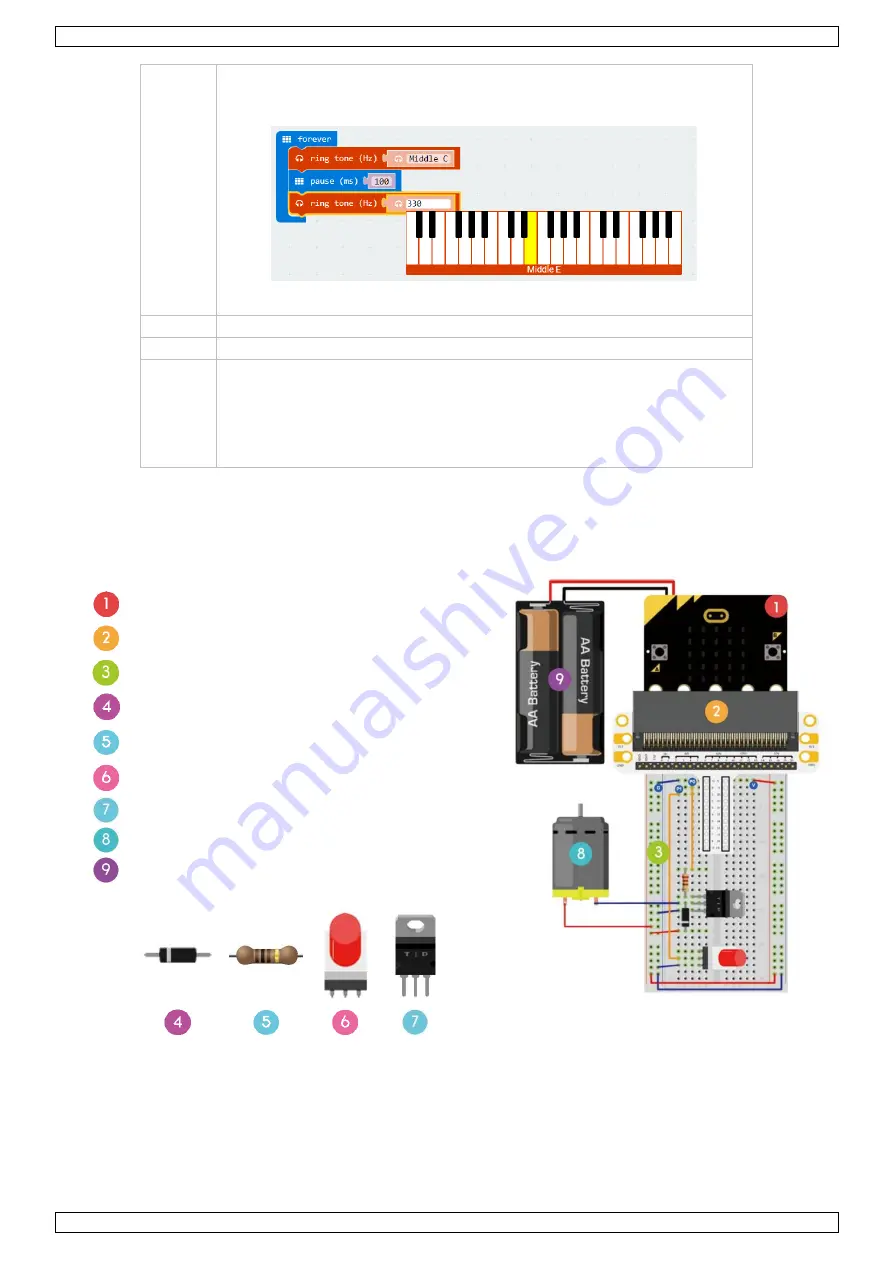
Ustawić pierwszy sygnał dzwonka
ring tone (Hz)
na środkowe C
middle
C
. W tym celu kliknąć pole tekstowe i wybrać odpowiadający klawisz
fortepianowy.
Wyemitowany zostanie również odpowiedni dźwięk.
3.
Ustawić przerwę
pause
na 100 ms.
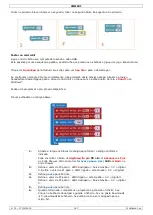
4.
Wykonać powyższe czynności dla pozostałych sygnałów dzwonka i przerw.
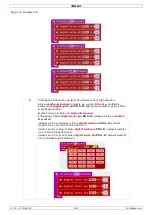
5.
Po ukończeniu skompilujemy program i wygenerujemy plik .hex. Kliknąć
przycisk [download] i zapisać plik .hex w folderze pobierania
C:\Pobrane.
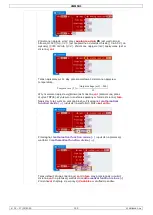
Plik .hex jest gotowy do załadowania na micro:bit.
Podłączyć micro:bit do portu USB. Następnie przeciągnąć plik .hex na
urządzenie wymienne micro:bit [removable device], aby załadować
program.
Rozlegnie się dźwięk brzęczyka. W jaki sposób zaprogramować teraz ulubioną wyliczankę?
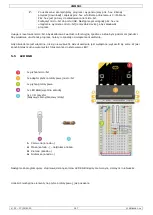
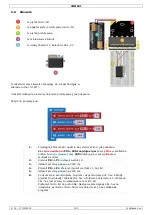
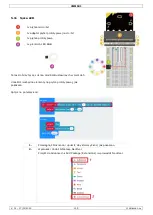
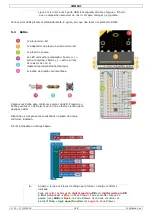
5.10
Silnik
1x płytka micro:bit
1x adapter płytki prototypowej micro:bit
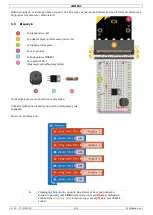
1x płytka prototypowa
1x dioda
1x rezystor 100 ?
(brązowy/czarny/brązowy/złoty)
1x przełącznik samoblokujący lub dwustabilny
1x N-kanałowy MOSFET
1x mini silnik
1x uchwyt baterii z 2 bateriami AA 1,5 V
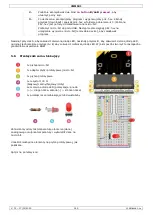
Użyjemy przełącznika do sterowania włączaniem i wyłączaniem silnika.
Umieścić niezbędne elementy na płytce prototypowej, jak pokazano.
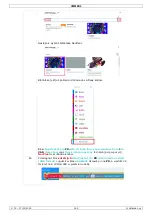
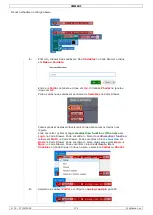
Spójrz na poniższy kod.


