NetVanta 950 IAD Configuration Guide
Configuring Your IAD
61200788L1-29.1B
© 2004 ADTRAN, Inc.
21
Activation
The user may activate each port individually, or if the
range
command is used many ports can be
activated simultaneously. To activate each port one at a time, first enter
interface fxo 7/1
from the
Global configuration mode. Type
no shutdown
. Then type
interface
fxo 7/2
to move to the next port
and repeat through
interface
fxo 7/8
.
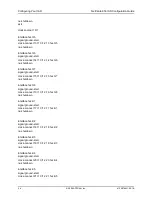
To activate all the ports with the
range
command, type
interface range fxo 7/1-8
and then type
no
shutdown
.
See
Verifying Your Configuration Using Show Commands
on page 36 for more information on the
status of each FXO port.
Connecting the Interfaces
The
cross-connect
command is used to connect DS0s and ports together. The format of the command
is:
cross-connect A t1 <slot/port> <TDM Group.DS0> <interface> <slot/port>
where
A
is a number chosen arbitrarily, although it must be unique for each cross-connect. The
<
TDM
Group.DS0>
nomenclature allows the system to connect a specific DS0 from a specific TDM group to
a voice interface. For example, a 2.13 in that field would connect DS0 13 from TDM group 2 to the
interface specified subsequently.
Note that the
range
command also works with the cross-connect command. The format of the
command is very similar to the individual command:
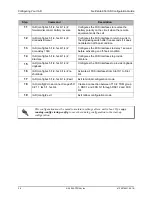
cross-connect range A t1 <slot/port><TDM group.starting DSO> <interface> <slot/port>
where
A
is a number chosen arbitrarily, although it must be unique for each cross-connect. The
<TDM
group.starting DS0>
nomenclature allows the system to connect a specific DS0 from a specific TDM
group to a voice interface. The
<starting DS0>
is the first DS0 in the range. Subsequent DS0s will be
mapped to subsequent ports. The <
interface
>
<slot/port>
tells the system the starting slot/port and the
ending slot/port. This information is listed as a range. It may be listed as a contiguous range, individual
interface, or both. For example, to map FXS 2/1, 2/2, 3/1, and FX0 7/4, type:
FXS 2/1-2, FXS 3/1, FX0 7/4
To delete connections, use the
no
form of the command and specify the particular cross-connect
number to be deleted. For example, type
no cross-connect 1
to delete cross-connect number 1. All
other connections will remain in place.
If you wish to change an existing cross-connect, you must delete it and then re-create it as a new
connection. If you try to modify a cross-connect, the system will respond with “cross-connect ID
already exists.”
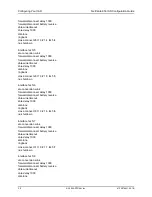
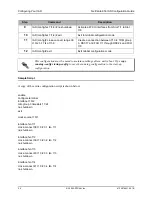
When using the
range
command, cross-connects are still displayed individually in the
configuration.


