Fidelix FX-RP multiDISPLAY
Programming manual
page 19 of 38
"%Rh", "ohm", "N", "kg", "ms", "hPa", "W/m
2
", "mm", "cm", "km", "m", "€", "€/kWh", "A", "°F", "CFM", "GPM",
“%LIE”, “%LEL”, “%vol”, “m
3
/s”, “rpm”, “m/s”
-
#UNITSPACE can be added to put a space between the value and the unit. The default setting has the unit
directly concatenated behind the point’s value.
-
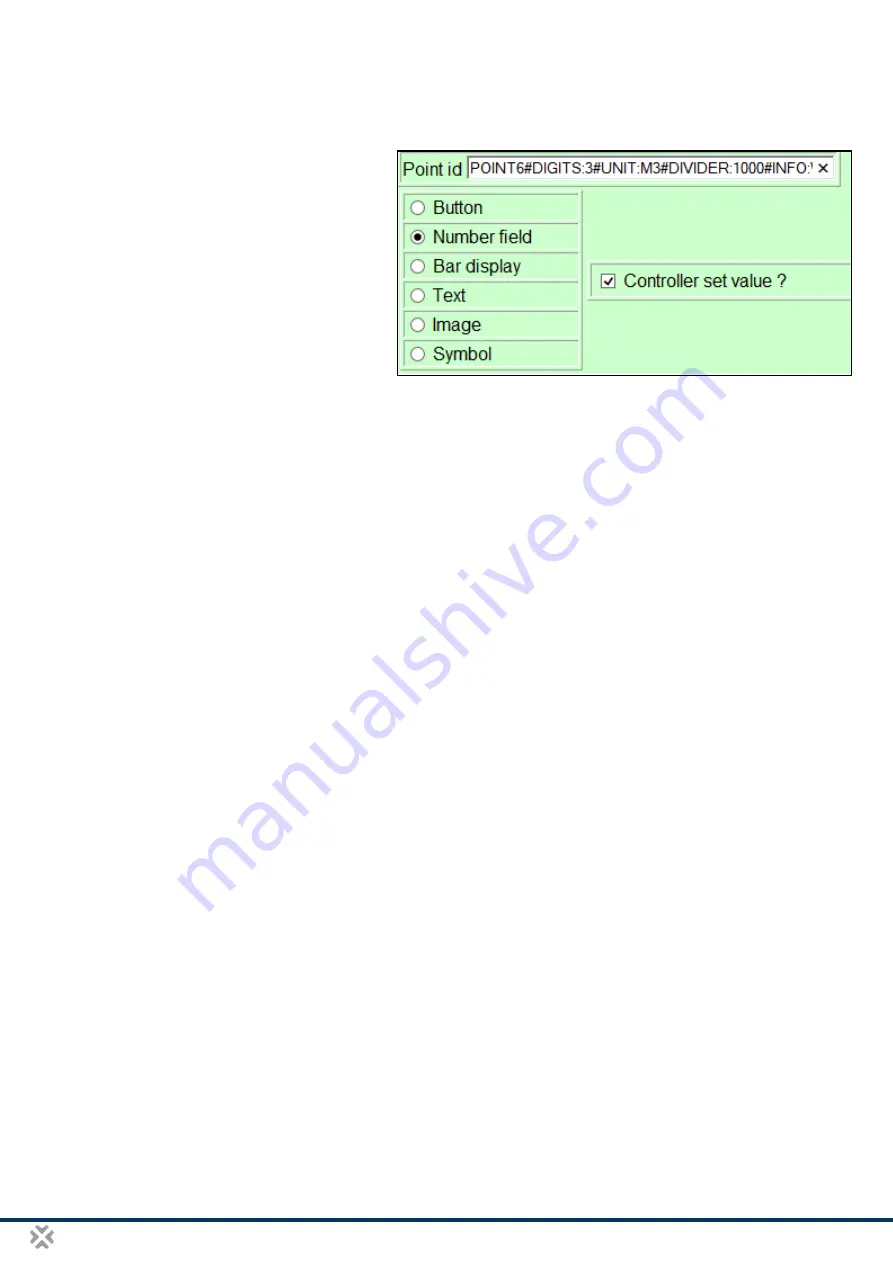
#DIVIDER:xx where xx is used divider. 10
for 1 decimal, 100 for 2 decimals, 1000 for 3
decimals.
REMINDER:
For text type fields, the unit
can also be defined in the “Text” field, in
which case the divider is parsed from the
end of the text. For example, “21.0°C” will
define one decimal precision and degrees
Celsius as unit.
-
#DIGITS:xx, where xx is maximum 15. It defines the number of digits before the decimal sign. If the value is
bigger than the number of digits specified, the full value will be displayed.
-
#MIN:xx where xx defines the minimum allowed value for the point. It is useful if for example a set point’s
minimum value needs to be defined. Note that this value is before division, for example if one decimal is in
use and you need to limit the minimum value to 10.0, use parameter “#MIN:100”.
-
#MAX:xx where xx defines maximum allowed value for the point. It is useful if for example set point’s
maximum value needs to be defined. Note that this value is before division. For example, if one decimal is in
use and you need to limit the maximum value to 100.0, use parameter “#MAX:1000”.
-
#NOSCALE hides the low, middle and high values for a “Bar Display” point. You can use for example text
objects to define the scale, or leave the scaling out completely. The hiding is particularly useful when your
value has decimals, as the Low, Middle and High values are before division, for example if one decimal is in
use and you need to limit minimum value to 10.0 use parameter “#MIN:100”. The Middle value can be omitted,
and even HAS to be omitted when using this combined with the “#NOEDIT” tag.
-
#NOEDIT makes a Bar Display element only show a value, whereas by default, a bar display element can
also be used as a slider to get a set value from the user. When this tag is used, the middle value of the Bar
Display element needs to stay empty, as it is being used as container for the returned value, so #NOEDIT
should always be used in combination with #NOSCALE.
-
#INFO:xx, where xx is free text that will be added as a comment into the IEC code file that the converter
generates. This will only make the IEC code file easier to read, there is no real functionality connected.
-
#BYTE1, #BYTE2, #BYTE3, #BYTE4 gives access to the different bytes of the point’s value. As each point
has two registers for its value (see below for more detailed register structure), BYTE1 represents the least
significant byte, BYTE4 the most significant. Values are displayed as decimal values from 0 to 255.
-
#BIT0, …, #BIT31 gives direct access to each bit of the point’s value. BIT0 represents the least significant
bit, BIT31 the most significant.
-
#BITGROUPxx:yy, where xx is the number of bits (2..6) you want to visualise and yy is the first bit of that
group (0..30). The groups are allowed to overlap
Example: POINT1#BITGROUP3:0 will show the three lowest bits of POINT1 (bit2, bit1 and bit0)
Example: POINT2#BITGROUP5:14 will show five bits, beginning at bit 14 of POINT2 (bit18, bit17, bit16, bit15
and bit14)


