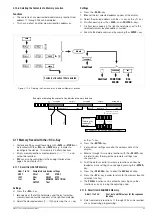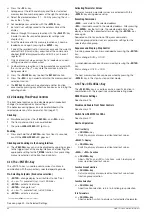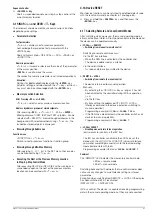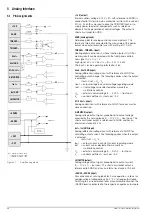
GMC-I Gossen-Metrawatt GmbH
47
Sequence Control
☞
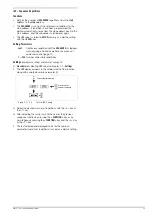
<CE/LOCAL> key
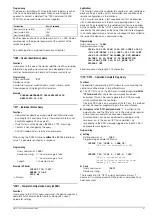
Abort a suspended sequence or step-by-step control at the
current memory location.
4.15 INCR <
↓
> and DECR <
↑
> Keys
The increment and decrement keys execute various functions
depending upon settings.
•
Parameter Selection
Text parameters
<
↑
> or <
↓
> displays next or previous parameter.
Acknowledge the respective text parameter with the
<ENTER> key.
Abort with rotary knob <CE/LOCAL>, <RCL>, <SAVE> or
<FUNCTION>.
Numeric parameters
<
↑
> or <
↓
>: increase or decrease the value of the parameter
at the cursor position.
<
RESOL
> is used to move the cursor.
The respective numeric parameter is activated automatically.
Exception:
Settings for
Uset
and
Iset
initialized with the <
ENTER
> key
(setpoint settings) and selected with the <
↑
> key < or the <
↓
>
key, must also be acknowledged with the <
ENTER
> key.
•
Memory Location Selection
After Pressing <RCL> or <SAVE>
<
↑
> or <
↓
> selects next or previous memory location.
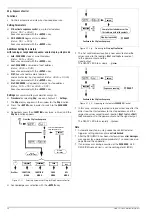
Address by address preview of stored setpoints:
After pressing <
RCL
>
→
<
↑
>/<
↓
> 11 ... 255
→
<
ENTER
>:
Blinking display of USET, ISET and TSET setpoints, can be
selected with <SELECT>, browse though addresses in the
background with selected setpoint using <
↑
> or <
↓
>, the
respective stored setpoint is displayed.
•
Browsing through Submenus
Function menu
<FUNCTION> + <
↑
> or <
↓
>
Switch to next or previous function or function group.
•
Browsing through Min-Max Memory
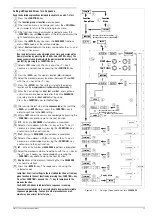
After querying U_, U¯, I_ or I¯ in the SET menu, these values
can be browsed using <
↑
> or <
↓
>.
•
Executing the Next or the Previous Memory Location
in Step-by-Step Control Mode
After executing SEQ Strt or SEQ StEP with a running or a
suspended sequence, the next or the previous memory
location can be executed with <
↑
> or <
↓
>.
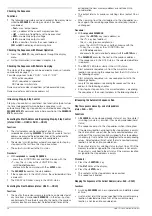
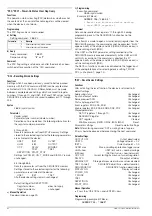
4.16 Device RESET
Most device functions can be returned to a defined default value
with the reset command (see chapter 8.1 and page 62).
☞
Press and hold the <
CE/LOCAL
> key, and then press the
<
ENTER
> key.
4.17 Selecting Remote and Local Control Modes
After switching mains power on, the manual operating mode is
always active (local state): All front panel controls are enabled and
the device can be operated manually.
a)
LOCAL —> REMOTE
– Switching from manual to remote control
Switching to remote control occurs:
Via the IEC bus interface
– When the REN line is activated by the controller and
– The device is addressed as a listener
Via the serial interface
– As soon as data are transmitted to the device.
b)
REMOTE
→
LOCAL
– Switching from remote to manual control
The device is returned to manual operation:
Manually
– By activating the <CE/LOCAL> key, as long as it has not
been disabled by the controller during IEC bus operation
(
→
c)
– Via the IEC bus
– By transmitting the addressed GTL (GO TO LOCAL)
interface command to the device (selective switching to
manual operation),
Programming example (HP Basic):
LOCAL 712
or
– If the REN line is deactivated by the controller (switches all
devices to manual operation),
Programming example (HP Basic):
LOCAL 7
c)
LOCAL LOCKOUT
– Disabling manual return to local operation
(only relevant for control via the IEC bus)
The IEC bus controller can disable the LOCAL key at the
device with the LLO (LOCAL LOCKOUT) universal interface
command, preventing manual return to the local operating
mode (remote state with lock).
Programming example (HP Basic):
LOCAL LOCKOUT 7
Comment
The “REMOTE” LED indicates the momentary control mode:
LED on = remote mode
LED off = manual mode
Switching back and forth between the two control modes does
not cause any changes to current device settings or stored
parameters.
Exception when switching from REMOTE
→
LOCAL: If the display
has been switched off it is reactivated
(DISPLAY OFF —> DISPLAY ON).
IEC bus control: The device is capable of receiving programming
data in the manual operating mode, but they are not executed.

