Creating your first node (Python)
This tutorial will go through the steps of creating a ROS2 package and writing a ROS2 node in
Python. For a C++ example, click
. These steps are similar to the
, but focus
on interacting with the TurtleBot 4. For source code, click
.
Note
You can follow this tutorial on either the Raspberry Pi of your TurtleBot 4, or your PC.
Create a workspace
If you do not already have a workspace, open a terminal and create one in the directory of your
choice:
mkdir
~/turtlebot4_ws/src
-p
Create a package and node
You will need to create a ROS2 package to hold your files. For this tutorial, we will create a
package called
turtlebot4_python_tutorials
with a node called
turtlebot4_first_python_node
.
source
/opt/ros/galactic/setup.bash
cd
~/turtlebot4_ws/src
ros2 pkg create
--build-type
ament_python
--node-name
turtlebot4_first_python_node
turtlebot4_python_tutorials
This will create a
turtlebot4_python_tutorials
folder and populate it with a basic "Hello World"
node, as well as the setup and package.xml files required for a ROS2 Python package.
Write your node
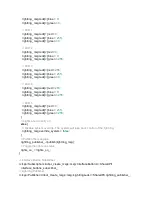
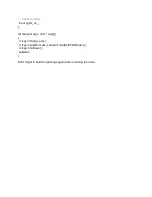
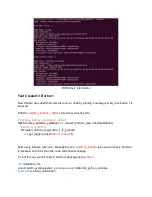
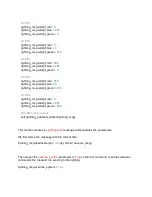
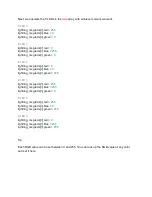
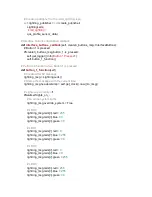
The next step is to start coding. For this tutorial, our goal will be to use the Create® 3 interface
button 1 to change the colour of the Create® 3 lightring. Open up the "Hello World" .py file
located at
~/turtlebot4_ws/src/turtlebot4_python_tutorials/turtlebot4_python_tutorials/turtlebot4_first_pytho
n_node.py
in your favourite text editor.
Summary of Contents for TurtleBot 4 Lite
Page 50: ...Running the Light Ring test...
Page 61: ...Adding Displays in Rviz2...
Page 63: ...Camera image displayed in Rviz2...
Page 82: ...TurtleBot 4 Lite with a NED2 arm...
Page 147: ...Color camera diagnostics...


