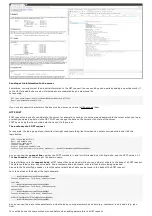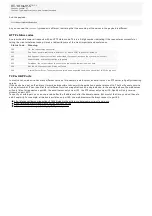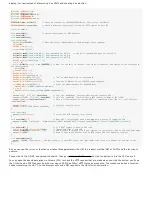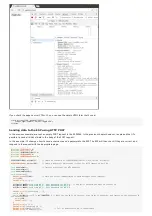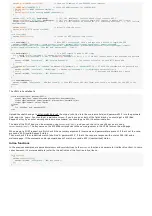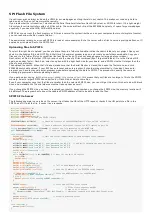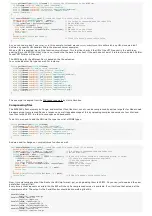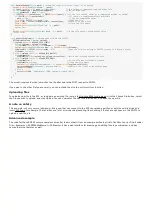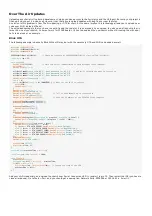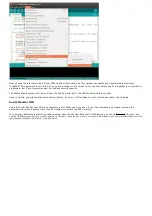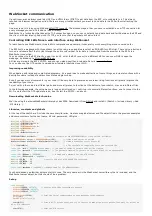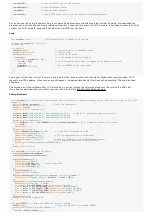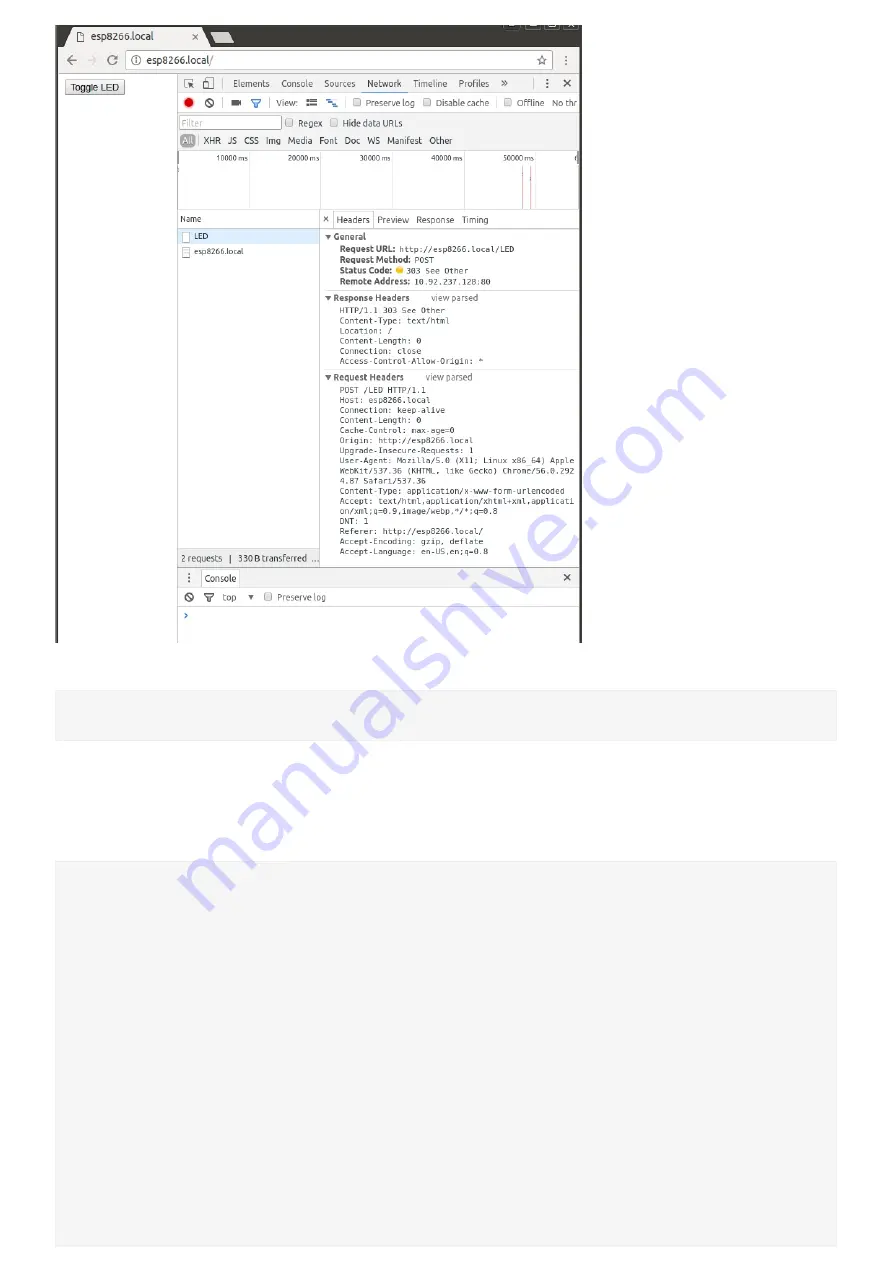
If you check the page source (CTRL+U), you can see the simple HTML form that's used:
<form action="/LED" method="POST">
<input type="submit" value="Toggle LED">
</form>
Sending data to the ESP using HTTP POST
In the previous example, we sent an empty POST request to the ESP8266. In the previous chapter however, I explained that it's
possible to send all kinds of data in the body of the POST request.
In this example, I'll show you how to send a username and a password to the ESP. The ESP will then check if they are correct, and
respond to the request with the appropriate page.
#include
<
ESP8266WiFi
.
h
>
#include
<
WiFiClient
.
h
>
#include
<
ESP8266WiFiMulti
.
h
>
#include
<
ESP8266mDNS
.
h
>
#include
<
ESP8266WebServer
.
h
>
ESP8266WiFiMulti wifiMulti;
// Create an instance of the ESP8266WiFiMulti class, called 'wifiMulti'
ESP8266WebServer
server(80);
// Create a webserver object that listens for HTTP request on port 80
void
handleRoot();
// function prototypes for HTTP handlers
void
handleLogin();
void
handleNotFound();
void
setup
(
void
){
Serial
.
begin
(115200);
// Start the Serial communication to send messages to the computer
delay
(10);
Serial
.
println
(
'\n'
);
wifiMulti
.
addAP(
"ssid_from_AP_1"
,
"your_password_for_AP_1"
);
// add Wi-Fi networks you want to connect to
wifiMulti
.
addAP(
"ssid_from_AP_2"
,
"your_password_for_AP_2"
);
wifiMulti
.
addAP(
"ssid_from_AP_3"
,
"your_password_for_AP_3"
);
Serial
.
println
(
"Connecting ..."
);
int
i
=
0;
while
(wifiMulti
.
run
()
!=
WL_CONNECTED) {
// Wait for the Wi-Fi to connect: scan for Wi-Fi networks, and connect to the strongest of
the networks above
delay
(250);
Serial
.
(
'.'
);
}
Serial
.
println
(
'\n'
);
Serial
.
(
"Connected to "
);
Serial
.
println
(
WiFi
.
SSID
());
// Tell us what network we're connected to
Serial
.
(
"IP address:\t"
);

