WebSocket communication
Up until now, we've always used links (GET) and HTML forms (POST) to get data from the ESP, or to send data to it. This always
resulted in a browser navigation action. There are many situations where you want to send data to the ESP without refreshing the
page.
One way to do this is by using AJAX and XMLHTTP requests. The disadvantage is that you have to establish a new TCP connection for
every message you send. This adds a load of latency.
WebSocket is a technology that keeps the TCP connection open, so you can constantly send data back and forth between the ESP and
the client, with low latency. And since it's TCP, you're sure that the packets will arrive intact.
Controlling RGB LEDs from a web interface using WebSocket
To learn how to use WebSockets, I created this comprehensive example, it uses pretty much everything we've covered so far.
The ESP hosts a webpage with three sliders to set the red, green and blue levels of an RGB LED (or LED strip). There's also a button to
turn on a rainbow effect that cycles through the entire color wheel. Color data is transmitted from the browser to the ESP via a
WebSocket connection.
You can connect to the ESP directly, using it as an AP, or let the ESP connect to a different AP. You can use mDNS to open the
webpage, by browsing to http://esp8266.local.
All files are stored in the ESP's SPIFFS, and you can upload new files, or update files via a web interface.
You can also use the OTA service to upload new firmware (sketches) over Wi-Fi.
Improving readability
When dealing with large and complicated programs, it's a good idea to make abstraction of some things, and create functions with a
descriptive name instead of endless lines of meaningless code.
Even if you have lots of comments in your code, it'll be very hard to preserve an overview. Using functions will greatly improve the
readability of your code.
So just split up the code into different parts and move all pieces to functions at the bottom of your sketch, or even to different files.
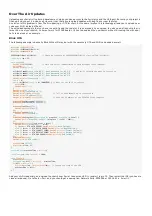
In the following example, the setup was very long and cluttered, so I split it up into several different functions: one to connect to the
Wi-Fi, one to start the OTA update service, one to start the SPIFFS ... and so on.
Downloading WebSockets for Arduino
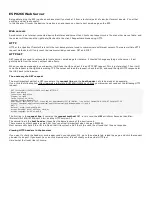
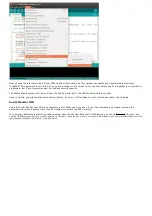
We'll be using the arduinoWebSockets library by Links2004. Download it from GitHub and install it. (Sketch > Include Library > Add
.ZIP Library...)
Libraries, constants and globals
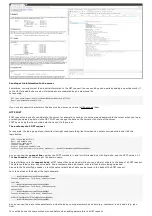
At the top of the sketch we'll include the necessary libraries, create some global server and file objects like in the previous examples,
and some constants for the host name, AP ssid, passwords, LED pins ...
#include
<
ESP8266WiFi
.
h
>
#include
<
ESP8266WiFiMulti
.
h
>
#include
<
ArduinoOTA
.
h
>
#include
<
ESP8266WebServer
.
h
>
#include
<
ESP8266mDNS
.
h
>
#include
<
FS
.
h
>
#include
<
WebSocketsServer
.
h
>
ESP8266WiFiMulti wifiMulti;
// Create an instance of the ESP8266WiFiMulti class, called 'wifiMulti'
ESP8266WebServer
server
=
ESP8266WebServer
(80);
// create a web server on port 80
WebSocketsServer webSocket
=
WebSocketsServer(81);
// create a websocket server on port 81
File
fsUploadFile;
// a File variable to temporarily store the received file
const
char
*
ssid
=
"ESP8266 Access Point"
;
// The name of the Wi-Fi network that will be created
const
char
*
password
=
"thereisnospoon"
;
// The password required to connect to it, leave blank for an open network
const
char
*
OTAName
=
"ESP8266"
;
// A name and a password for the OTA service
const
char
*
OTAPassword
=
"esp8266"
;
#define
LED_RED 15
// specify the pins with an RGB LED connected
#define
LED_GREEN 12
#define
LED_BLUE 13
const
char
*
mdnsName
=
"esp8266"
;
// Domain name for the mDNS responder
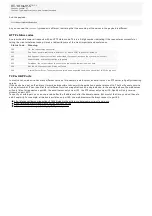
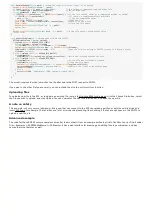
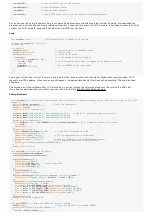
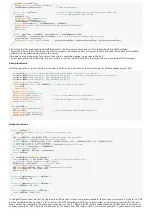
You should already be familiar with most of this code. The only new part is the WebSocket server library that is included, and the
WebSocket server object, but this shouldn't be a problem.
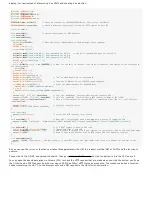
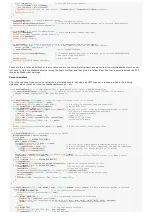
Setup
void
setup
() {
pinMode
(LED_RED
,
OUTPUT
);
// the pins with LEDs connected are outputs
pinMode
(LED_GREEN
,
OUTPUT
);
pinMode
(LED_BLUE
,
OUTPUT
);
Serial
.
begin
(115200);
// Start the Serial communication to send messages to the computer
delay
(10);
Serial
.
println
(
"\r\n"
);
startWiFi();
// Start a Wi-Fi access point, and try to connect to some given access points. Then wait for either an
AP or STA connection
startOTA();
// Start the OTA service

