• Arduino’s Tone Reference - This will help us generate the tones that
emit when a certain key is pressed.
• Installing an Arduino Library - Learn how to install any libraries
needed for the Gram Piano, such as the CapSense library.
• Arduino’s Capacitive Sense Library - Speaking of…
• Arduino’s Capacitive Sense Library Reference - Learn how the Cap
Sense Library works.
Required Materials
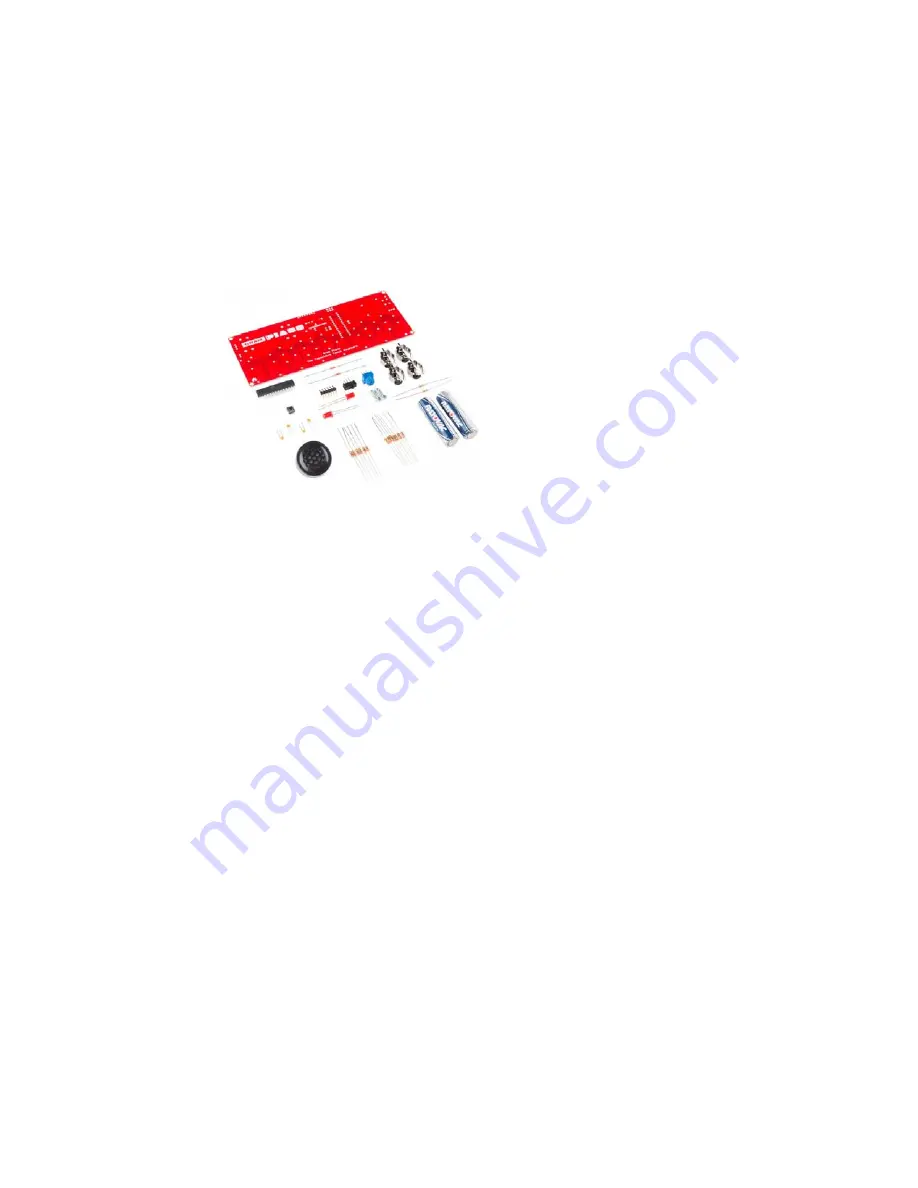
The Gram Piano Kit comes with a printed circuit board and a handful of
components shown in the photo below.
Full Kit Part List
• x1 Gram Piano PCB
• x1 PCB Speaker
• x2 AA Batteries
• x2 AA Battery Holders
• x1 Atmel AVR 328 Microcontroller
• x1 Mini Power Switch
• x1 Mini Push Button
• x1 10k Ohm Potentiometer
• x2 Red 5mm LED’s
• x4 .1 uF Ceramic Capacitors
• x2 330 Ohm Resistors
• x2 10k Ohm Resistors
• x13 2M Ohm Resistors
• x1 6 Pin Right-angle Male Header
• x4 3/8" 4-40 Nylon Standoffs
• x4 3/8" 4-40 Screws
Extra Tools/Parts You’ll Need (Not included
with the Gram Piano)
• Soldering Iron
• Solder
• Diagonal Cutters
• Screwdriver
• Pliers
• FTDI Basic
Now, let’s get to building!
Assembly
The Gram Piano is a through hole soldering kit. If you have never soldered
before, it is strongly advised that you read through SparkFun’s soldering
tutorial first.
Page 2 of 8


