16
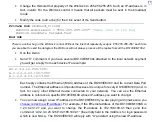
WinSock.GetData
s$
TxtRcv.Text = TxtRcv.Text + s$ + Chr$(13) + Chr$(10)
End Sub
•
Run the Demo again
•
In the
Send
textbox type “V” and click
Send
, the DS100/EM100 will respond with its version
string, i.e. “V2.20”
You can type most commands like this. Right now we will show you how to change the Transport
Protocol (i.e. the protocol the DS100/EM100 uses to receive and send the data) from UDP/IP to
TCP/IP.
•
To change any Setting of the DS100/EM100 over the network you need to login. Login password
of the freshly initialized DS100/EM100 is NULL (empty string) but login is still necessary. Type
“L” and press Send. The DS100/EM100 will respond with “A”
•
To select the TCP/IP transport protocol send this command: “STP1”. Again, the DS100/EM100
will respond with “A”
•
End the Network Setup Session by sending “E”. The DS100/EM100SK will not respond to this
command but simply reboot. The DS100/EM100SK is now using TCP/IP.
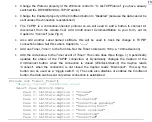
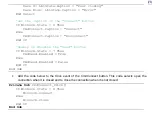
One last thing that remains to be demonstrated is the use of broadcast commands. Broadcast
commands are sent using Ethernet broadcast packets. These packets reach all devices attached to
the same network segment as your PC. Broadcast commands allow you to find all locally attached
DS100/EM100s and also assign a new IP-address to any of these devices. The latter is very
important- you can setup the DS100/EM100 even when its IP-address is not suitable for the current
network and regular “IP” communications is not possible. Example below shows the use of the
broadcast commands:
•
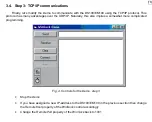
Stop the
Demo


