ROBO TX ElectroPneumatic
COMPUTING
9
Task 3: Testing the model with the ROBO TX Controller
Connect the ROBO TX Controller to the power supply and switch it on. Con-
nect the ROBO LT Controller to the PC. Then start the ROBO Pro software.
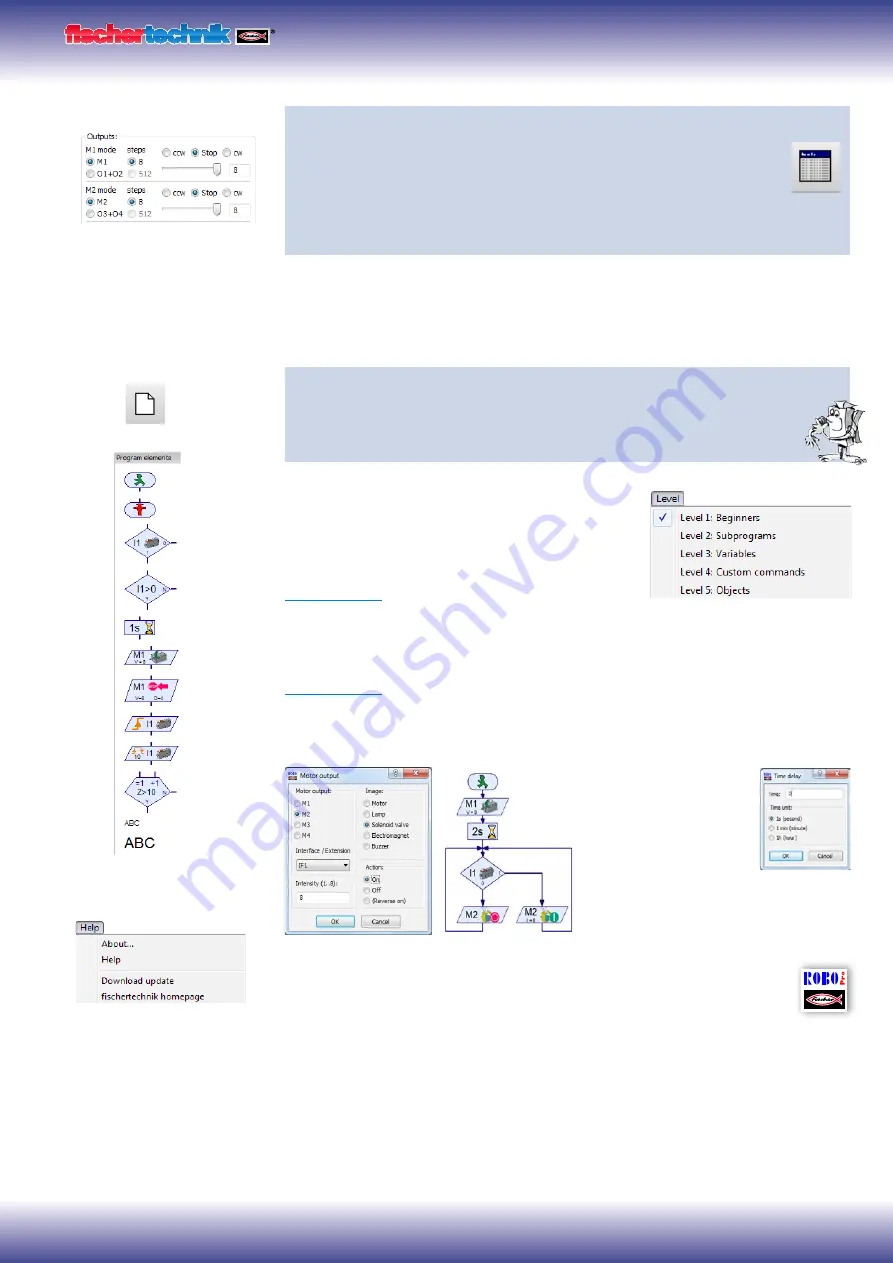
Activate the "Test" button. The operating display appears to test the control-
ler and the connected sensors and actuators. Click with the mouse pointer
on Output M1 - right and then Output M2 - right. Observe what happens at Input
I1.
The compressor at Output M1 starts running and produces compressed air for the cyl-
inder. If M2 is switched on, the solenoid valve is actuated and the piston in the cylinder
extends. At Input I1 a check set when the connected pushbutton is closed.
Programming
Task 4: Program control with ROBO Pro - Level 1
ROBO TX Controller takes over actions in task 3 using program. Here the
switching state of pushbutton (I1) is checked and the information, "closed/
open" used to control the valve and cylinder.
The operating display can be cleared with the "New"
button. In the "Level" selection window switch to level
1.
All the commands required for this task are present in
the "Element group" selection window. However the
ROBO Pro help
is also very valuable here.
Each program always starts with the "Little green
traffic light man". Then the individual program commands such as "Motor on" or "Time
delay" can be entered. The symbols can be moved to the operating display with the
mouse using the drag and drop feature. Information on the commands used is given in
ROBO Pro help
Chapter 3.
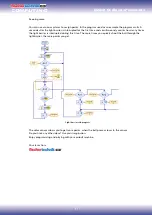
Use the program from the following program structure:
Click with the right
mouse button on the
desired symbol; an inter-
active window appears
in which you can make
various settings, e.g. set
the time, actuator, etc.
You can call a finished example program for this task with this symbol.
New program
Important!
You can get help
under the menu point
or by clicking the right mouse
button on the program element
in the "Element window"
compressed air motor.rpp
Summary of Contents for COMPUTING ROBO TX ElectroPneumatic
Page 1: ......


