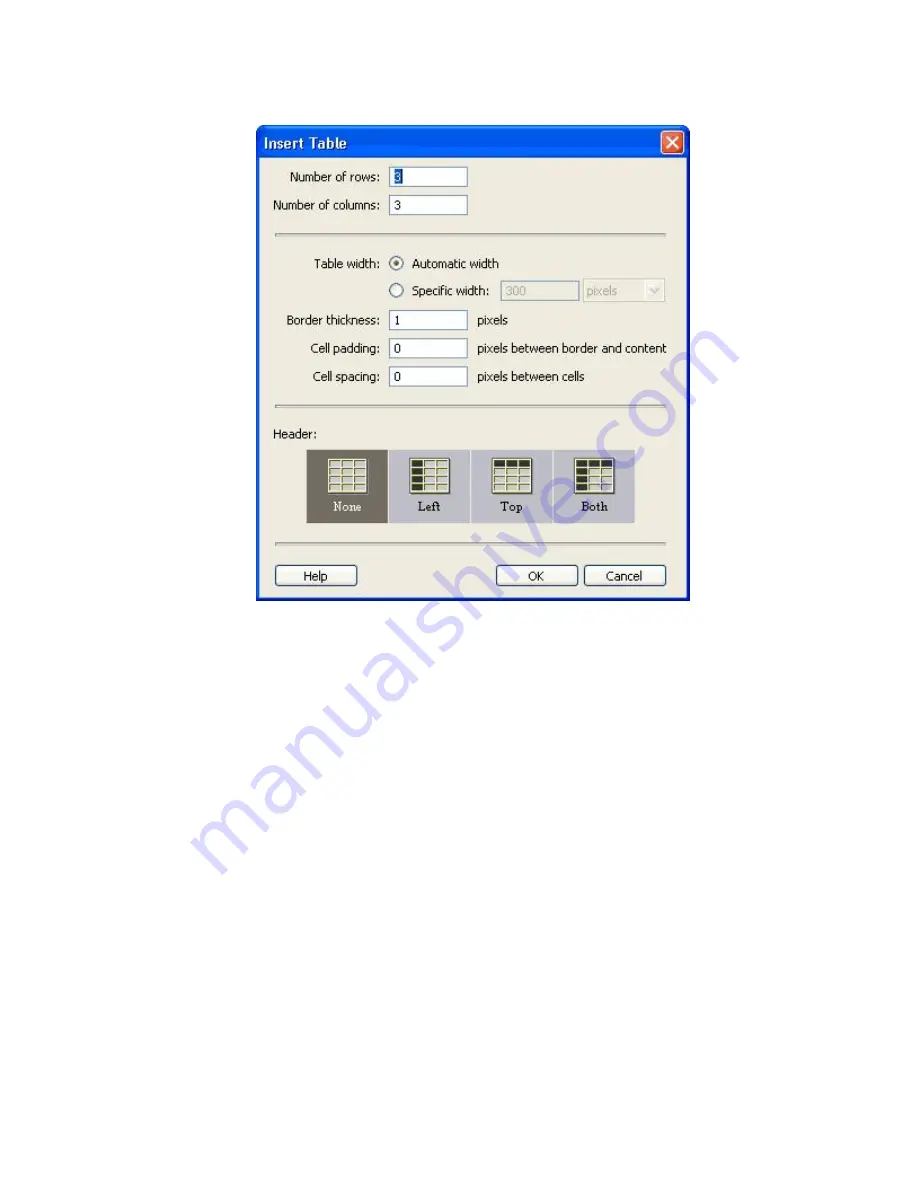
3. Set the number of rows and columns. More can be added later if needed.
4. Set the Width of the table. Automatic Width is the default setting. Specific width allows
you to specify a certain value. In web pages only width is defined, height is not defined.
You can specify the table width to be a certain number of pixels wide or as a percentage
of the page. If you set the width to 50%, the table will extend half the width of the users
screen, no matter what size.
5. Specify any border width, cell padding and cell spacing you wish. Again, these can be
modified later.
6. Click on a header style if you want one. Click OK to create the table.
Note:
Once you have created the table, you can select it and click and drag on the lower
right corner to resize it.
A word about table widths
Table widths can be set as a pixel value or a percentage value. Pixel values are good when you
want to have a very consistent look on the page and not have things move around. Percent
values are good when you want to fill the page to a consistent degree.
When using a value like 50%, the table should always fill up half the screen. However, there are
some limitations to this. Text can stretch and wrap as needed when resizing a browser window or
on different screen resolutions, but images cannot stretch and compress. If you have a series of
images across your table,
the table will not be able to compress smaller than the total width of all
the images.
The cells can stretch to make the table bigger, but this will only affect the spacing of
the images not their size.


