P A G E 14
E a s y P I C v 8 f o r P I C 2 4 / d s P I C 3 3
M a n u a l
CODEGRIP programmer/debugger module
Envisioned as the unified development platform for all the 16-bit PIC24/dsPIC33
MCUs in DIP package, the EasyPIC v8 for PIC24/dsPIC33 development board is
equipped with the onboard CODEGRIP programming/debugging module, to support
programming/debugging feature. The CODEGRIP module can be interfaced with the
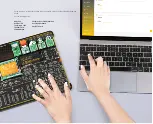
host computer over the USB-C connector.
Besides the USB cable, the CODEGRIP module
(1)
can be accessed over the WiFi
network. This is a revolutionary new feature, which allows some unique usage
scenarios, currently not available on any other programming/debugging solution in
the world. The WiFi connectivity option of the CODEGRIP module offers a complete
autonomy of the development board. Running in the hazardous environment while
debugging the software in real time, programming the MCU with a new software
during exposure, having the sensor responses collected and logged remotely from
several different base points, debugging a drone firmware while it is in mid-air... These
are just simple examples of what EasyPIC v8 for PIC24/dsPIC33 development board
can offer.
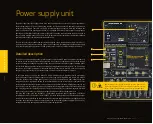
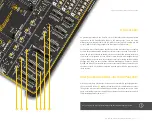
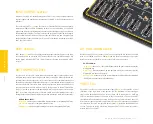
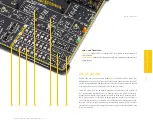
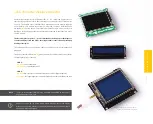
CODEGRIP module is equipped with LED indicators that provide visual feedback about
its status:
POWER (GREEN)
Indicates that the development board is powered on
USB-LINK (YELLOW)
After the host OS completes the USB enumeration of the
CODEGRIP module, this LED will indicate that the connection has been established
NET-LINK (AMBER)
When the CODEGRIP module is connected to the WiFi network,
this LED will indicate that the connection has been established
ACTIVE (RED)
Indicates the operational state of the CODEGRIP module: when
CODEGRIP module is in the bootloader mode, this indicator will blink. Normal operation
of the CODEGRIP module is indicated by the ACTIVE LED being constantly turned ON
DATA (BLUE)
Indicates that there is a data transfer ongoing between the MCU and the
CODEGRIP module
The onboard CODEGRIP module requires no additional drivers, as it utilizes a HID driver
model, which is natively supported by the computer OS. This makes its installation
very easy and straightforward in the case when the USB cable is used. As soon as the
USB cable is connected to the host PC, the CODEGRIP module is enumerated and the
development board is ready to be used.
CODEGRIP programmer/debugger module is supported by CODEGRIP Suite. Detailed
explanation on how to configure and use the CODEGRIP module on the EasyPIC v8 for
PIC24/dsPIC33 development board can be found at the following link:
www.mikroe.com/debuggers/codegrip
P A G E 14
C O D E G R I P
CODEGRIP device setup
Since the development board supports many different MCUs with a different number
of pins and functionalities, it is necessary to connect the CODEGRIP programmer/
debugger to the correct programming lines (PGC, PGD) of the particular MCU. The
development board allows easy selection of the programming lines by offering a set
of high-quality jumpers, which ensure reliable operation. For more information about
MCU DIP sockets and how to use them, please refer to the
MCU sockets
chapter.
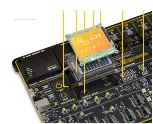
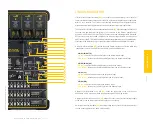
All jumpers required to set up the programming and reset lines for each DIP socket,
are grouped under the DEVICE SETUP label, in a section located in the middle of the
EasyPIC v8 for PIC24/dsPIC33 development board.
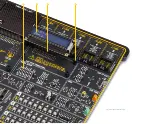
PGC/PGD jumpers
There are three jumpers located in the DEVICE SETUP section, labeled as PGC/PGD. These
jumpers allow to redirect the programming lines of the CODEGRIP onboard module to the
corresponding programming pins of the MCU. These jumpers have an MCU DIP socket name
printed next to it, so it is very easy to know which one should be used for which socket.
If using
DIP28A MCU socket
, a jumper with the
J11
label should be used to configure
the programming lines:
J11 (DIP28A)
GPIO (up):
allows the RB6 and RB7 pins to be used as GPIO lines
PGC/PGD (down):
connects the RB6 and RB7 pins to the CODEGRIP
programmer/debugger module or external device

