PAN1780 Bluetooth Module
5 Getting Started
Module Integration Guide Rev. 1.1
Page 30 of 44
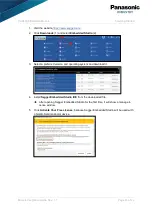
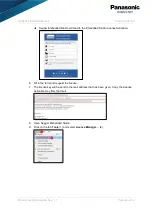
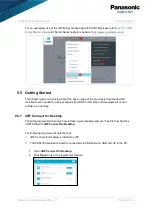
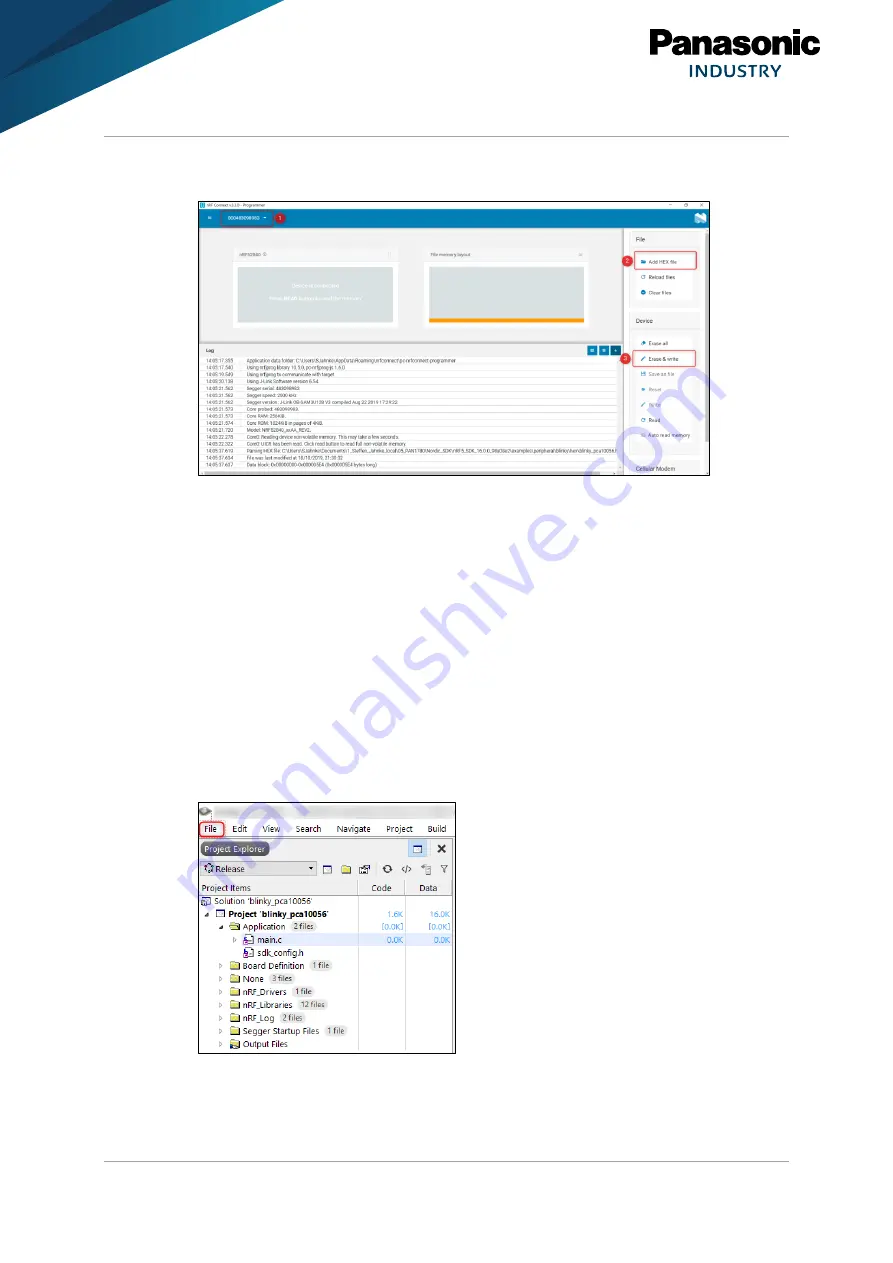
Select the preferred device in the drop down menu (1). For Segger ID please see on
3.
bottom of the PAN1780 ETU.
Click
Add HEX file
(2).
4.
Add the example .hex-file from Nordic SDK folder
nRF5_SDK_16.0.0_98a08e2
>
5.
examples
>
peripheral
>
blinky
>
hex
(2) with the designation
blinky_pca10056.hex
.
After the .hex-file was loaded successfully in nRF Connect, click
Erase & write
(3).
6.
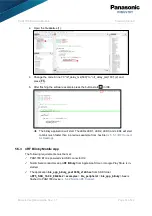
Now the blinky application will be flashed on the PAN1780 ETU. The LEDs LED1,
LED2, LED3, and LED4 will start to blink.
5.5.2 Segger Embedded Studio
The following description shows how to start developing with PAN1780 and Segger Embedded
Studio.
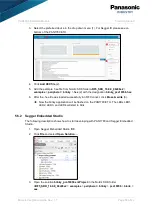
Open Segger Embedded Studio IDE.
1.
Click
File
and select
Open Solution…
.
2.
Open the solution
blinky_pca10056.emProject
in the Nordic SDK folder
3.
nRF5_SDK_16.0.0_98a08e2
>
examples
>
peripheral
>
blinky
>
pca10056
>
blank
>
ses
.

